Page History
| Page properties | ||||||||||||||||||||||||||||||||||||||
|---|---|---|---|---|---|---|---|---|---|---|---|---|---|---|---|---|---|---|---|---|---|---|---|---|---|---|---|---|---|---|---|---|---|---|---|---|---|---|
| ||||||||||||||||||||||||||||||||||||||
|
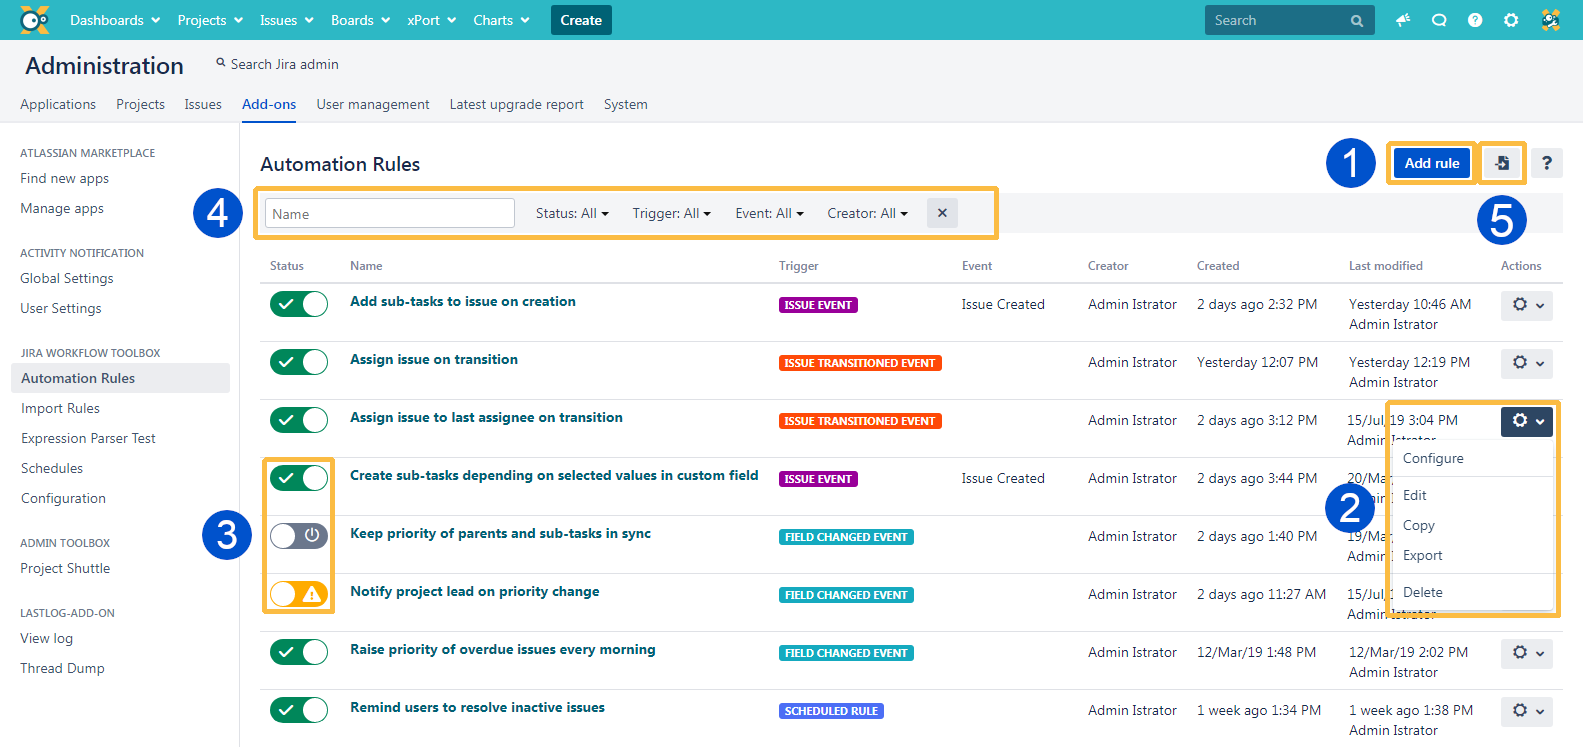
While JWT workflow post functions are a perfect way to automate actions that are directly tied to a workflow transition, automation rules allow you to automate actions within Jira regardless of any workflow.
Tired of doing double work most of the time? Repetitive tasks make you stressed? No worries! from now on you can put all of your energy on work you actually have to do. JWT Automation gives you and your team the power to automate and control the most complex plans you have.
You can achieve that simply by, configuring rules based on your needs.
JWT Automation rules contain JWT automation rules contain up to four elements:
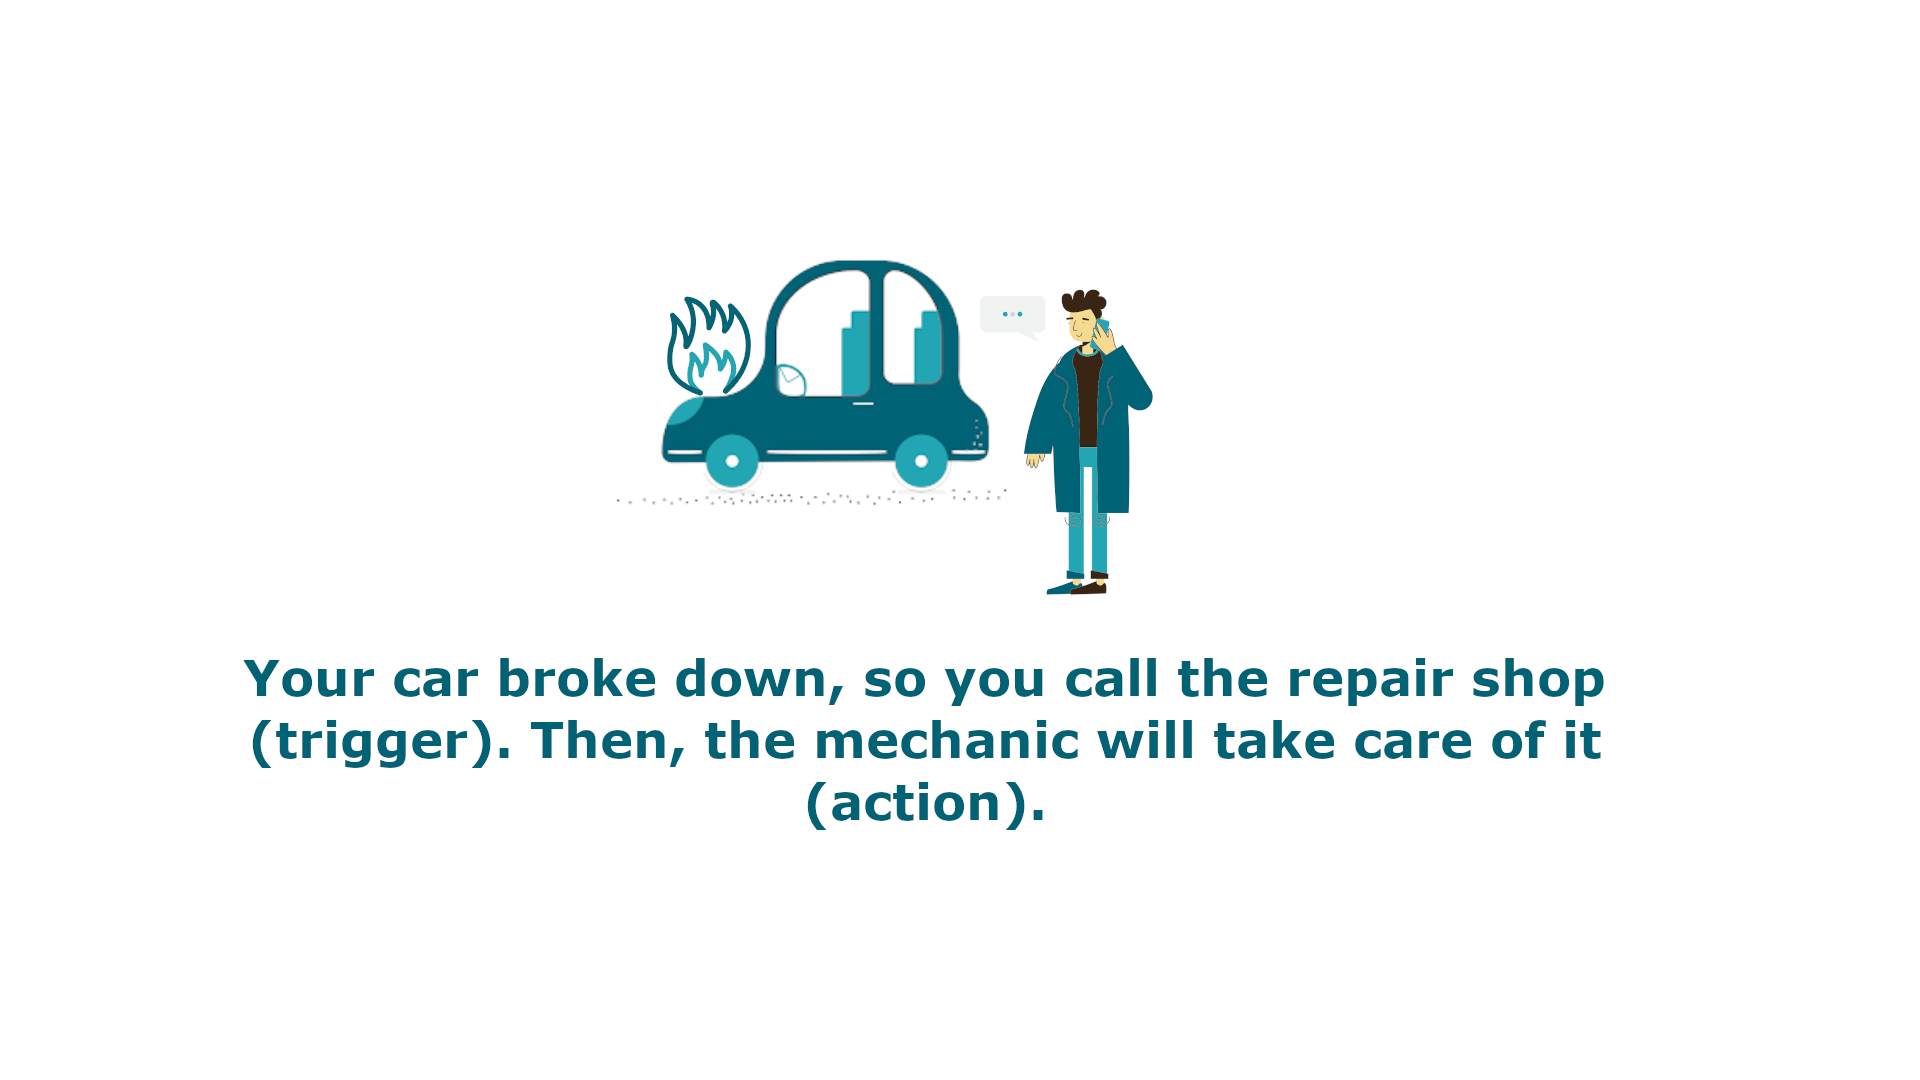
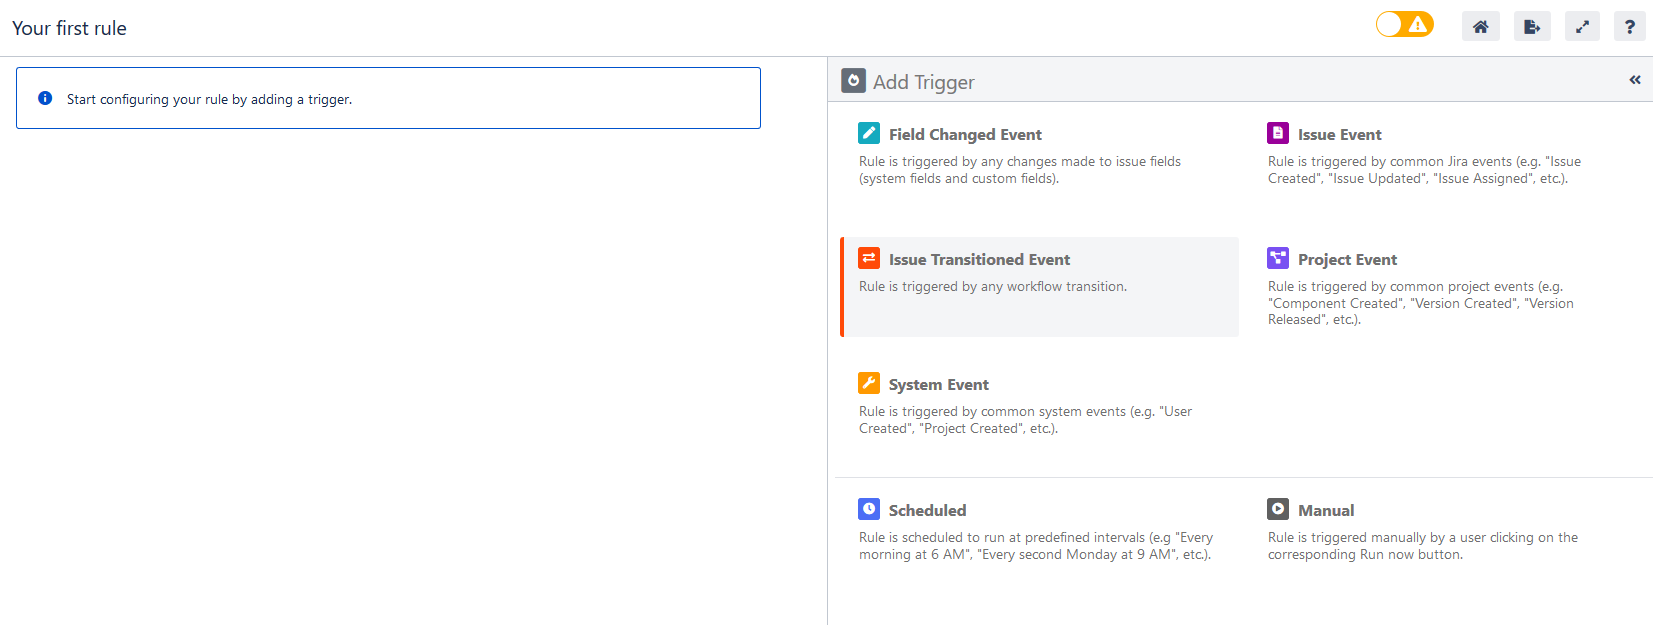
Triggers: A rule must start with a trigger. They define whether They define when a rule should be executed or not and are generally based on . This is why every rule starts with a trigger. Usually a trigger listens to a field, issue, project or system event, but it can also be scheduled to only be executed at certain times. Learn more about triggers.
Selectors: They provide act like filters that provides the ability to search for specific issues within specific issues within a rule and and then take actions only against those issues it found. Learn more about selectors.
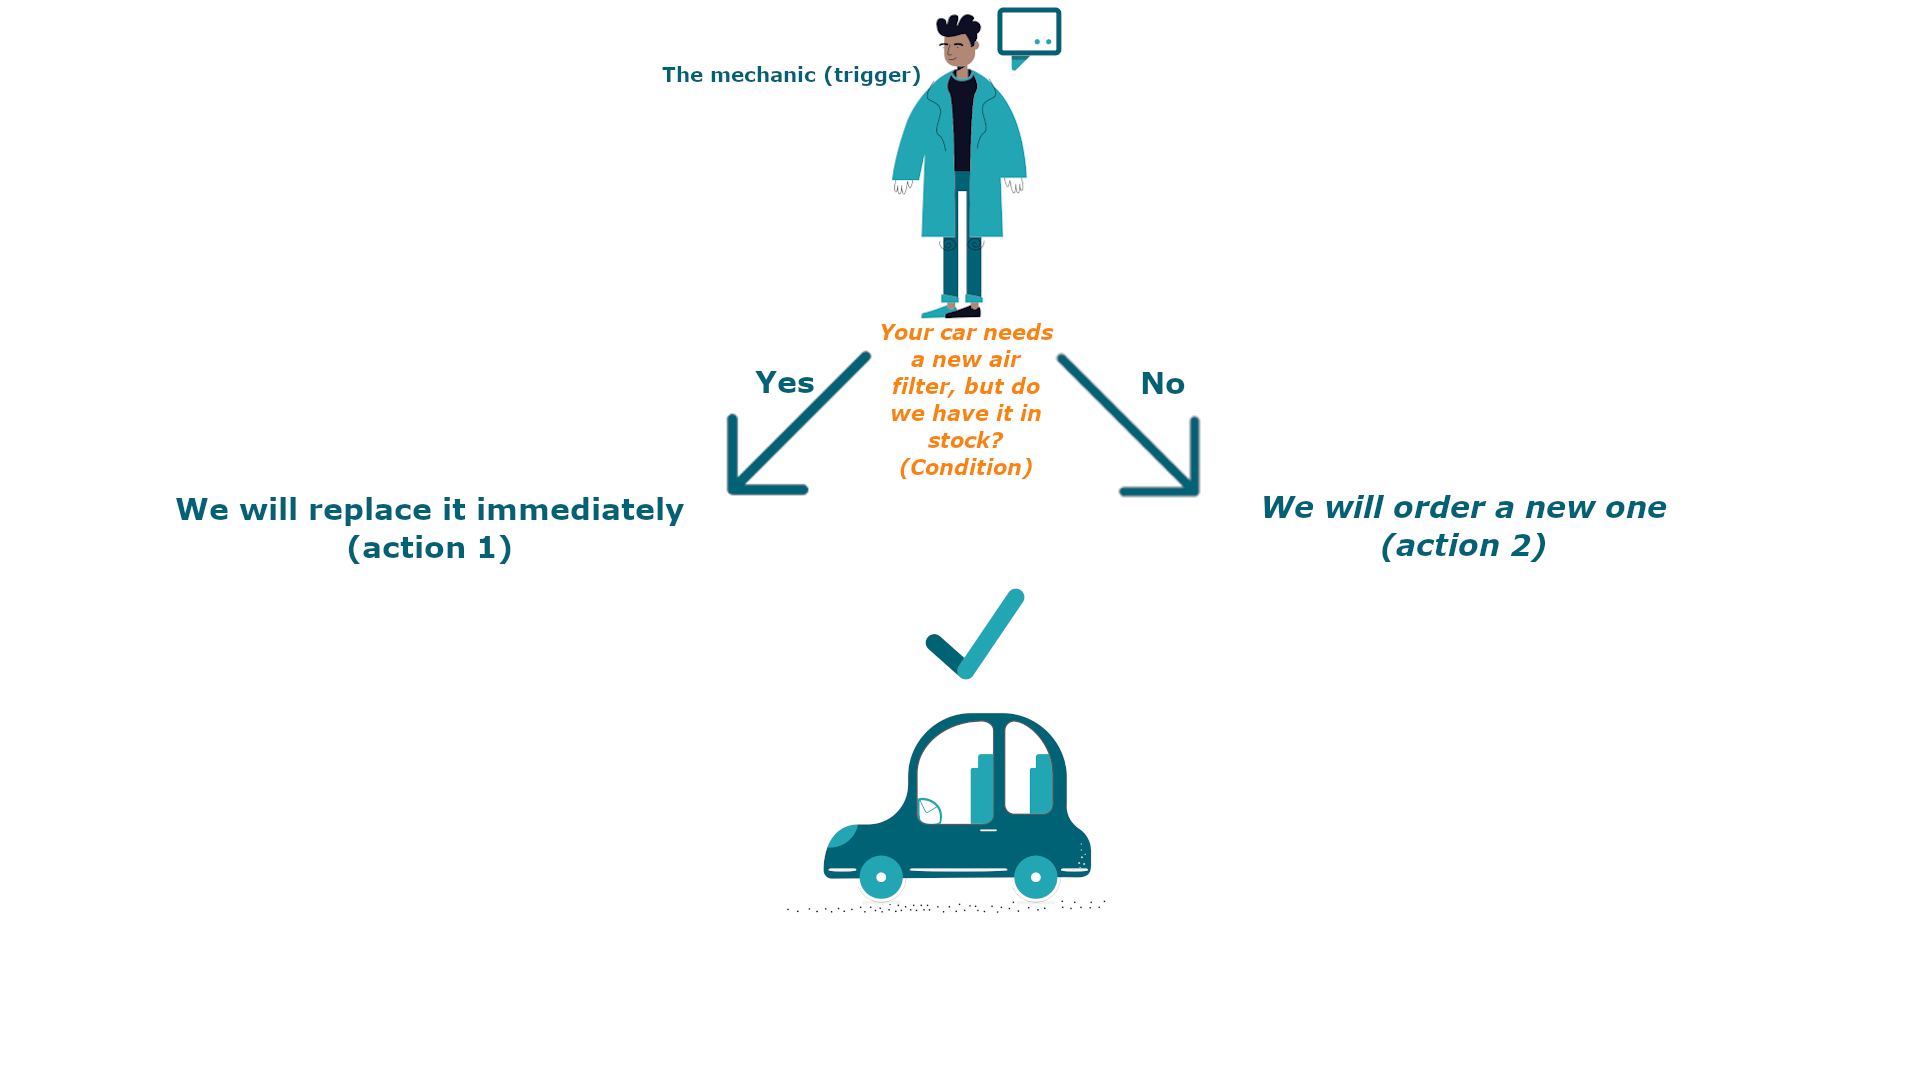
Conditions: They provide the ability to to further refine and control processing. You can configure complex rules containing multiple and/or nested conditions. Learn more about conditions.
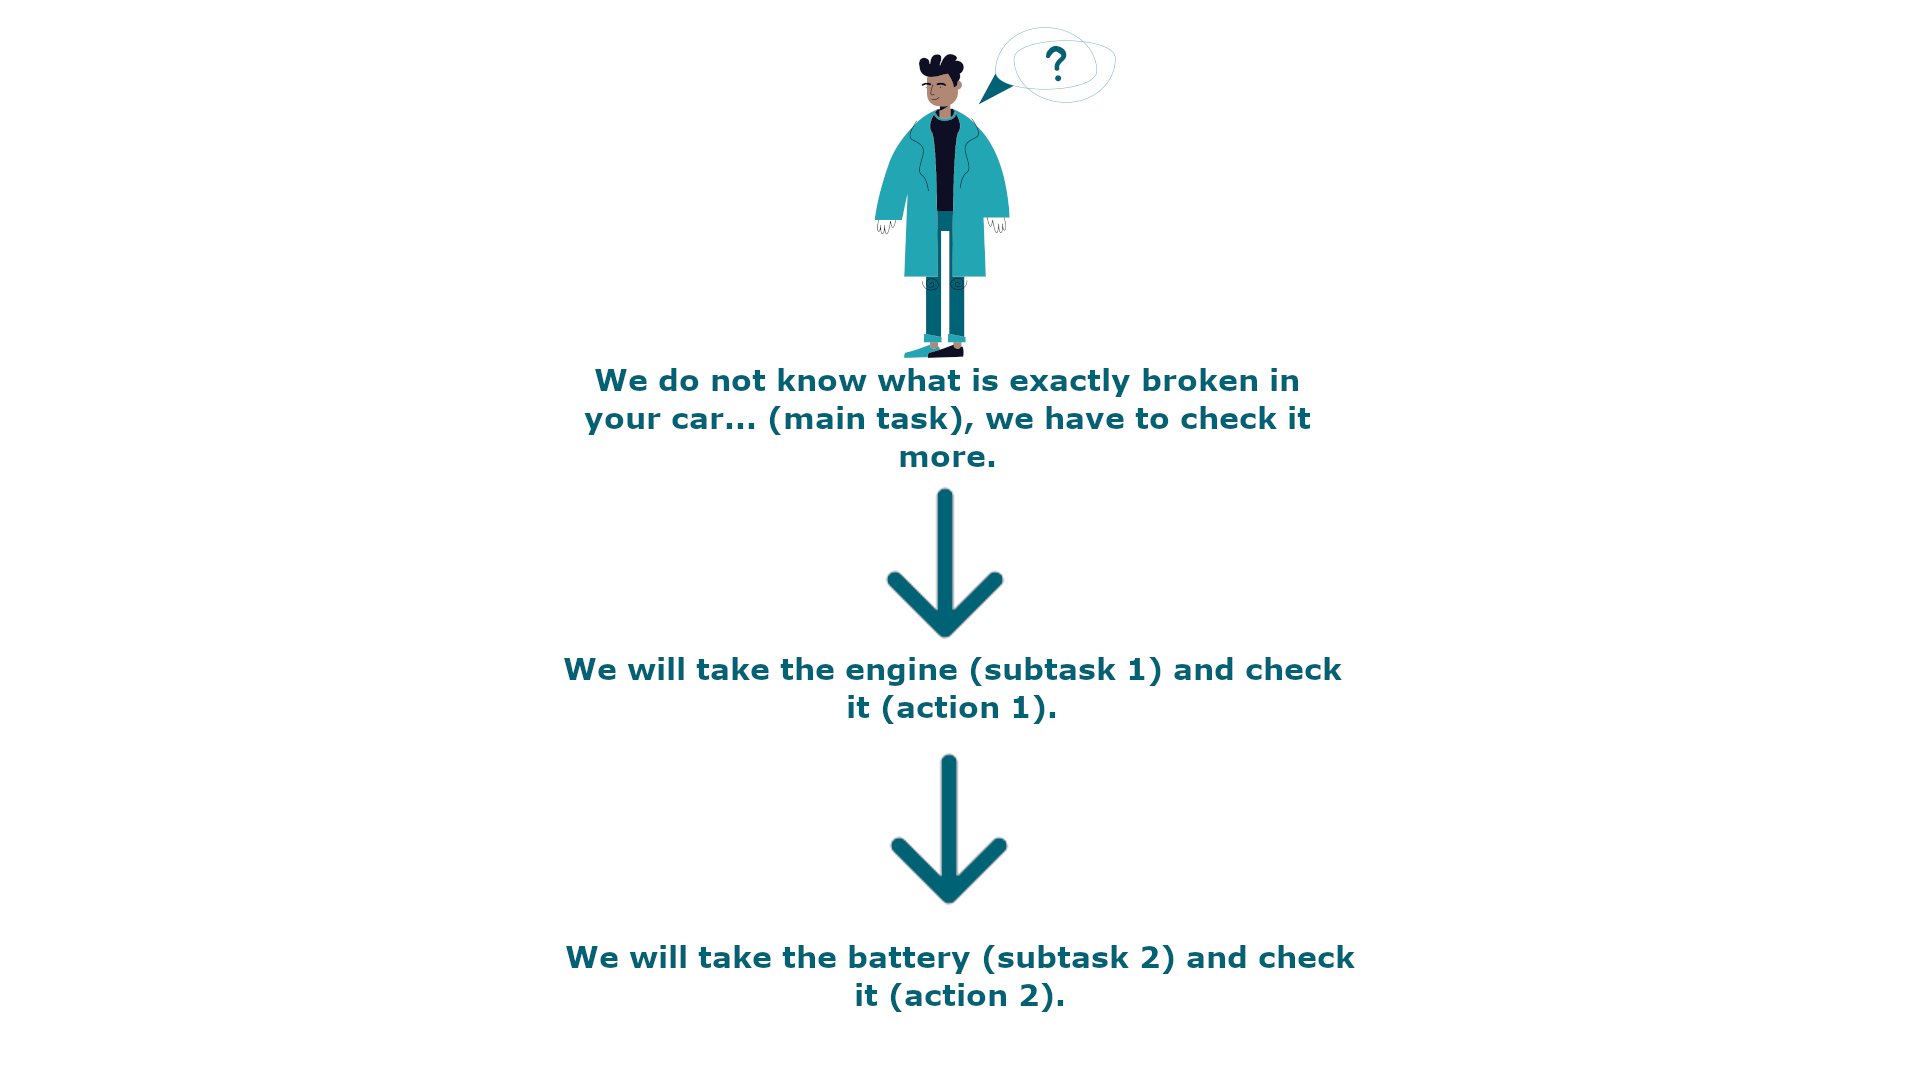
Actions: They determine the type of filed, They define any field, issue, transition, comment or email processing that should take place automatically. Learn more about actions.
 .
.
| UI Expand | |||||||||||||||
|---|---|---|---|---|---|---|---|---|---|---|---|---|---|---|---|
| |||||||||||||||
The minimum effort: A trigger + 1 action
Getting more control: Adding a condition
Enabling the full power: Using selectors
|
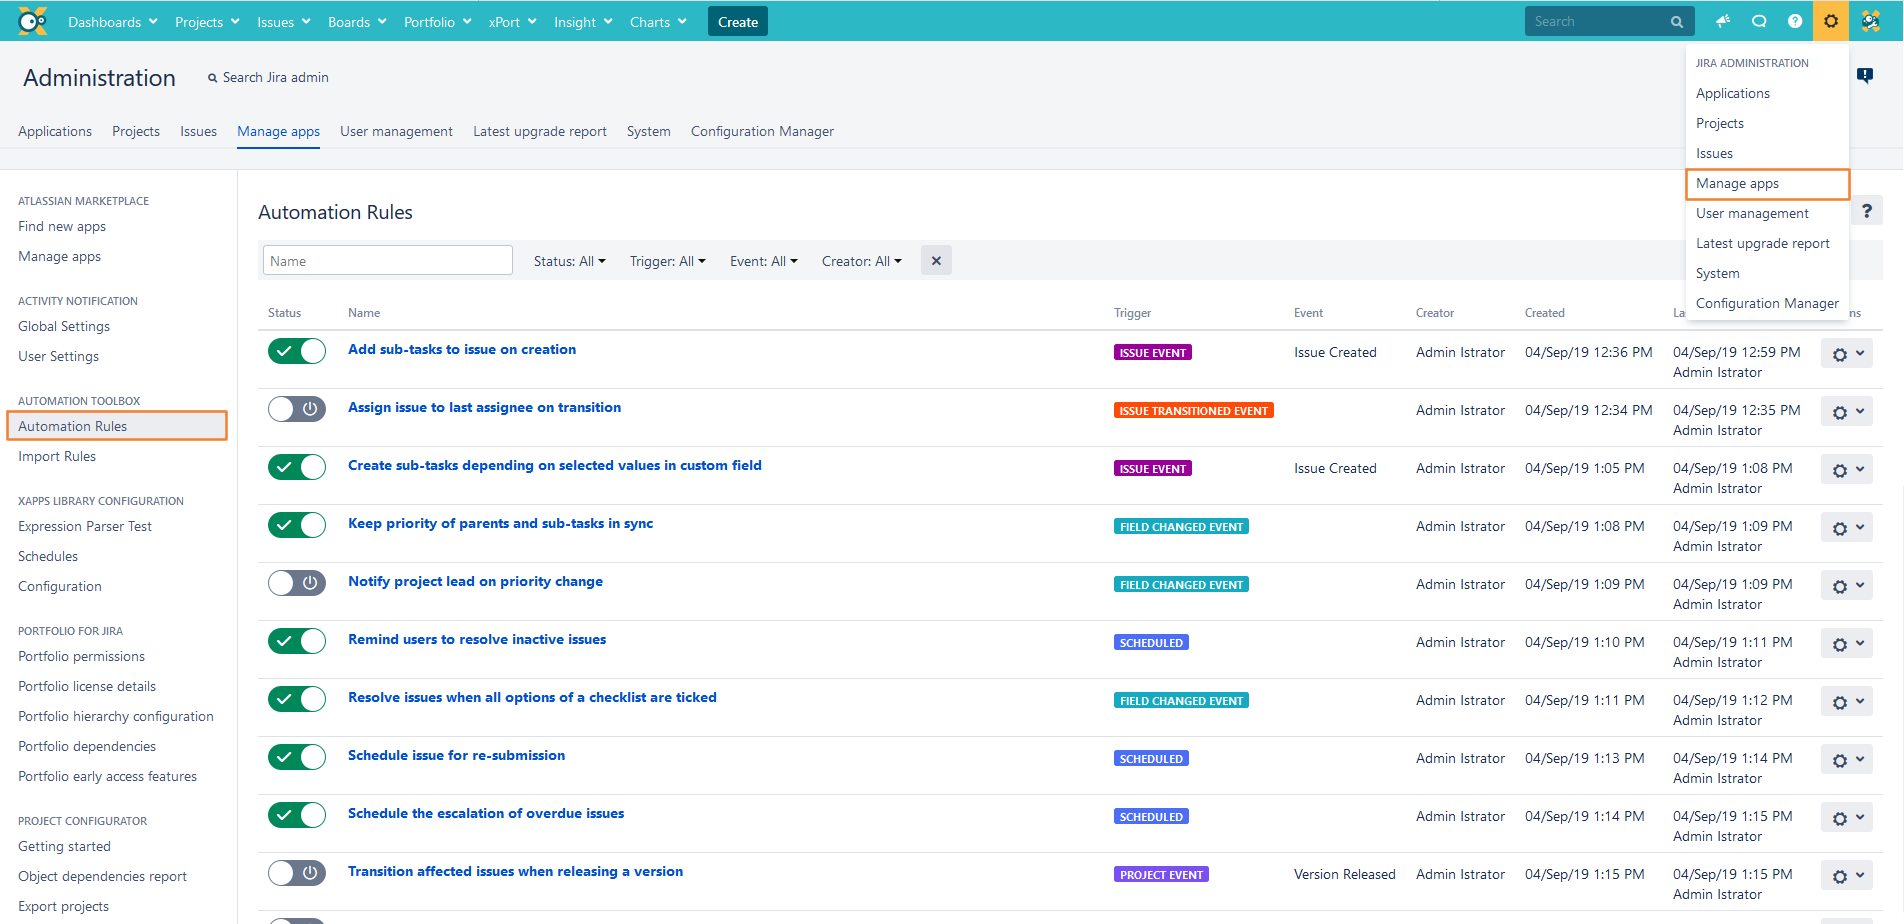
First steps
| UI Steps | ||||||||||||||
|---|---|---|---|---|---|---|---|---|---|---|---|---|---|---|
|
| Excerpt Include | ||||||
|---|---|---|---|---|---|---|
|