|
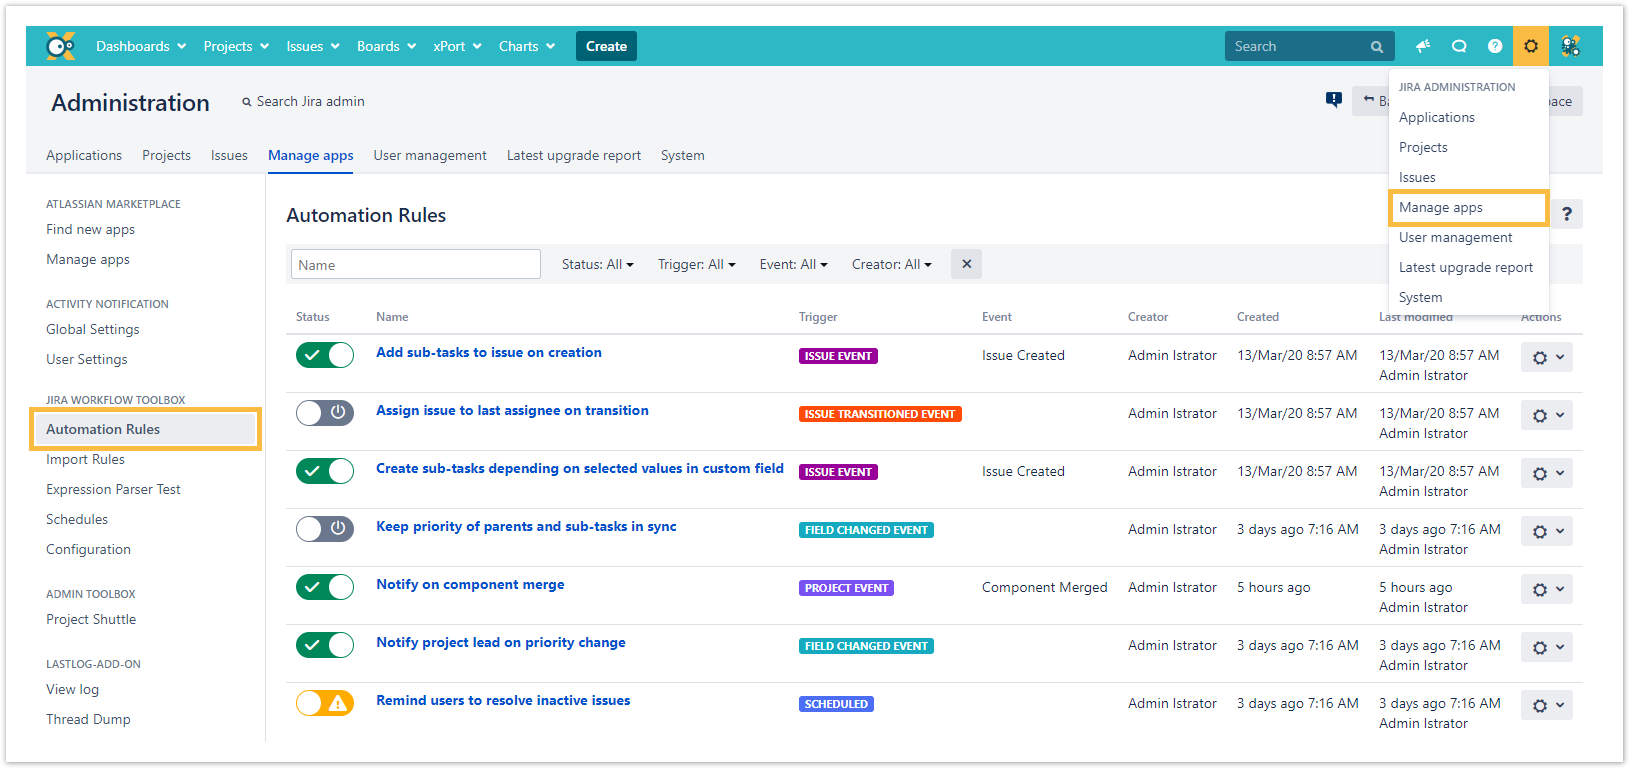
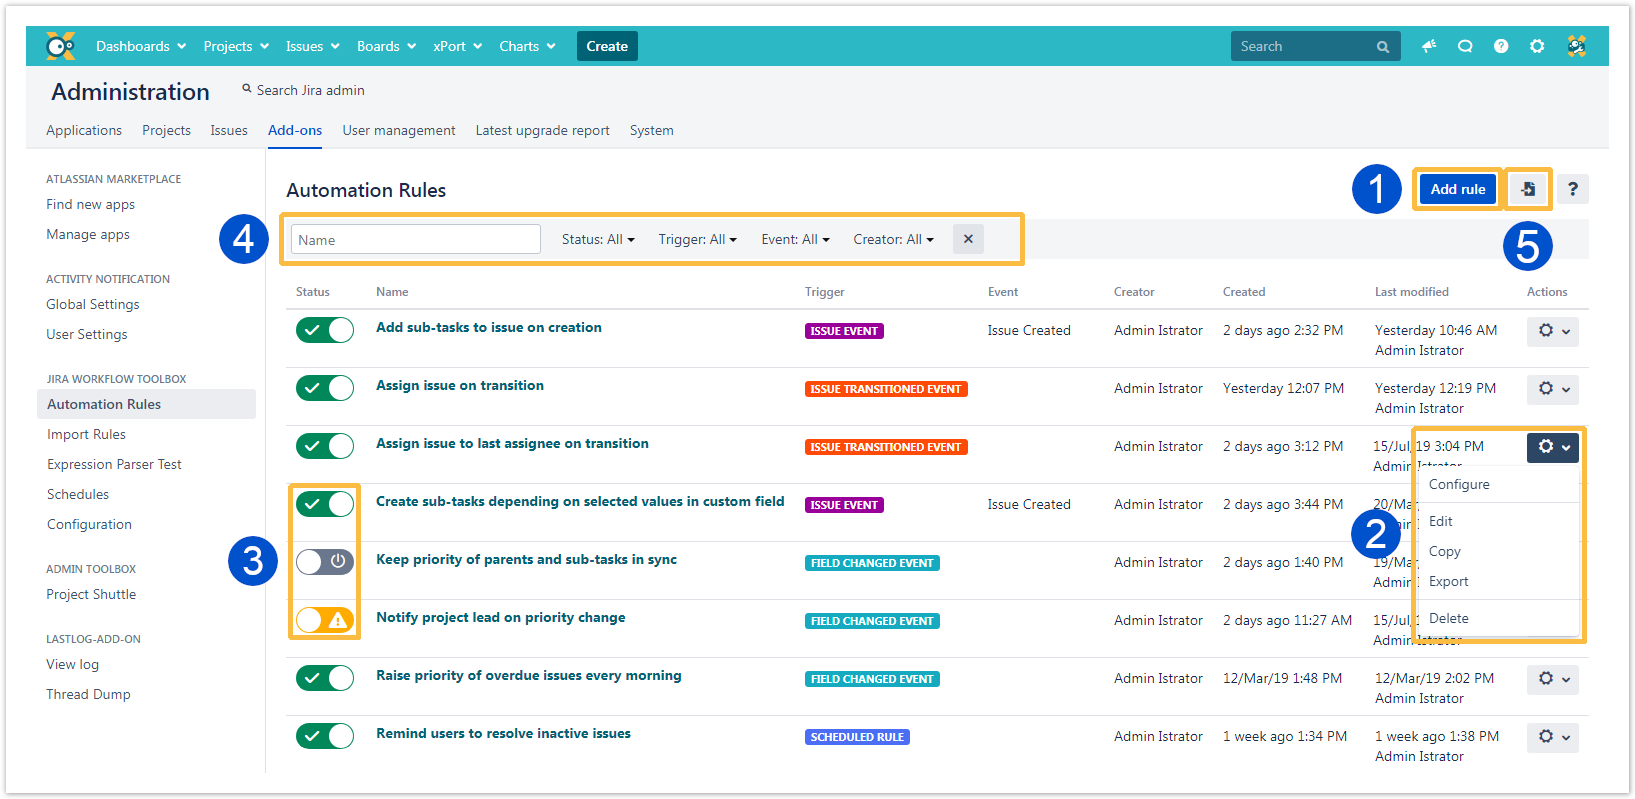
While JWT workflow post functions are a perfect way to automate actions that are directly tied to a workflow transition, automation rules allow you to automate actions within Jira regardless of any workflow.
JWT automation rules contain up to four elements:
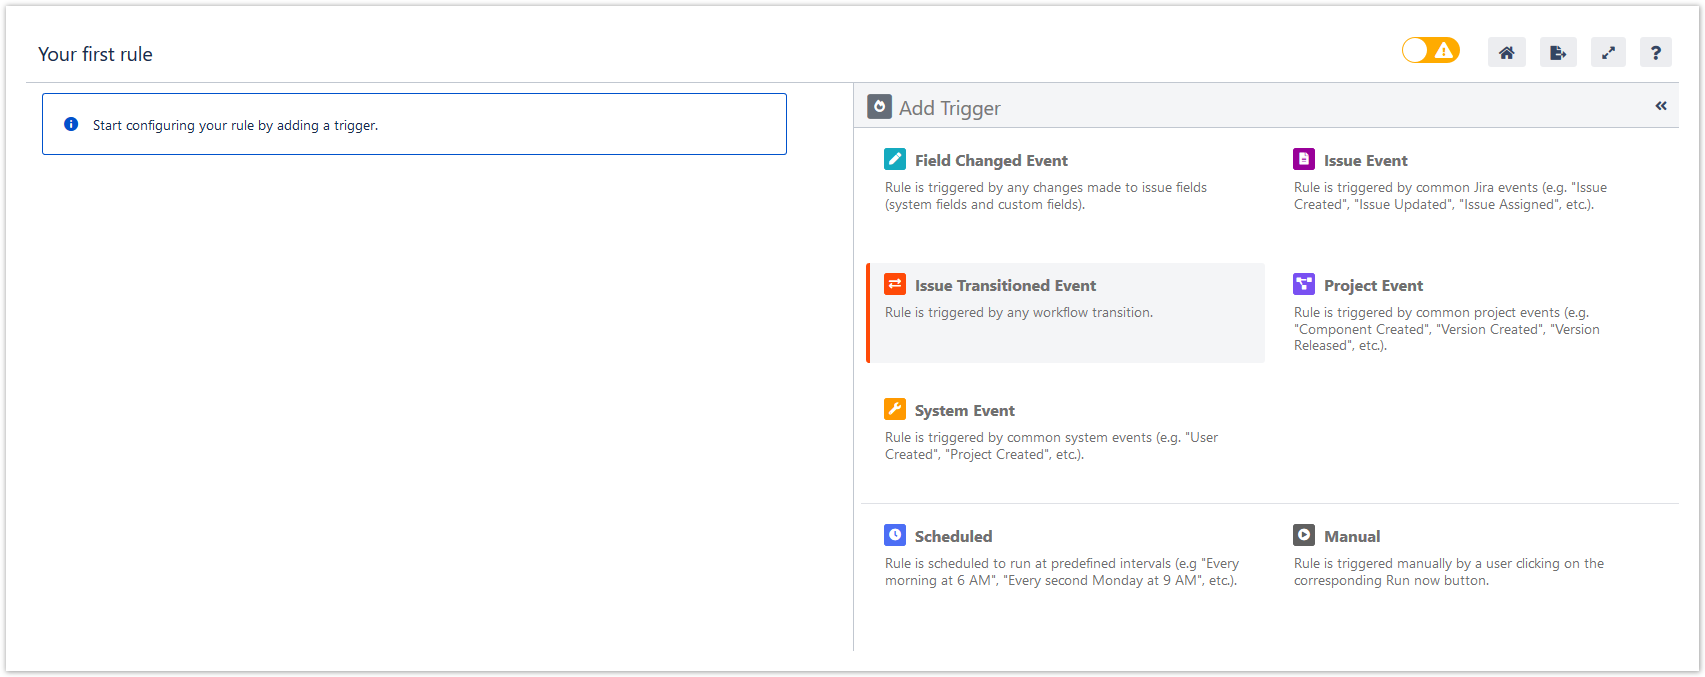
![]() Triggers: They define when a rule should be executed. This is why every rule starts with a trigger. Usually a trigger listens to a field, issue, project or system event, but it can also be scheduled to only be executed at certain times. Learn more about triggers.
Triggers: They define when a rule should be executed. This is why every rule starts with a trigger. Usually a trigger listens to a field, issue, project or system event, but it can also be scheduled to only be executed at certain times. Learn more about triggers.
![]() Selectors: They act like filters that provides the ability to search for specific issues within a rule and then take actions only against those issues found. Learn more about selectors.
Selectors: They act like filters that provides the ability to search for specific issues within a rule and then take actions only against those issues found. Learn more about selectors.
![]() Conditions: They provide the ability to further refine and control processing. You can configure complex rules containing multiple and/or nested conditions. Learn more about conditions.
Conditions: They provide the ability to further refine and control processing. You can configure complex rules containing multiple and/or nested conditions. Learn more about conditions.
![]() Actions: They define any field, issue, transition, comment or email processing that should take place automatically. Learn more about actions.
Actions: They define any field, issue, transition, comment or email processing that should take place automatically. Learn more about actions.
First steps
|


