Versions Compared

Key

  • This line was added.
  • This line was removed.
  • Formatting was changed.


UI Text Box
sizemedium
typeinfo
JWT offers the Execute remote action post function to execute predefined or custom actions not only locally on the current Jira environment, but also on any other web services.
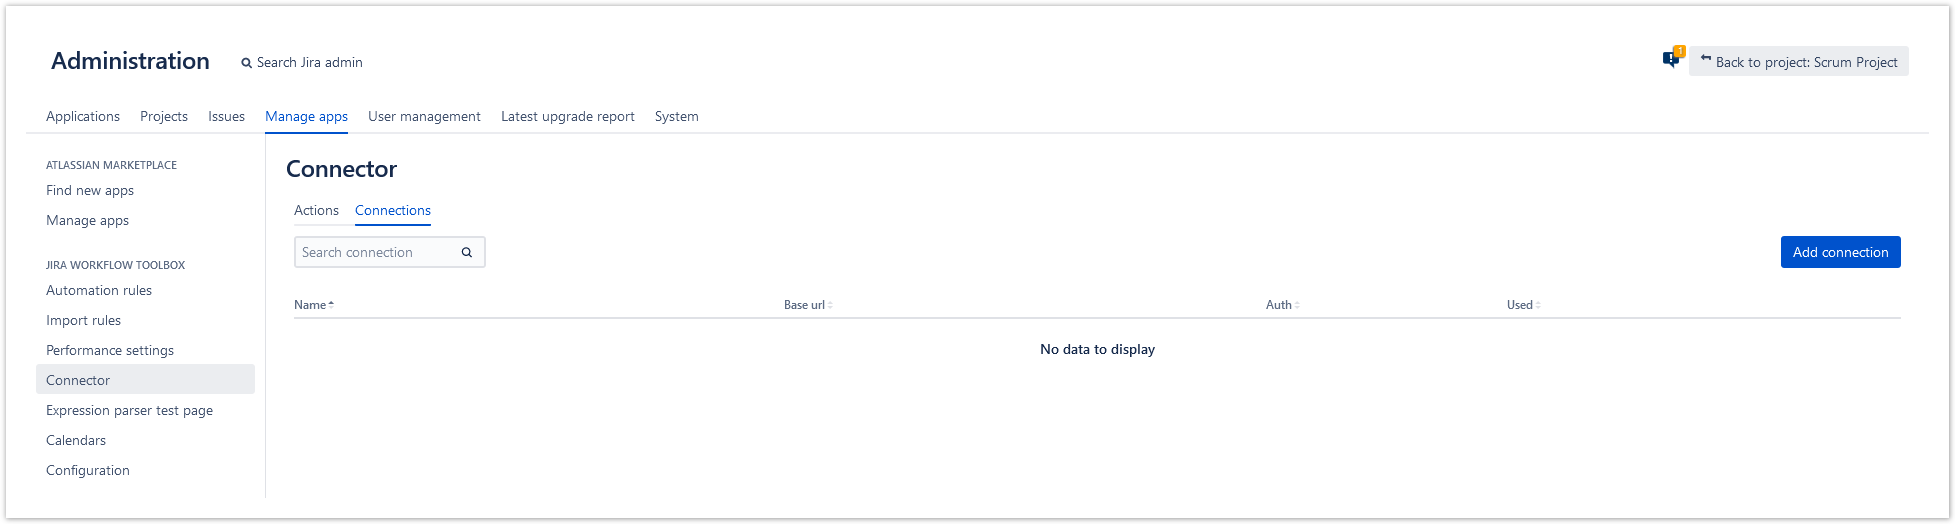

Configuration

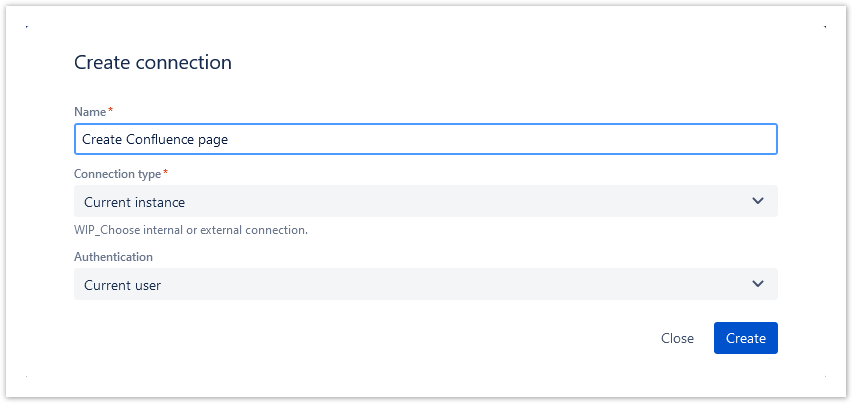
The post function offers two types of configuration. In the default view you can choose between predefined and directly usable action templates. In the expert mode, actions can be freely defined and configured.

UI Tabs


UI Tab
titleWizard


UI Text Box
sizemedium
typeinfo

(Icon to be changed) The wizard is the default configuration view of the Execute remote post function. It was built to enable an easy and efficient configuration of common use cases. For those use cases, action templates are shipped with the app, which can be configured in a three-step approach.


UI Text Box
typetip
You can switch at any time to the Expert mode, where the configuration so far is taken over, using the Expert mode button on the top.


UI Text Box
typewarning

Be aware that once you change anything in the expert mode, you cannot switch back again.


UI Steps

Create remote action

UI Step

Select action

At the very beginning, you need to choose an action template that suits your purpose. You can filter those templates by the target service and search across all provided ones. After selecting one, click next to get to the next step. 


UI Step

Select connection

After selecting an action template, you need to choose the remote service, the action shall get executed against. If you have selected an action template that fits to your current platform, you can select next to your custom connection, the current instance additionally.

If you cannot find a connection that fit for you can easily configure a new one.

UI Expand
titleHow to create a connection


UI Steps


UI Step

Head over to your Jira's administration (cogwheel) and click on Manage apps.


UI Step

On the side bar, under Jira Workflow ToolboxConnector


UI Step

Click on the Connection tab, then click on Add connection


UI Step

In the popup window, give the connection a proper name, choose your connection type with the authentication and click on create.


UI Text Box
typetip

You can also create a new connection directly in the select connection step, by clicking on + create connection.


After selecting one, click next to get to the next step. 


UI Step

Customize your action

In the last step, you can finish your configuration by setting all the required action template parameters using the set value link next to the parameter name. Some templates have optional parameters that can be chosen using the "Add parameter" action.

Each parameter can be set either by selecting a Jira field that contains an according value or by setting a custom value using the "set value manually option" and passing a parser expression (tick)

Besides setting the actions parameter, you can also configure fields to be updated after the action has been executed. If provided in the action template, you can set a field using a dedicated part of the remote service's response. In every case, you can store the complete response and the status code of the remote service after executing the action.

After setting the actions parameter and optionally storing the service response, you can click "Add" to store the post function in your transition.


UI Tab
titleExpert mode


UI Text Box
sizemedium
typeinfo

The expert mode allows you to act in many other complex directions and possibilities as an expert! You can create your own actions, connections and extend the already created actions!

Basic configuration

Here you can define the core parts for setting up the communication with the external service. For this, you need the following:

UI Expand
titleAction

Within the action parameter you can either choose an existing custom action or creates a new one. Additionally you can select and use any action templates known from the Wizard configuration.

//EXCERPT creating a new action? Maybe with an expand?


UI Expand
titleConnection

Within the connection parameter, you can choose or define, where your action get executed against. You can either use the default connection configured in the selected action or override it with a different one.

//EXCERPT creating a new connection? Maybe with an expand?


UI Text Box
typetip

You can use a connection for many actions.

Customize


UI Expand
titleParameter


UI Text Box
typenote

You can only add query parameters


OptionDescription
NameA proper name to describe the parameter
ValueYou can choose between:
  • Get field value from current issue
  • Set field value manually (by passing a parser expression (tick) )


UI Expand
titleFields


OptionDescription
Action template specific
Response body
Response status
Set field value manually (parser expression)

Select the field to copy from using an expression. 

Include Page
DECADIS:_snip_generic_expression_editor


UI Expand
titleAdditional options
...


UI Expand
iconfalse
titleConditional execution

Include Page
DECADIS:_snip_condExecution_Server


UI Expand
iconfalse
titleRun as

Include Page
DECADIS:_snip_runAs_Server_postFunction


Use cases and examples

Page properties report
firstcolumnUse case
headingsJWT feature, Workflow function, Parser functions, Label
cqllabel = "use-case-workflow" and parent = currentContent()


Excerpt Include
DECADIS:Contact support
nopaneltrue


Page properties
hiddentrue


Tech review

Status
colourGreen
titledone

Style guide

Status
colourGreen
titledone

Status
titletodo
Status
colourYellow
titleReady for review
Status
colourGreen
titledone
Status
colourRed
titleflagged