Page History
| Content Layout Macro |
|---|
| Widget Connector | ||||||
|---|---|---|---|---|---|---|
|
| UI Text Box | ||||
|---|---|---|---|---|
| ||||
|
Features
|
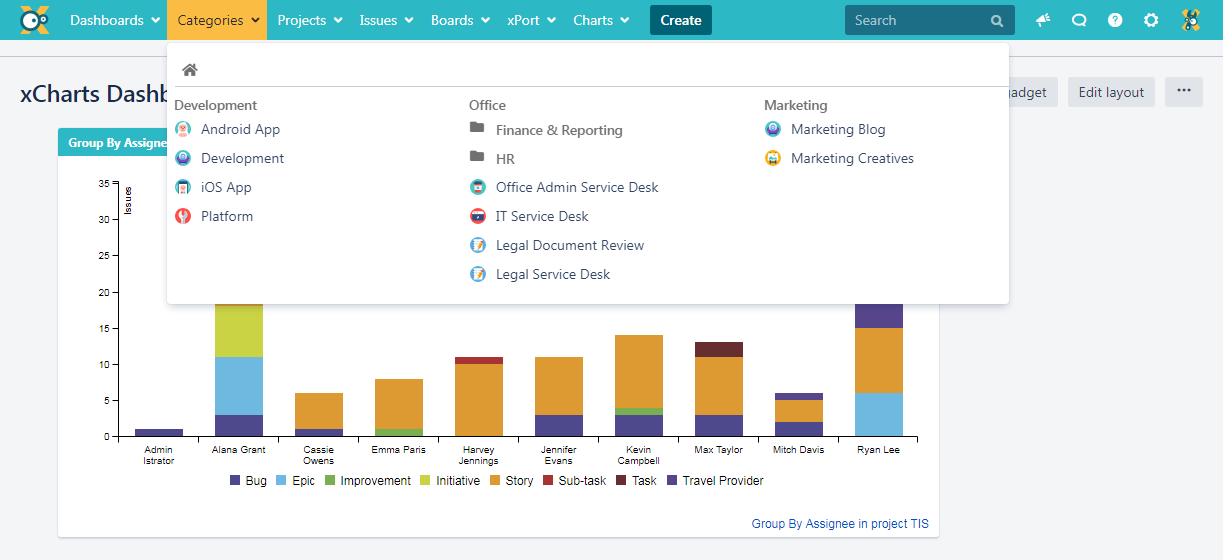
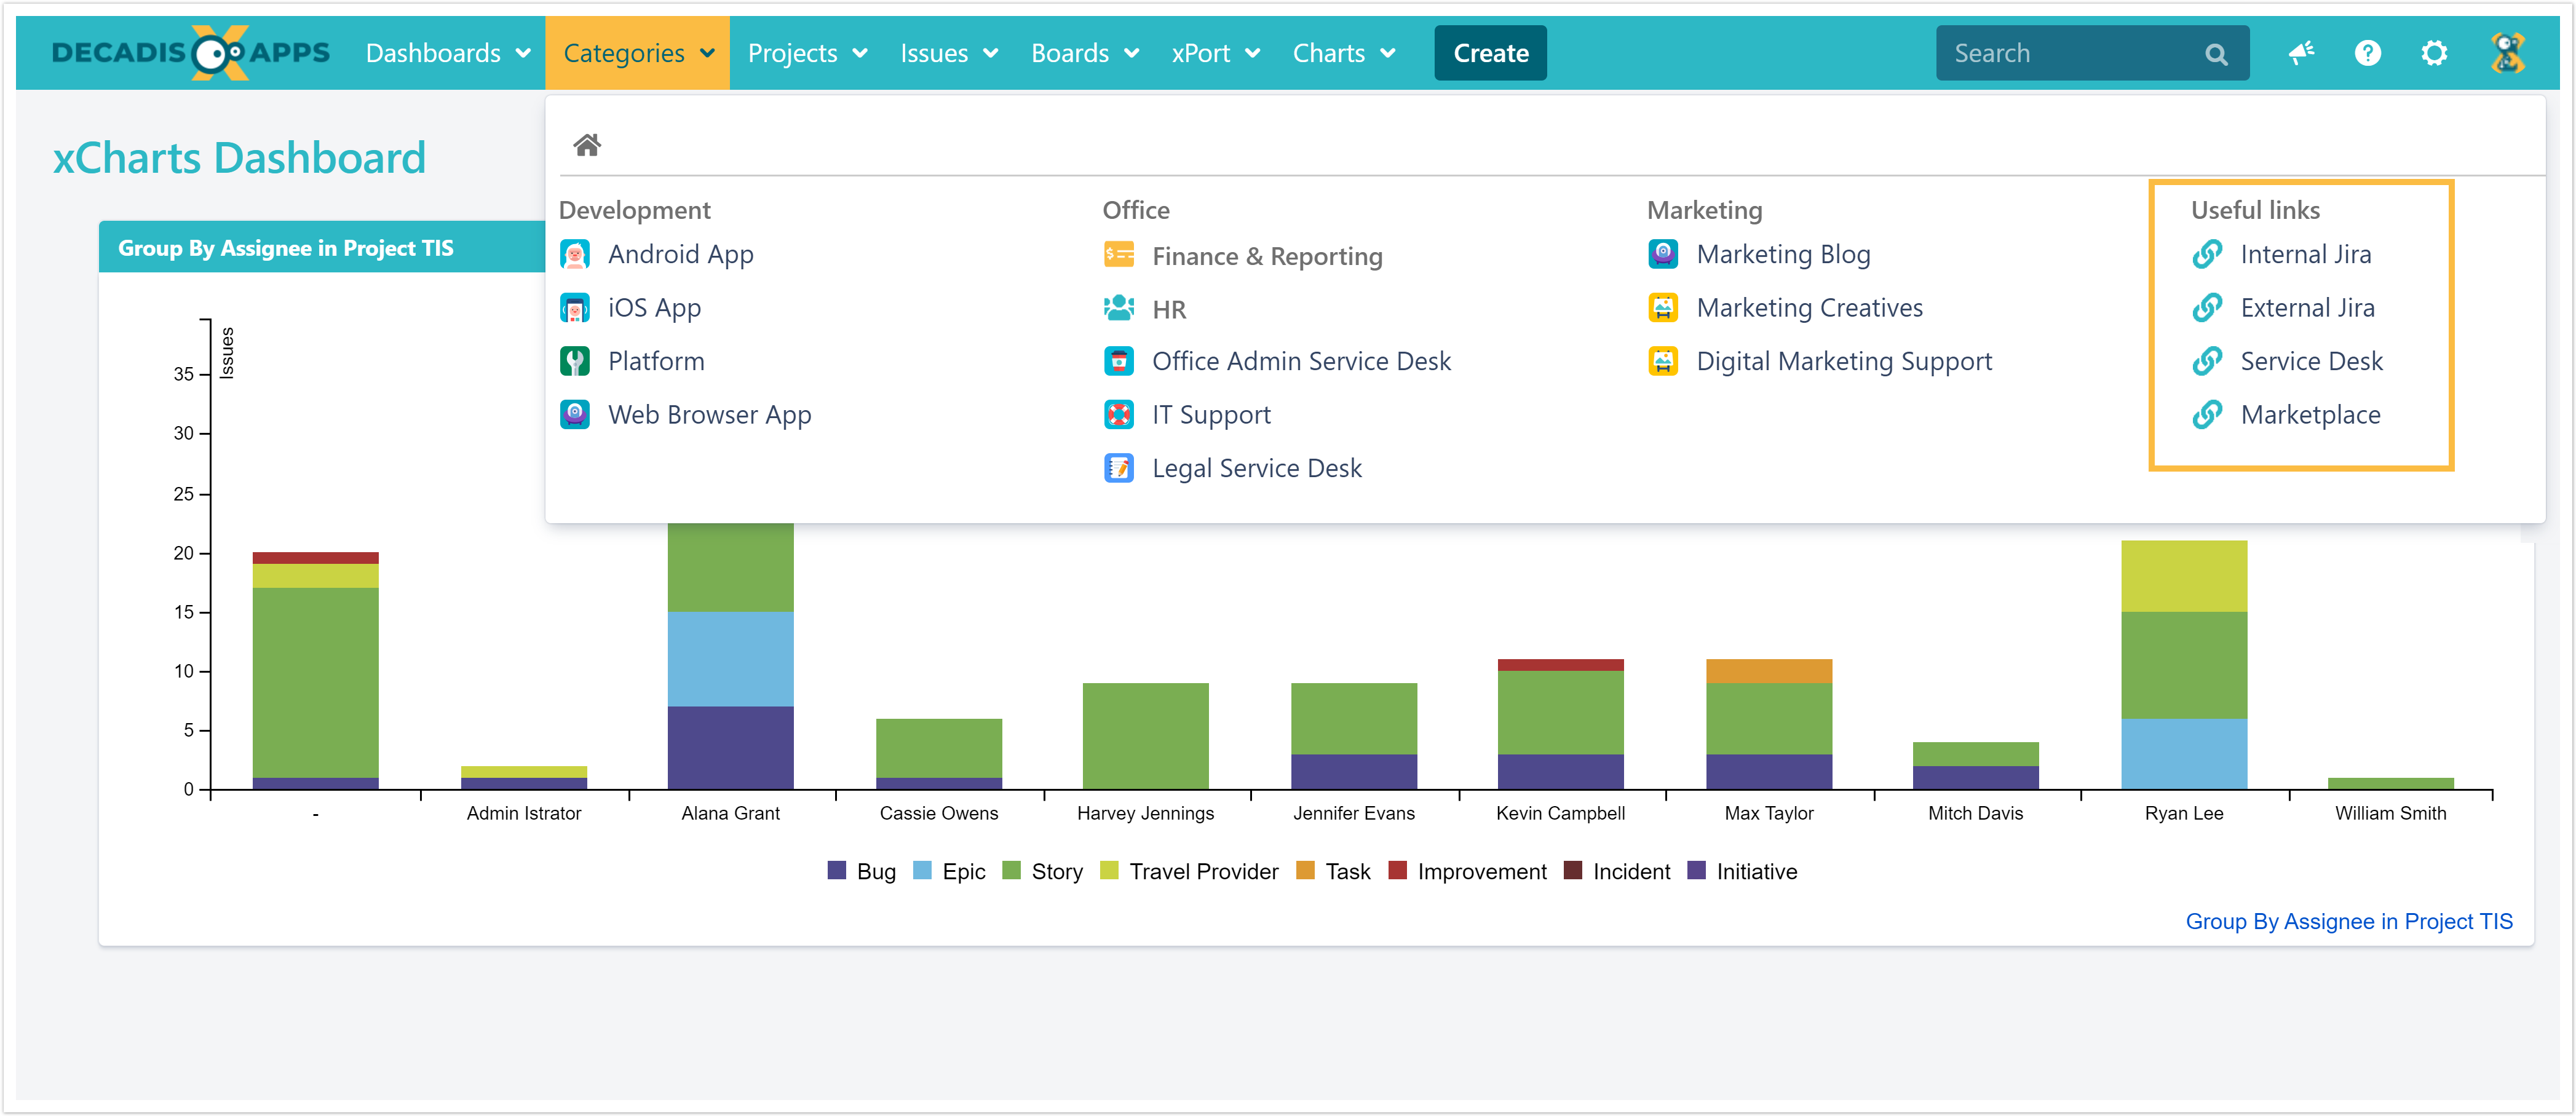
The app creates a new icon in the toolbar which will be used as a shortcut to individual projects.
your projects within Jira! A new dropdown menu will be added to the main toolbar which can be used to quickly navigate to your favorite projects or links! By adding categories, projects or links can be further grouped. |
| UI Text Box | ||||||||
|---|---|---|---|---|---|---|---|---|
| ||||||||
|
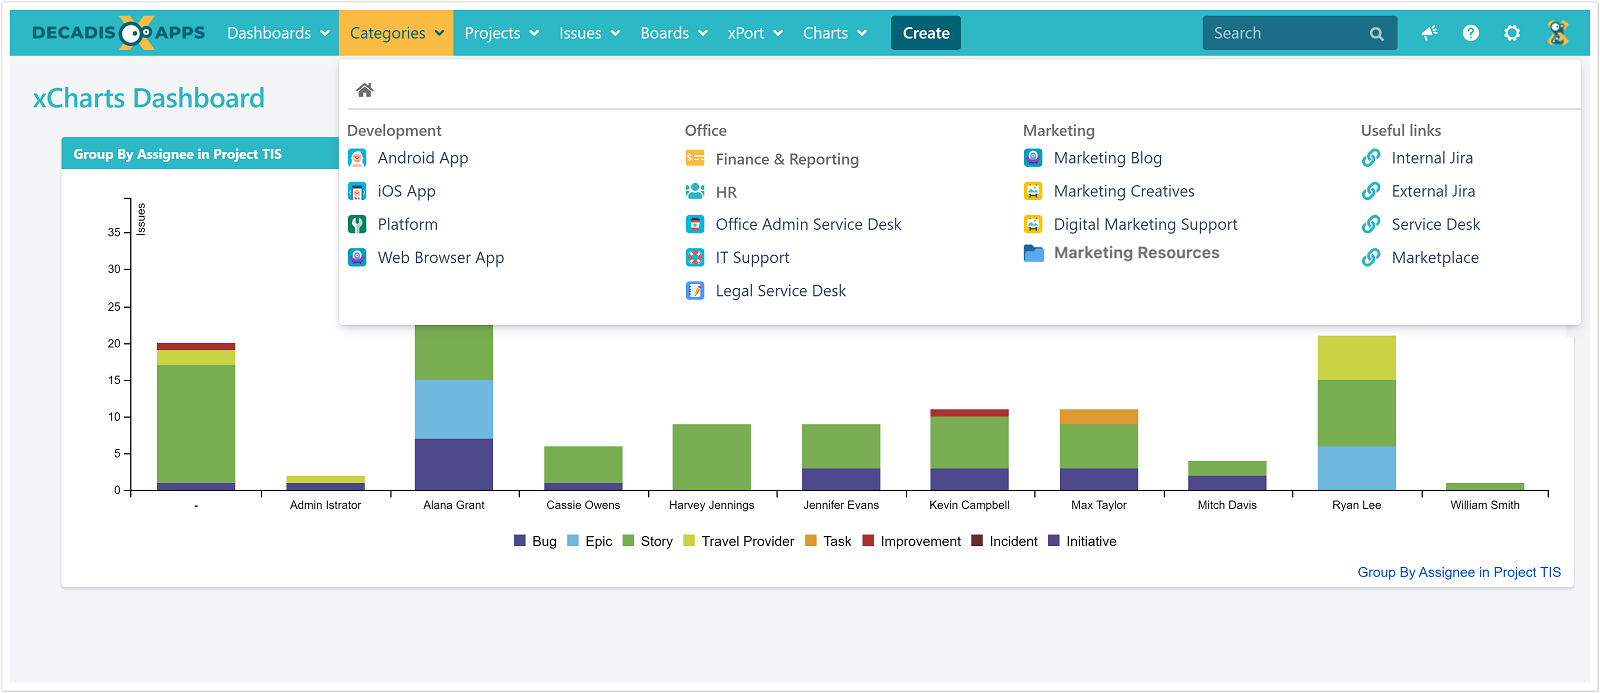
The projects can be divided into categories and sub-categories (in the image
above: "Development", "
Office",, "
Marketing" and "
Useful links" as categories and "
Marketing Resources" as sub-category).
| UI Text Box | ||
|---|---|---|
|
Once set up, the Project Shuttle is visible for every user in Jira. |
Usage
The Project Shuttle can be used by every Jira user. Only projects the user has access to (Browse Projects permission) will be shown.
| UI Text Box | ||
|---|---|---|
| ||
When the Project Shuttle is activated but either no categories are defined or projects have not yet been added, the |
menu won't be displayed. |
 Configuration
| UI Text Box | ||
|---|---|---|
| ||
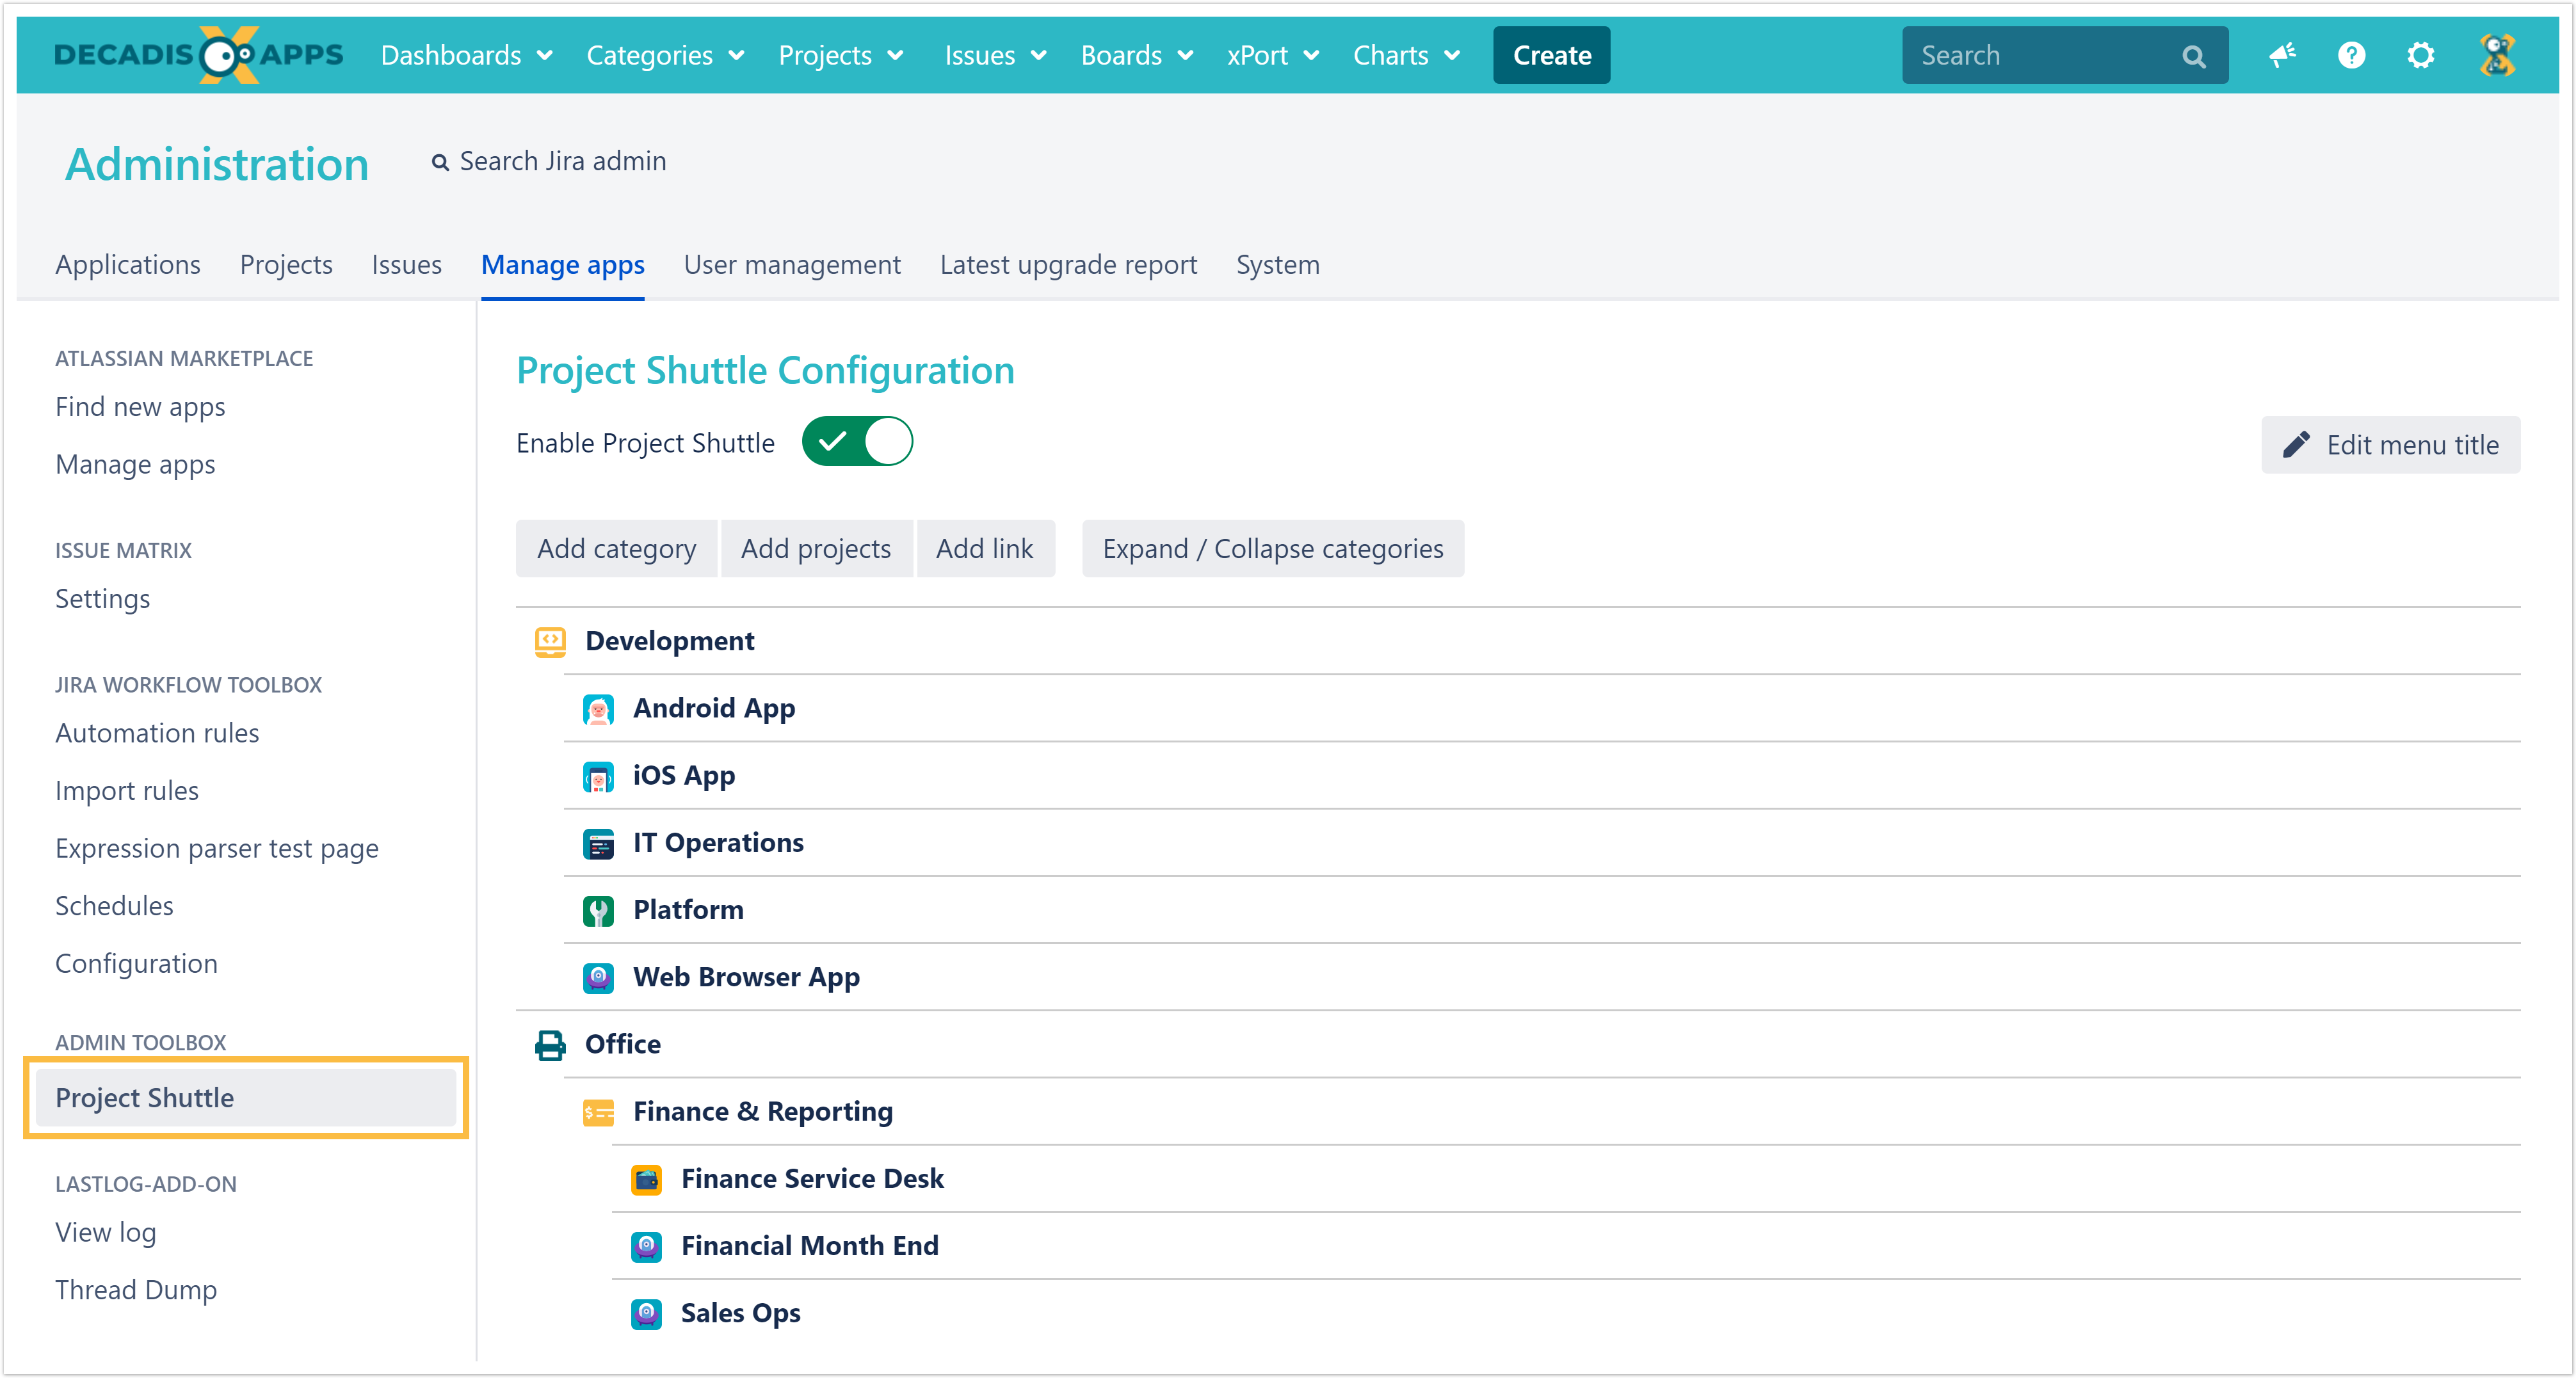
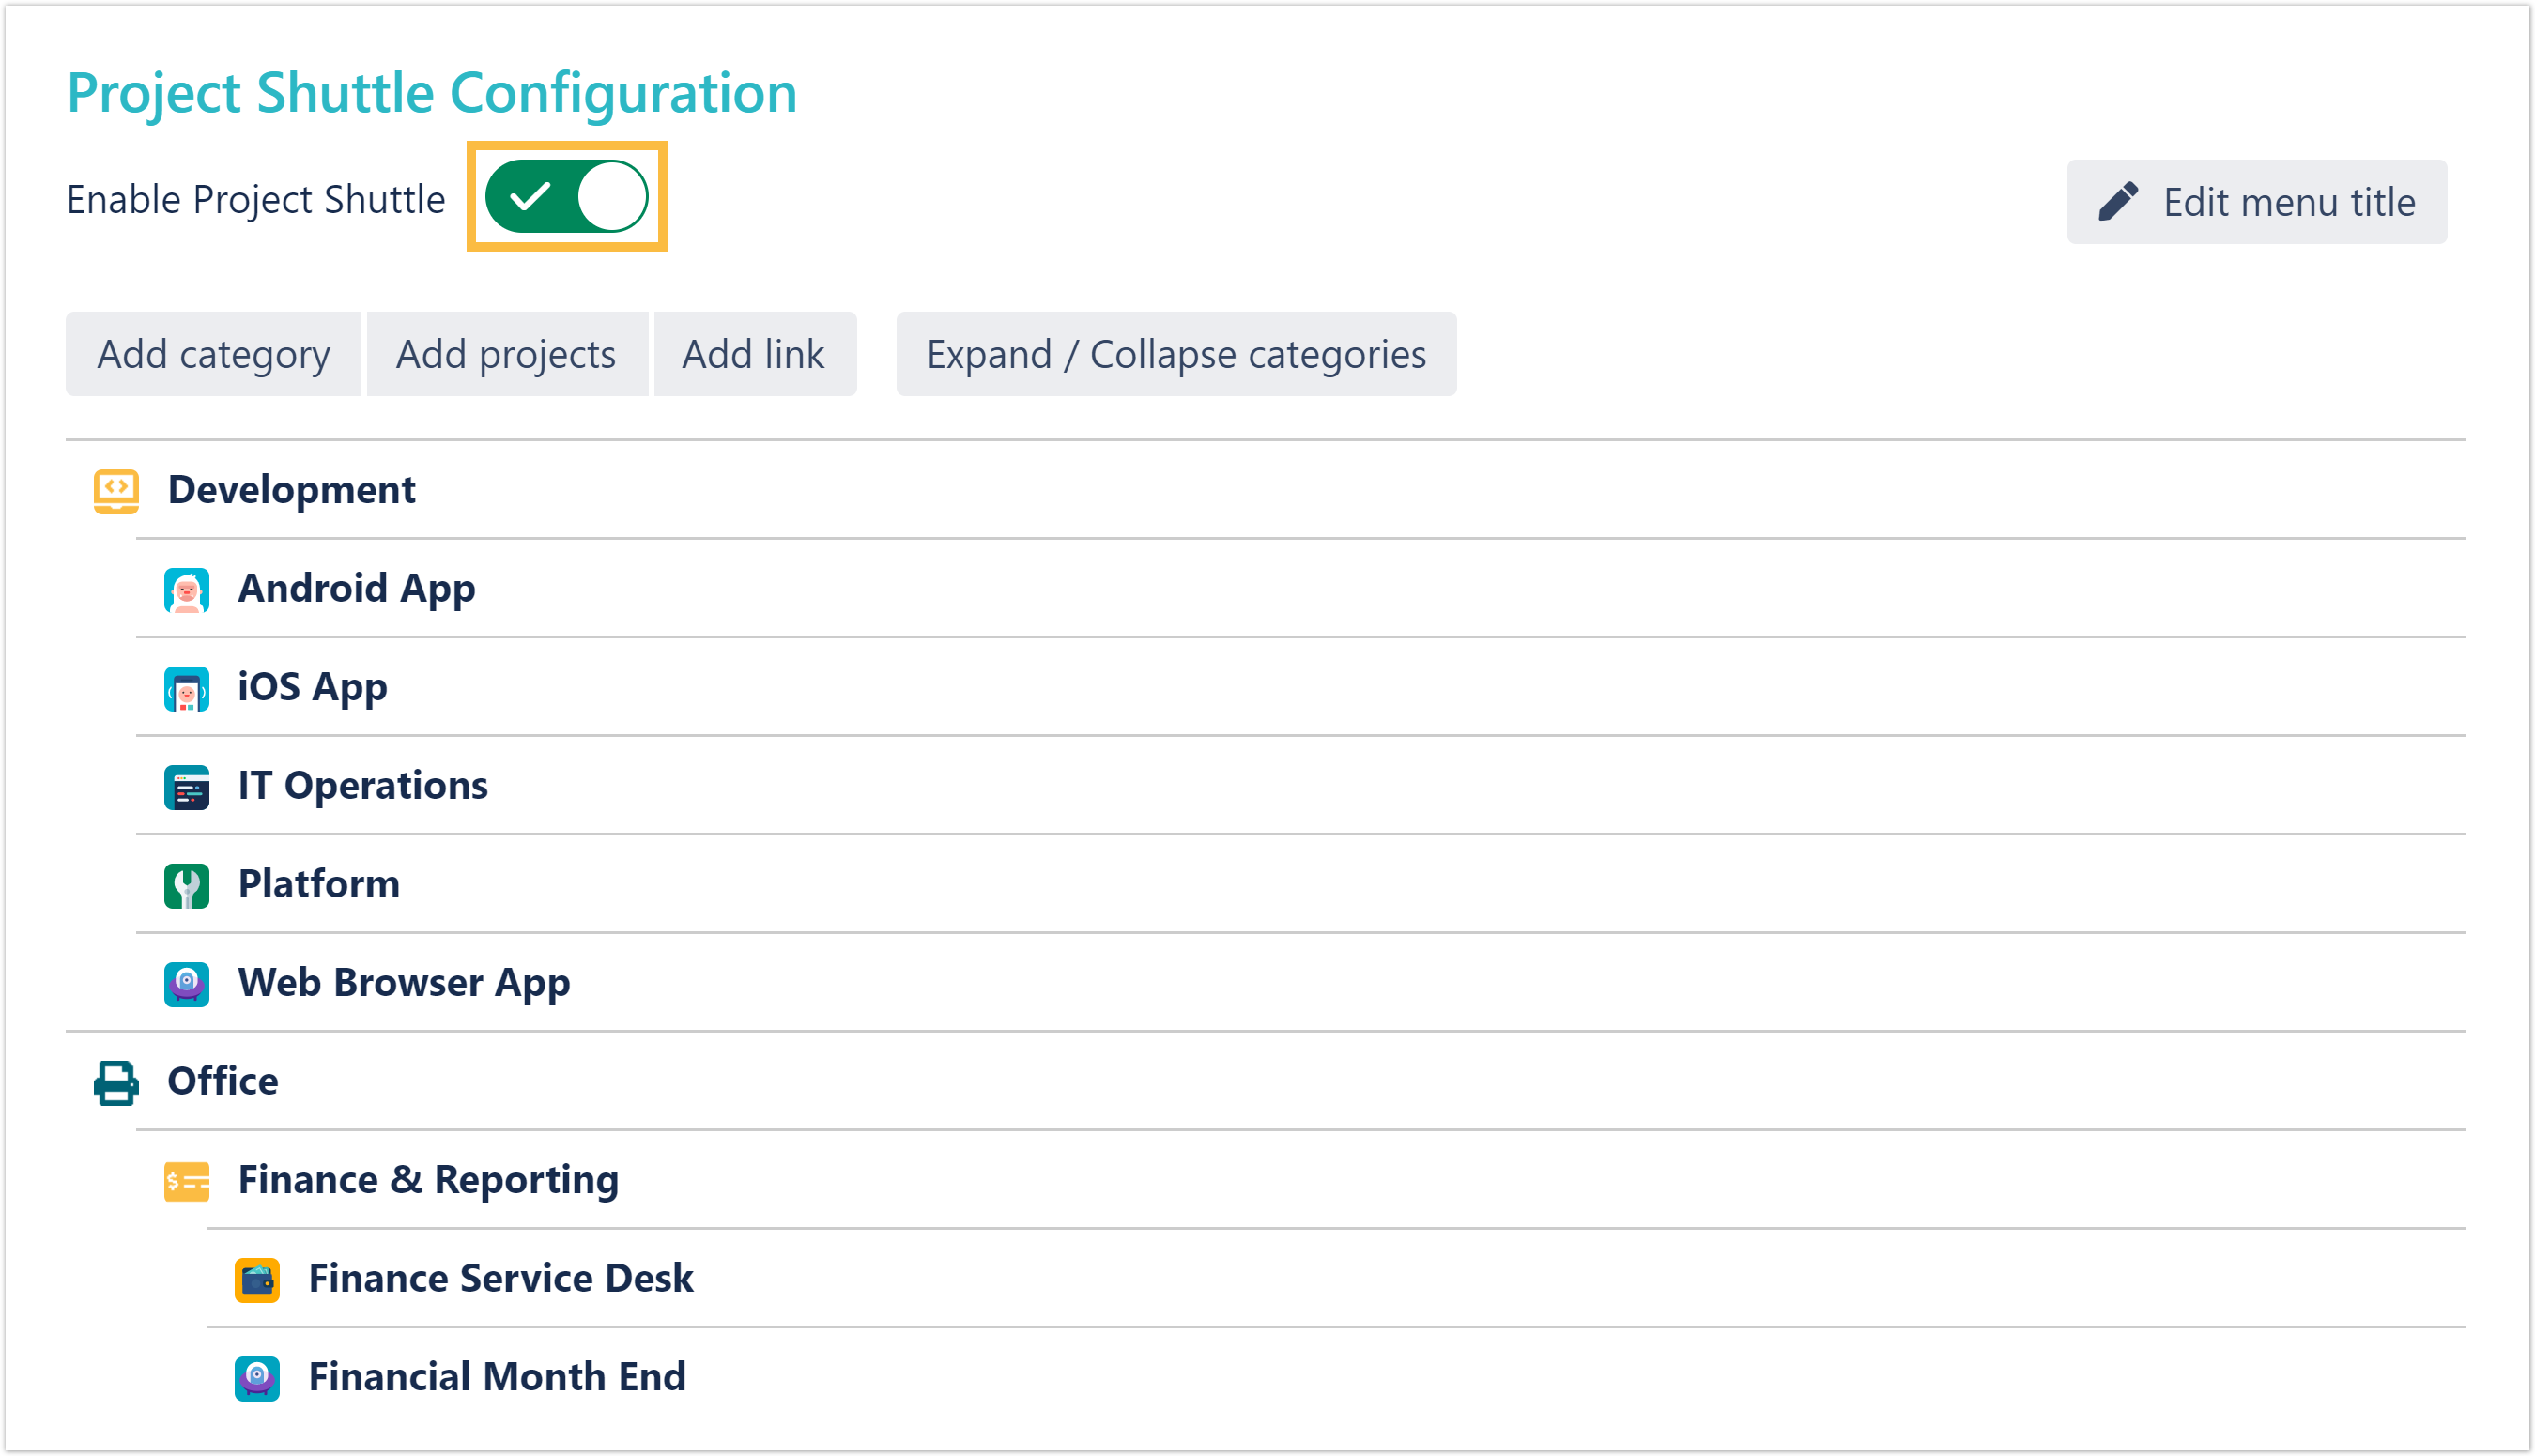
For the navigation configuration, Jira Administrator permissions are required. |
| UI Expand | ||
|---|---|---|
| ||
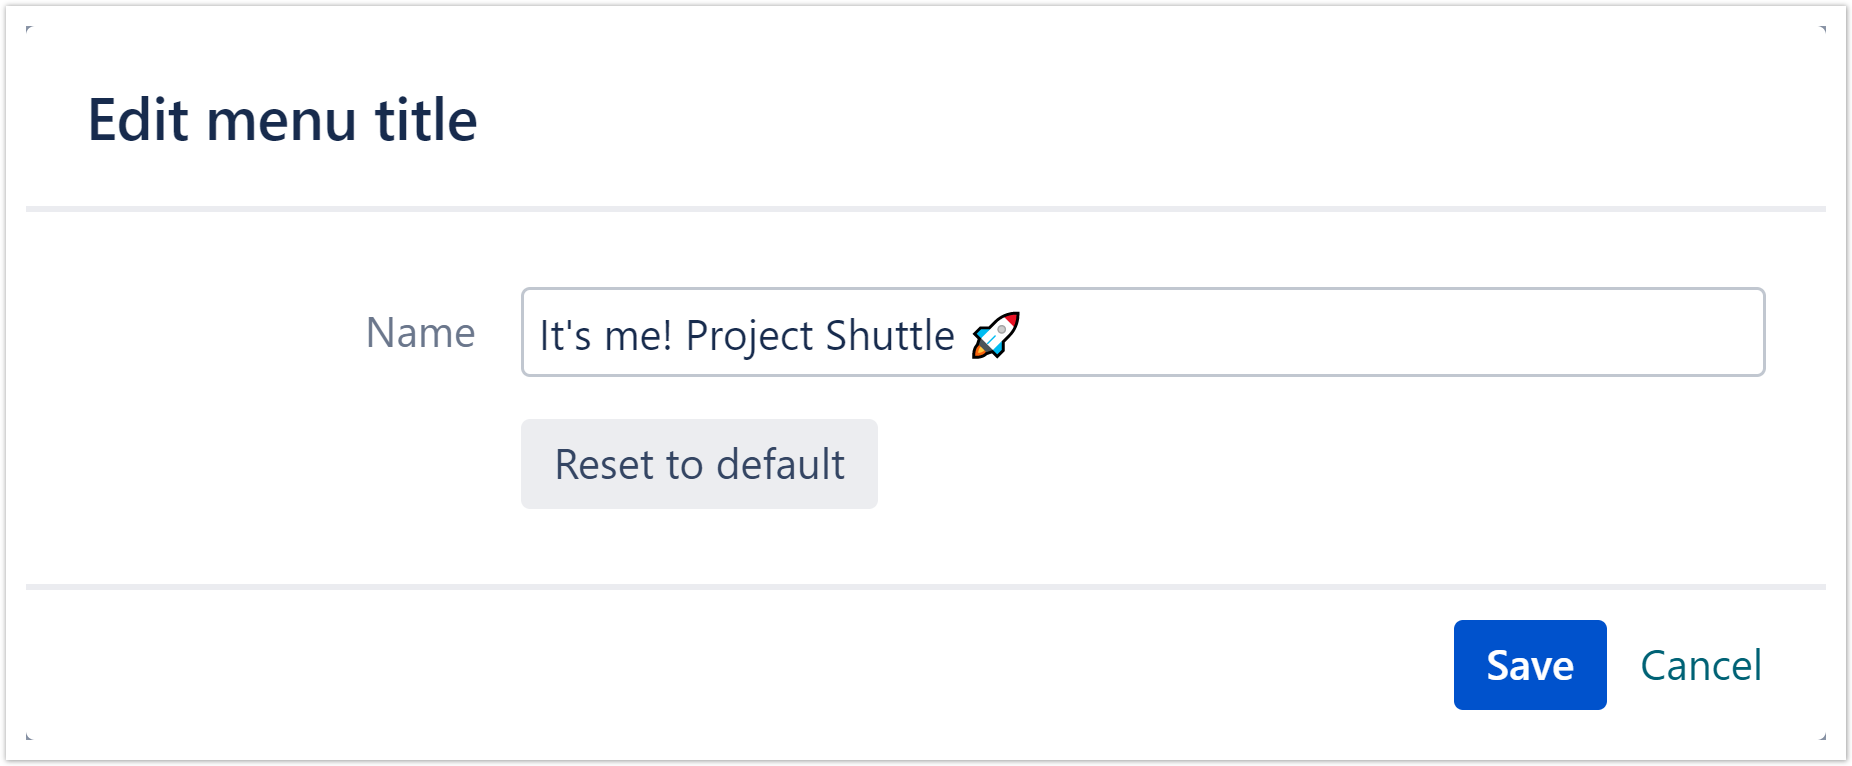
The Project Shuttle can be set up |
via Jira administration → |
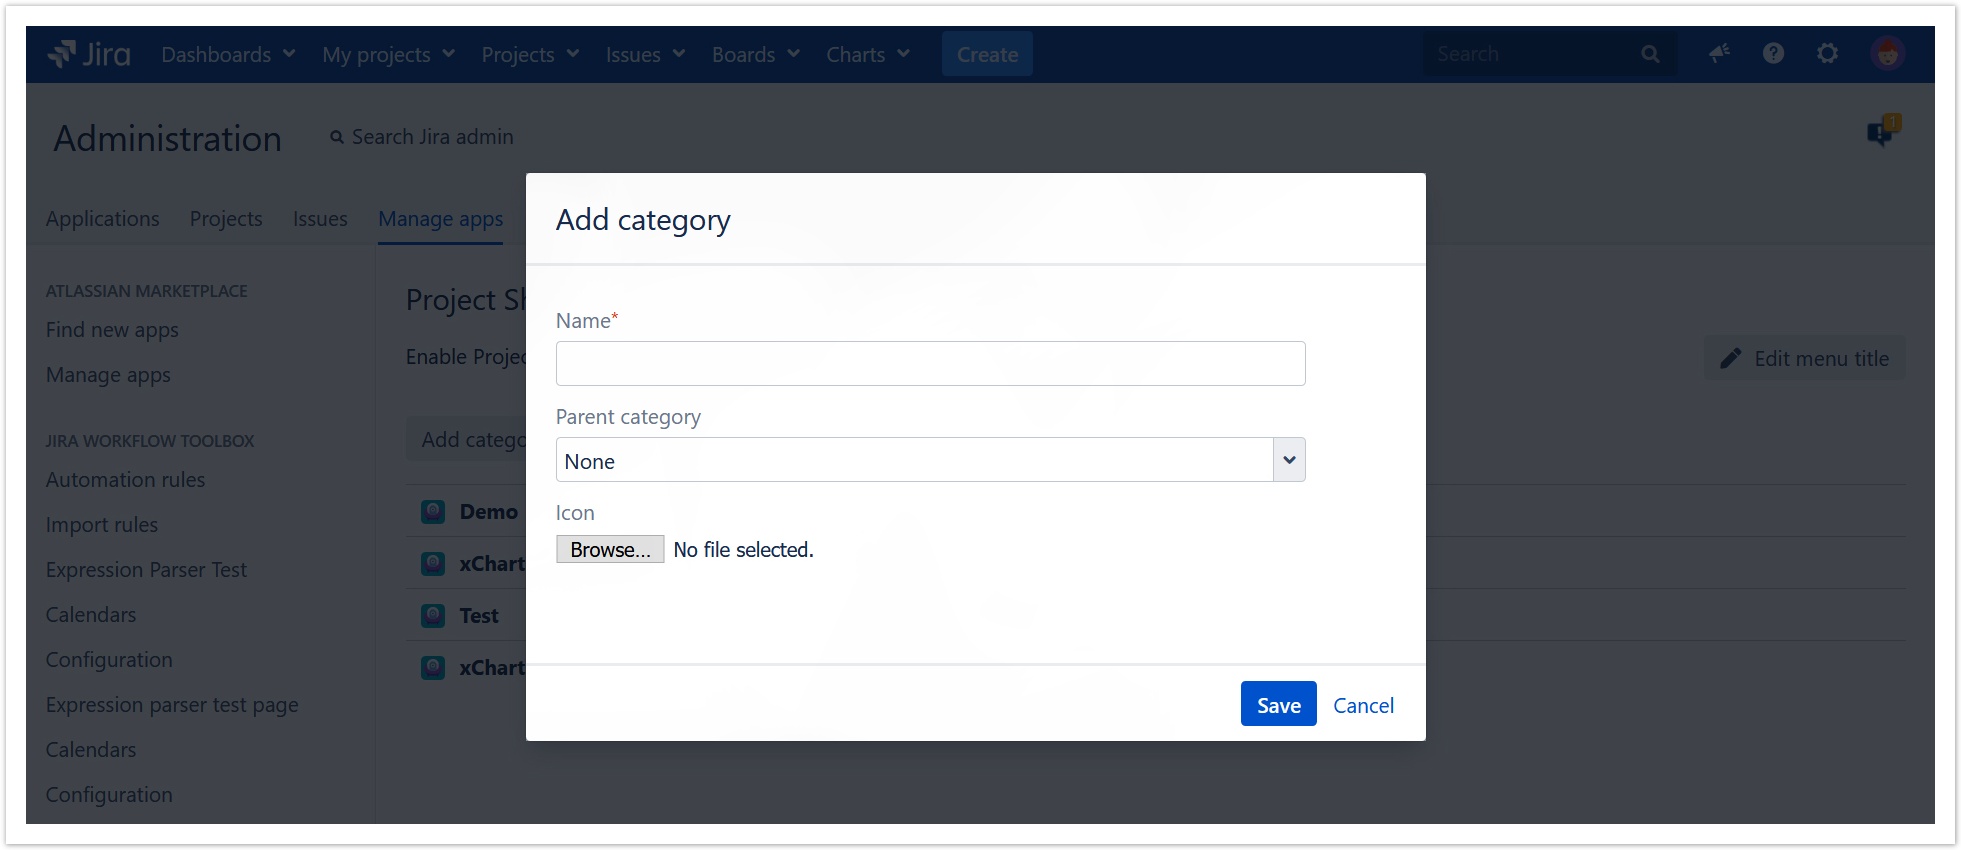
Categories
To add a new categoryManage apps → Project Shuttle
|
| UI Expand | |||||||||||||||||||||
|---|---|---|---|---|---|---|---|---|---|---|---|---|---|---|---|---|---|---|---|---|---|
| |||||||||||||||||||||
|

| UI Expand | |||||||||
|---|---|---|---|---|---|---|---|---|---|
| |||||||||
|
|
|
|
|
Projects
|
| UI Expand | |||||
|---|---|---|---|---|---|
| |||||
|
|
Projects on the left side can be added. Projects on the right side already have been added and can be deleted by hovering over the specific one and clicking "Remove". |
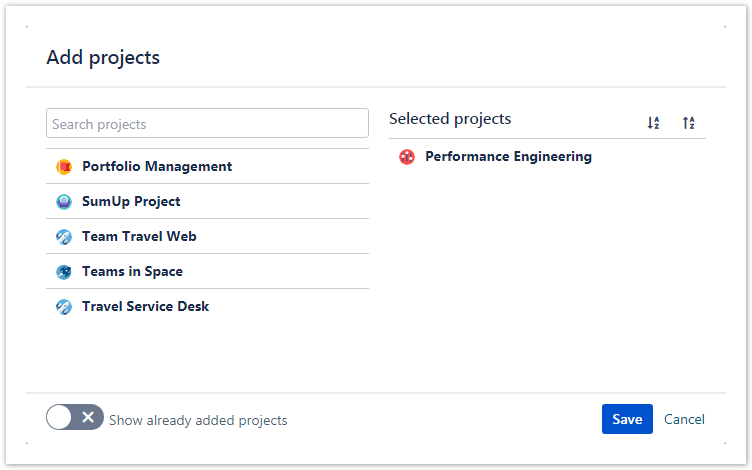
Enabling the option to Show already added projects will optionally list all available projects, even those that are already used in the Project Shuttle. |
| UI Expand | ||
|---|---|---|
| ||
Categories and projects can be easily sorted via drag |
& drop.
|
| UI Expand | ||||
|---|---|---|---|---|
| ||||
|
BILD
Hide/ Show Projects
|
This can be used when sorting the categories for a better view.
BILD
|

| UI Expand | ||||||
|---|---|---|---|---|---|---|
| ||||||
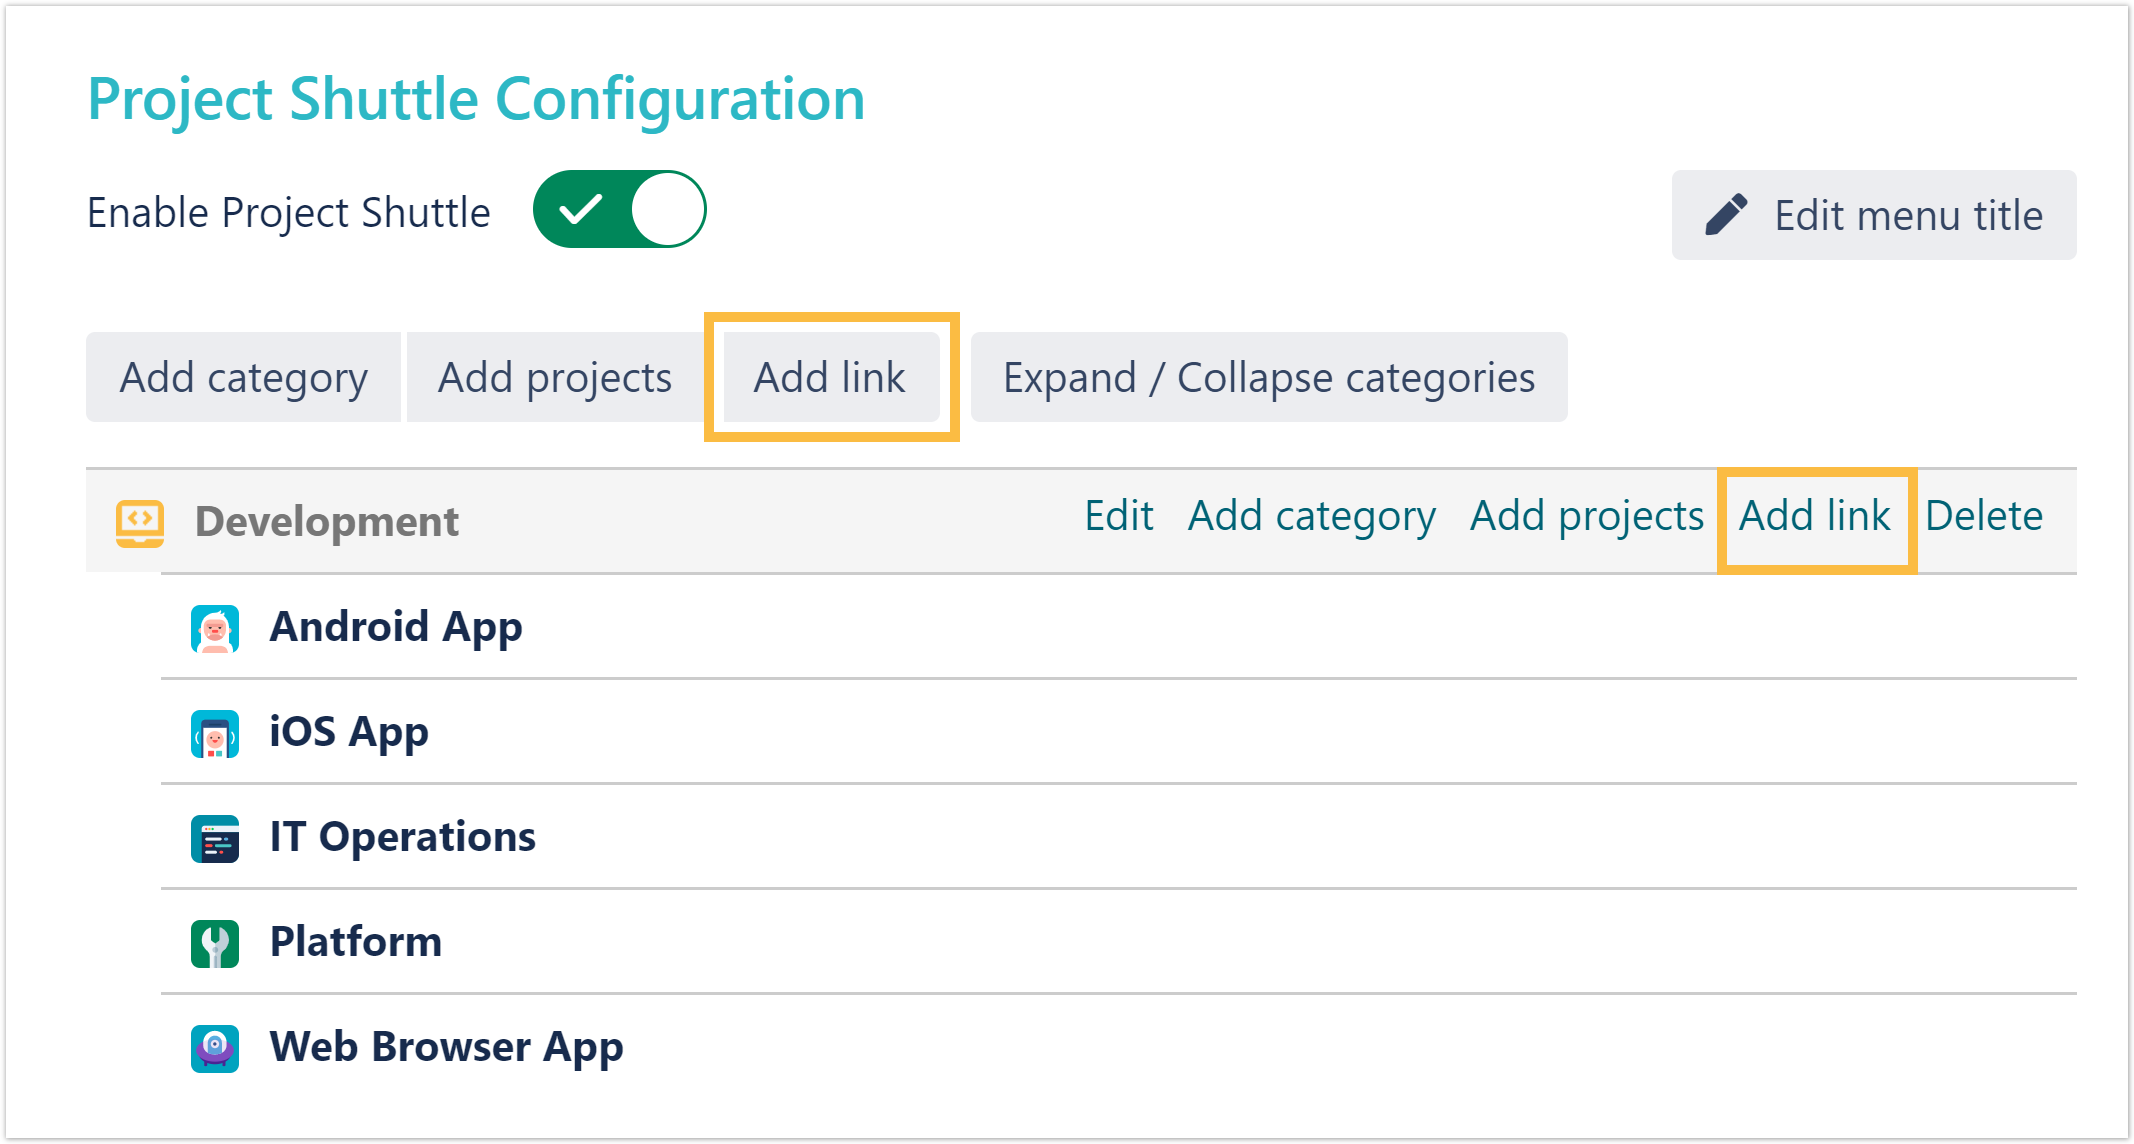
See an example of how configured URLs look like in the Project Shuttle navigation:
|
| UI Expand | ||
|---|---|---|
|
| |
The Project Shuttle can be |
BILD
| CSS Stylesheet |
|---|
#tocContainer {
margin-right: 15px;
position: fixed;
right: 0;
top: 160px;
width: 23%;
z-index: 1;
}
|
| Div | |||||||||||||||||||||||||
|---|---|---|---|---|---|---|---|---|---|---|---|---|---|---|---|---|---|---|---|---|---|---|---|---|---|
| |||||||||||||||||||||||||
|
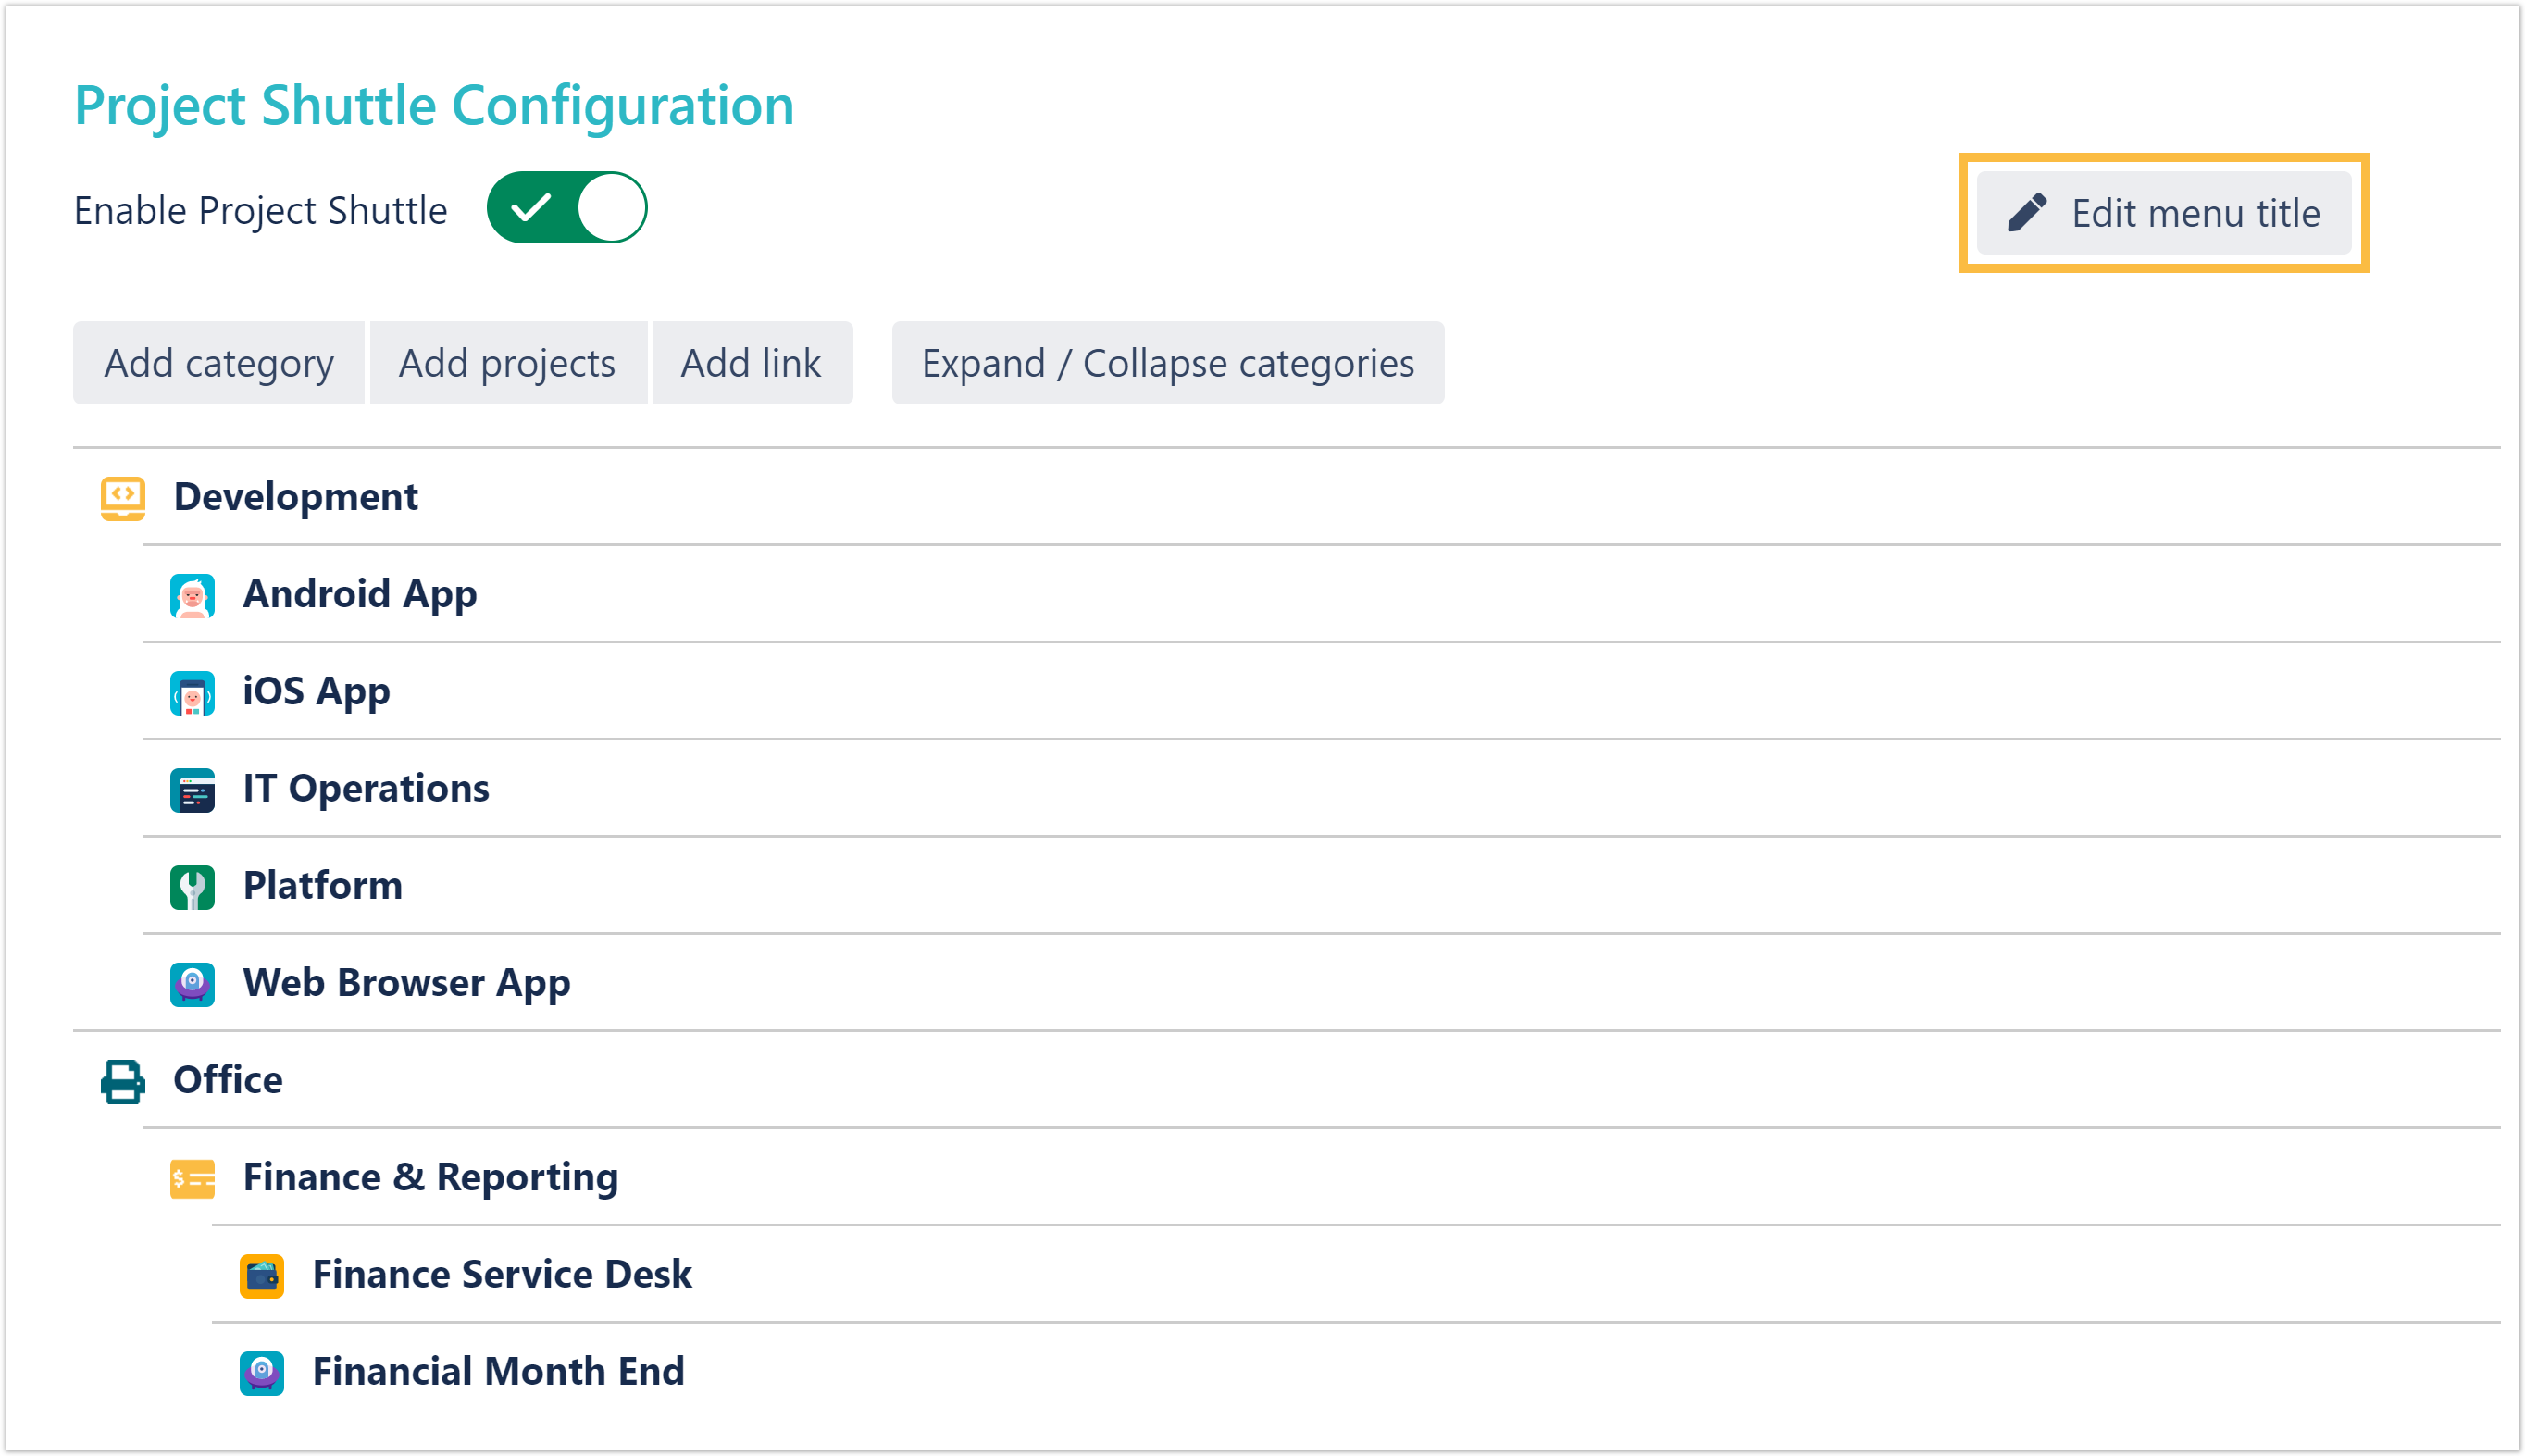
globally enabled/disabled. If disabled, the configuration is still available to administrators but the menu in the toolbar will be hidden.
|
| Excerpt Include | ||||||
|---|---|---|---|---|---|---|
|