Page History
| UI Text Box | ||||
|---|---|---|---|---|
| ||||
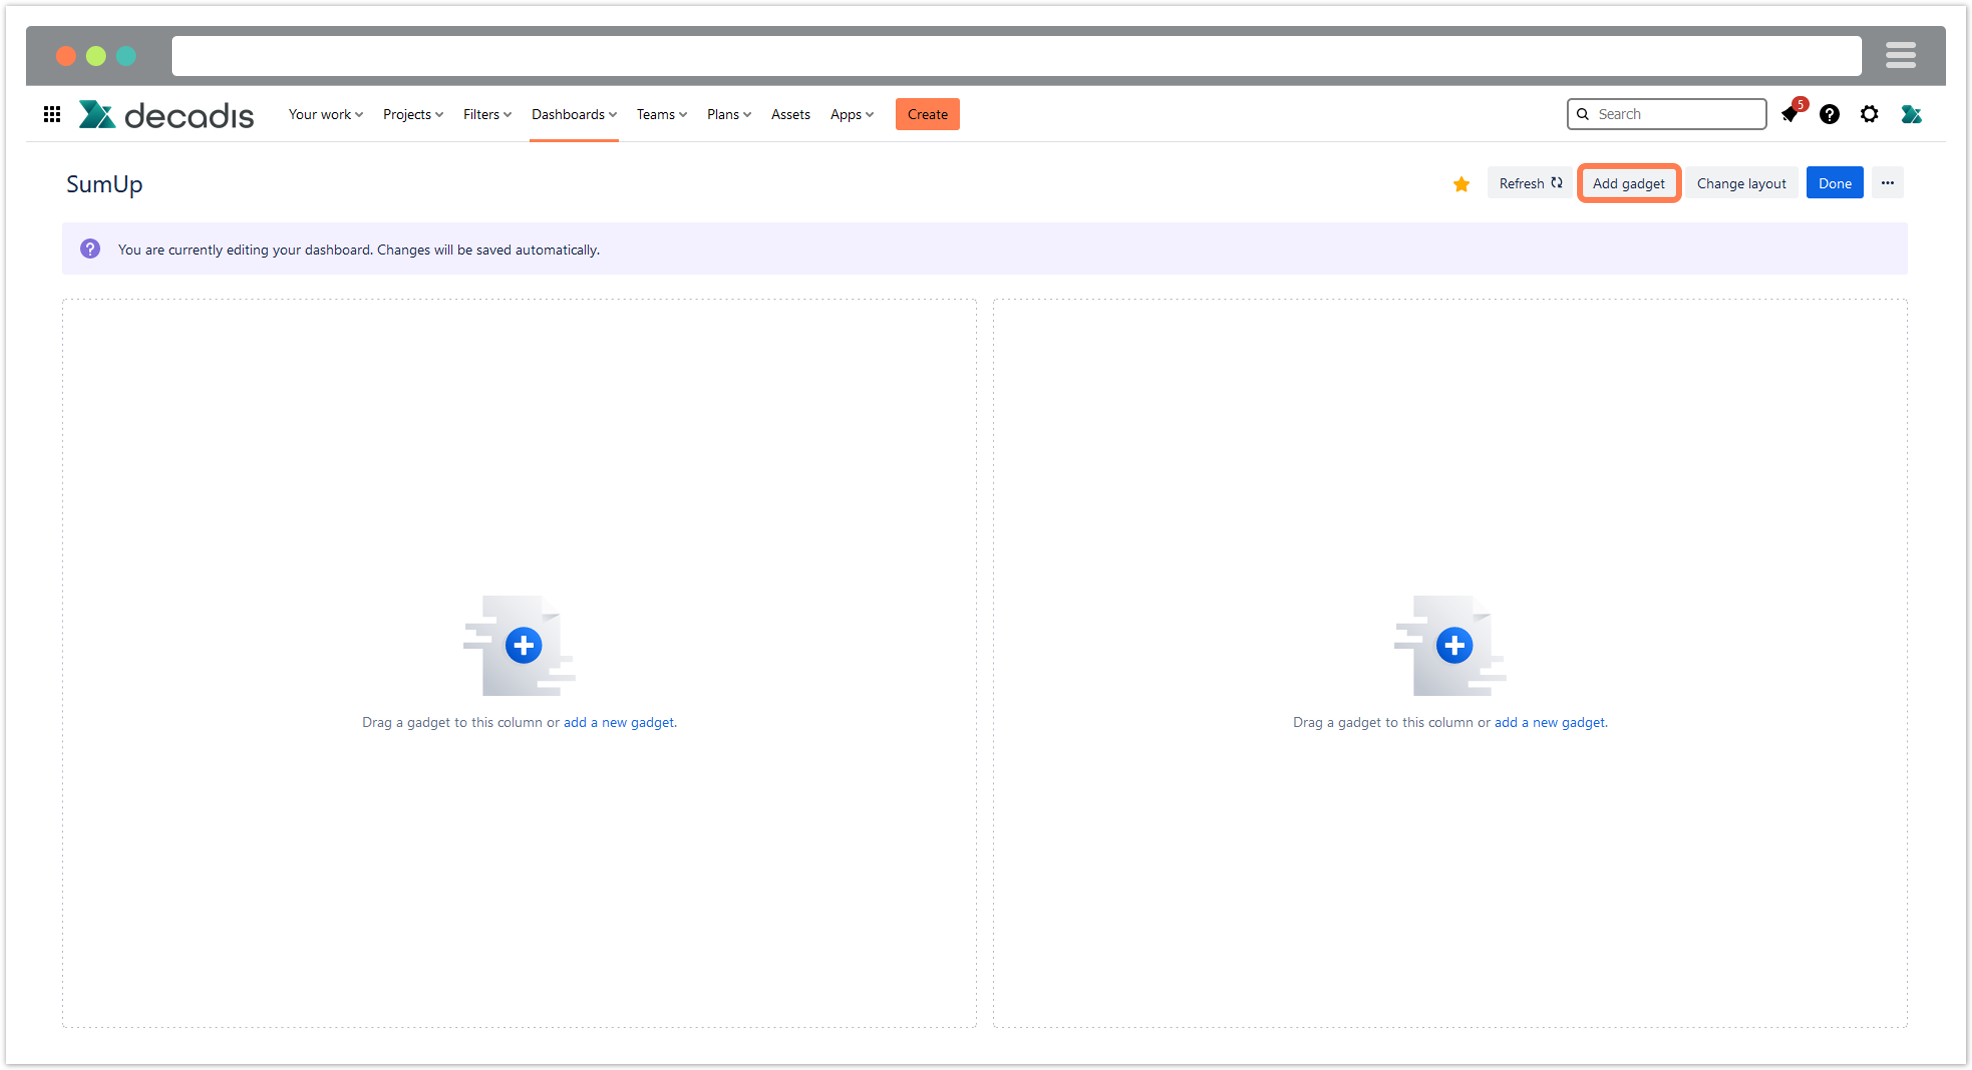
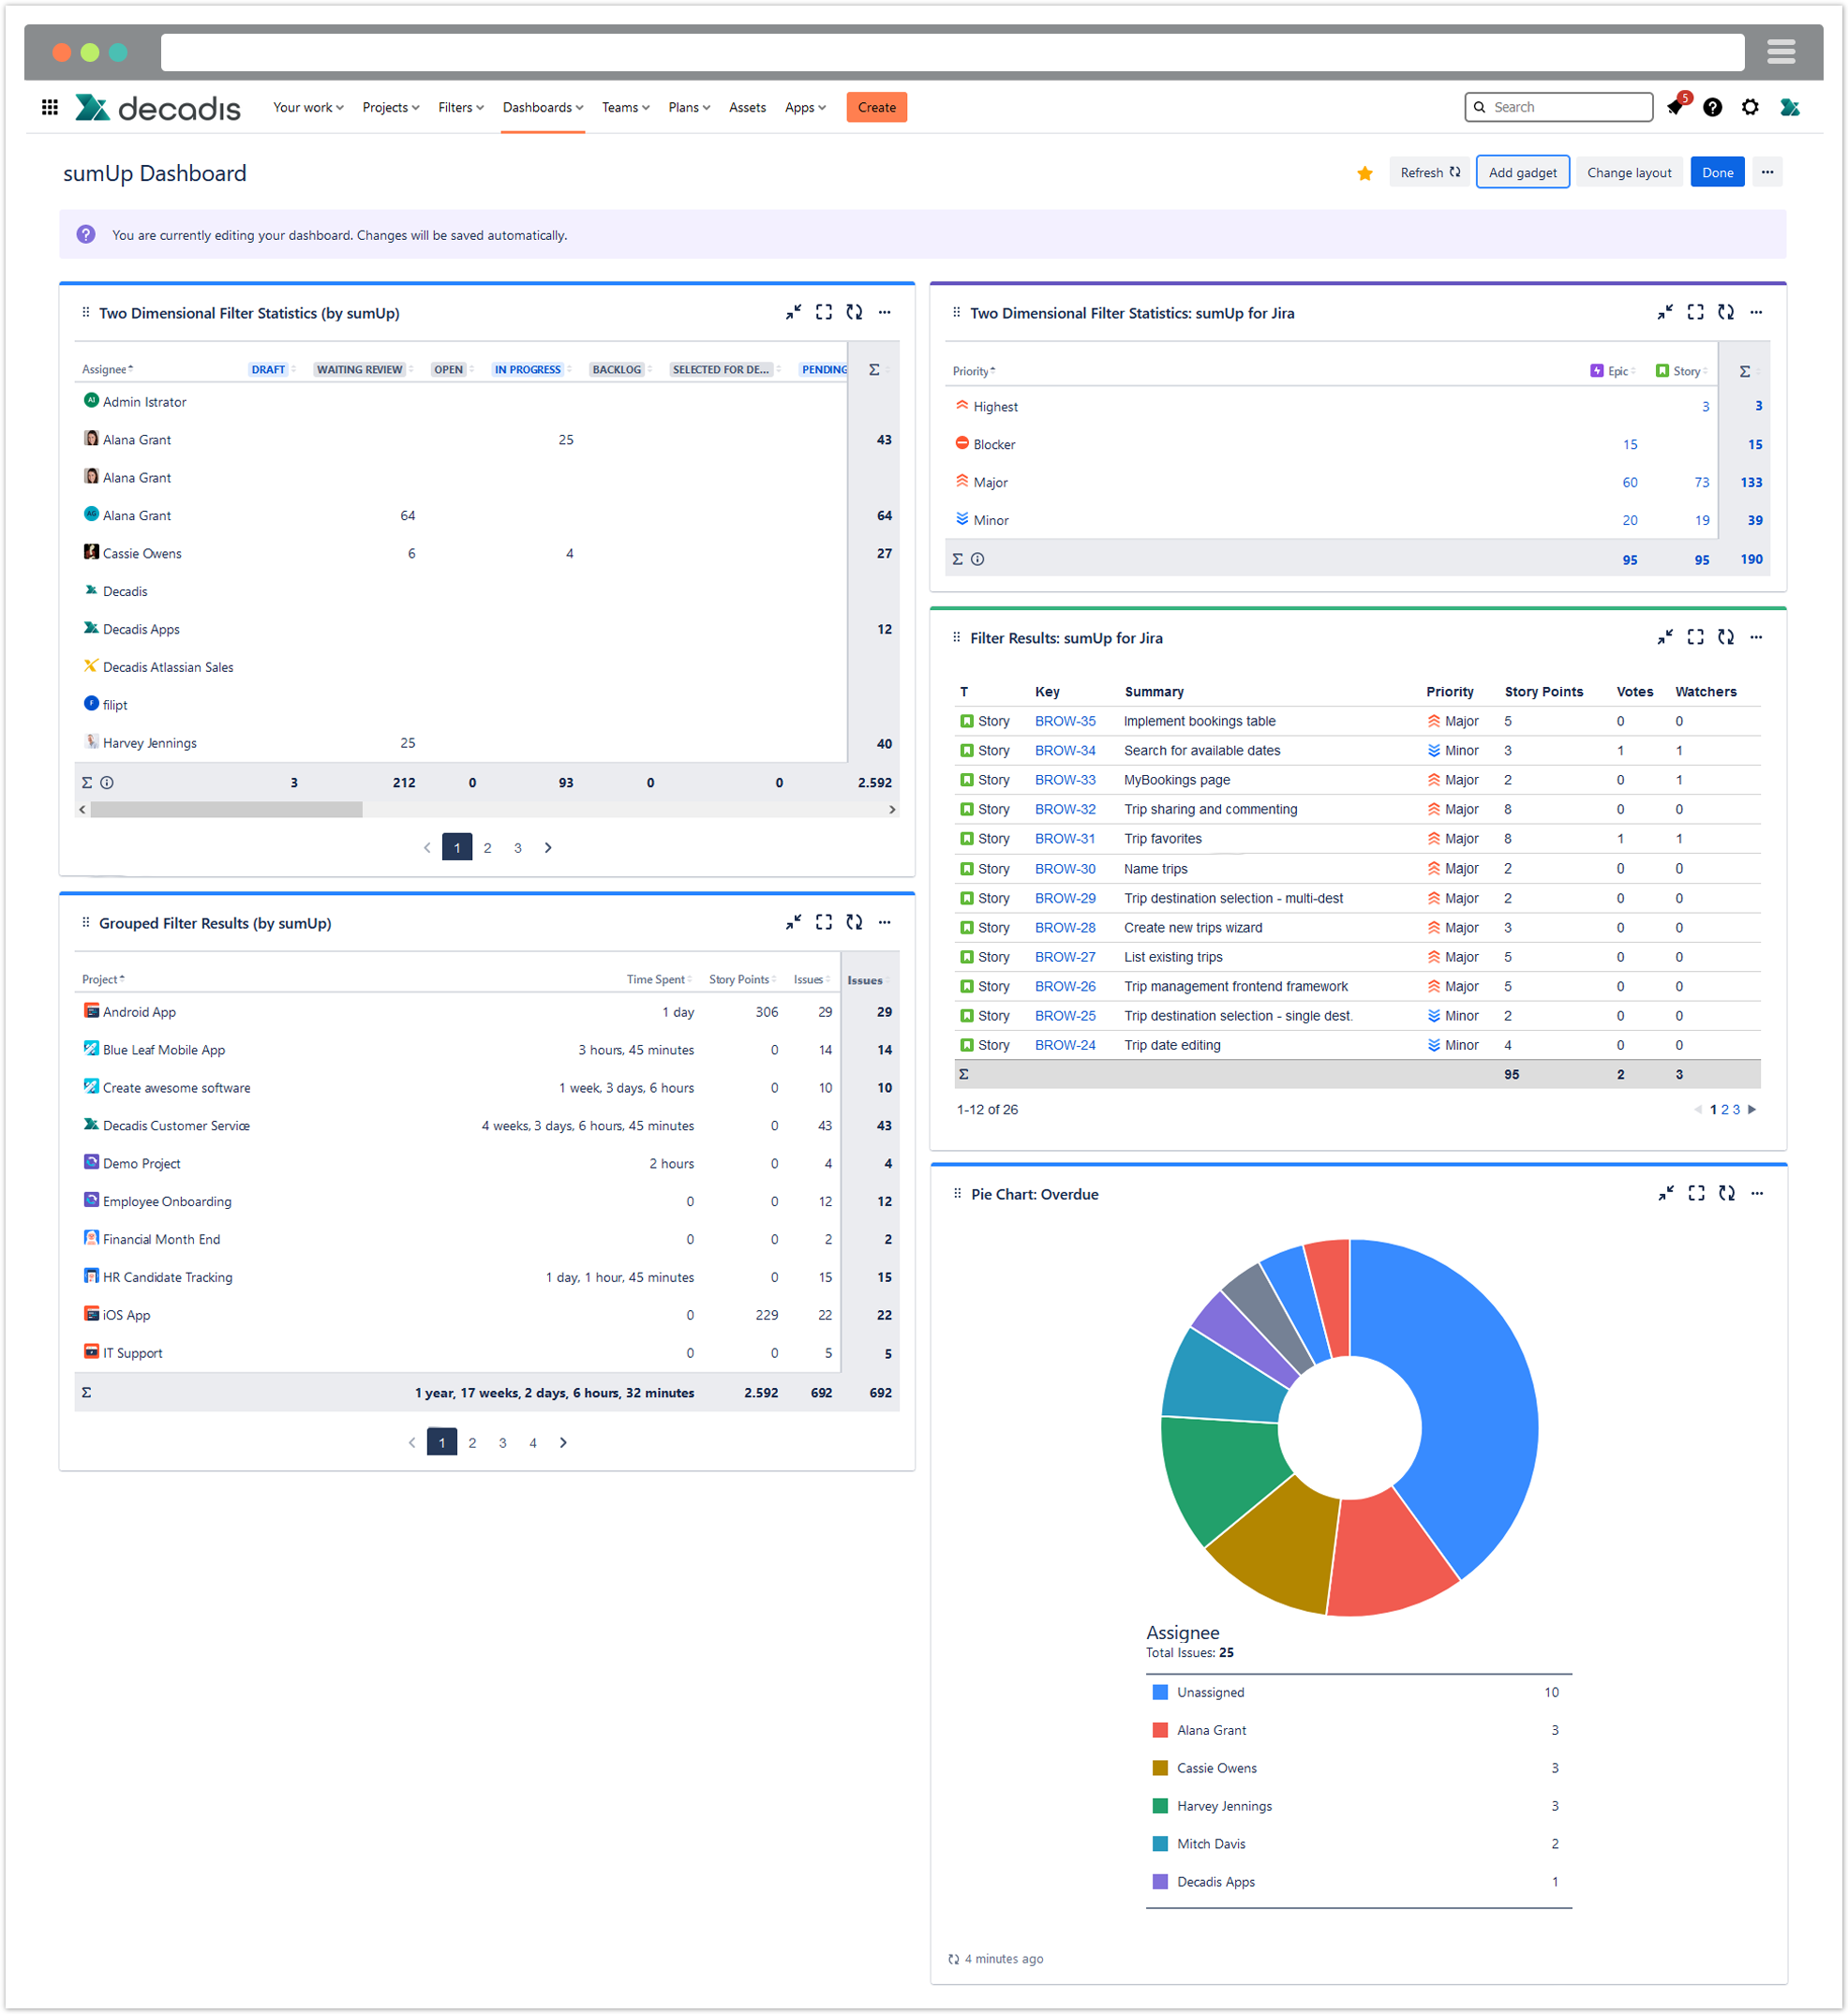
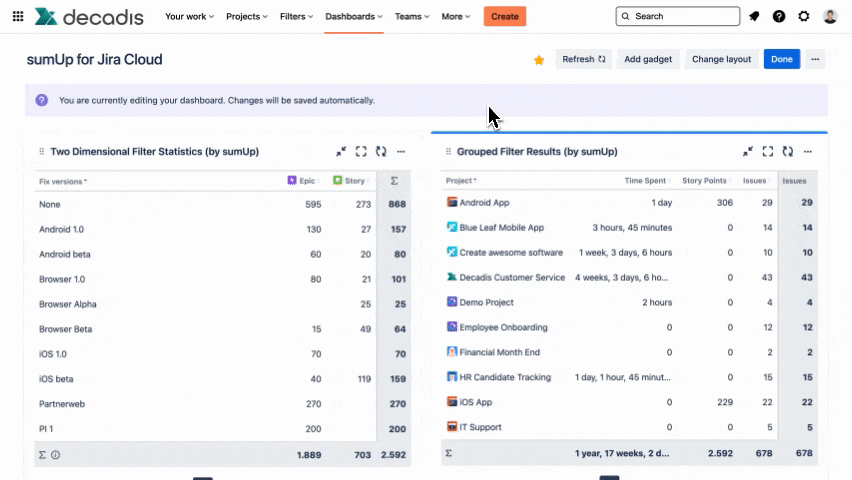
| sumUp for Jira Cloud adds four new powerful gadgets to your Jira Cloud instance that can be added to any Jira dashboard. |
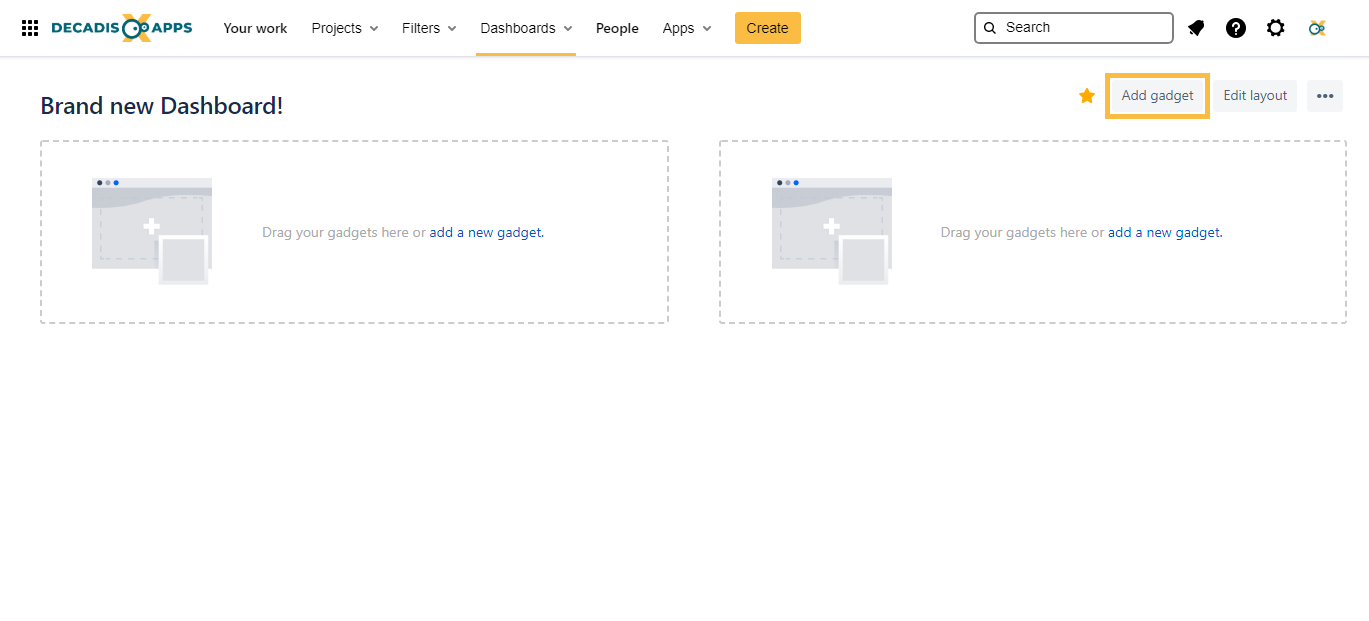
After installing the app, simply head over to any dashboard you own or create a new one.
| UI Expand | ||||||||||||||||||||||||||||||||||||||||||
|---|---|---|---|---|---|---|---|---|---|---|---|---|---|---|---|---|---|---|---|---|---|---|---|---|---|---|---|---|---|---|---|---|---|---|---|---|---|---|---|---|---|---|
| ||||||||||||||||||||||||||||||||||||||||||
|
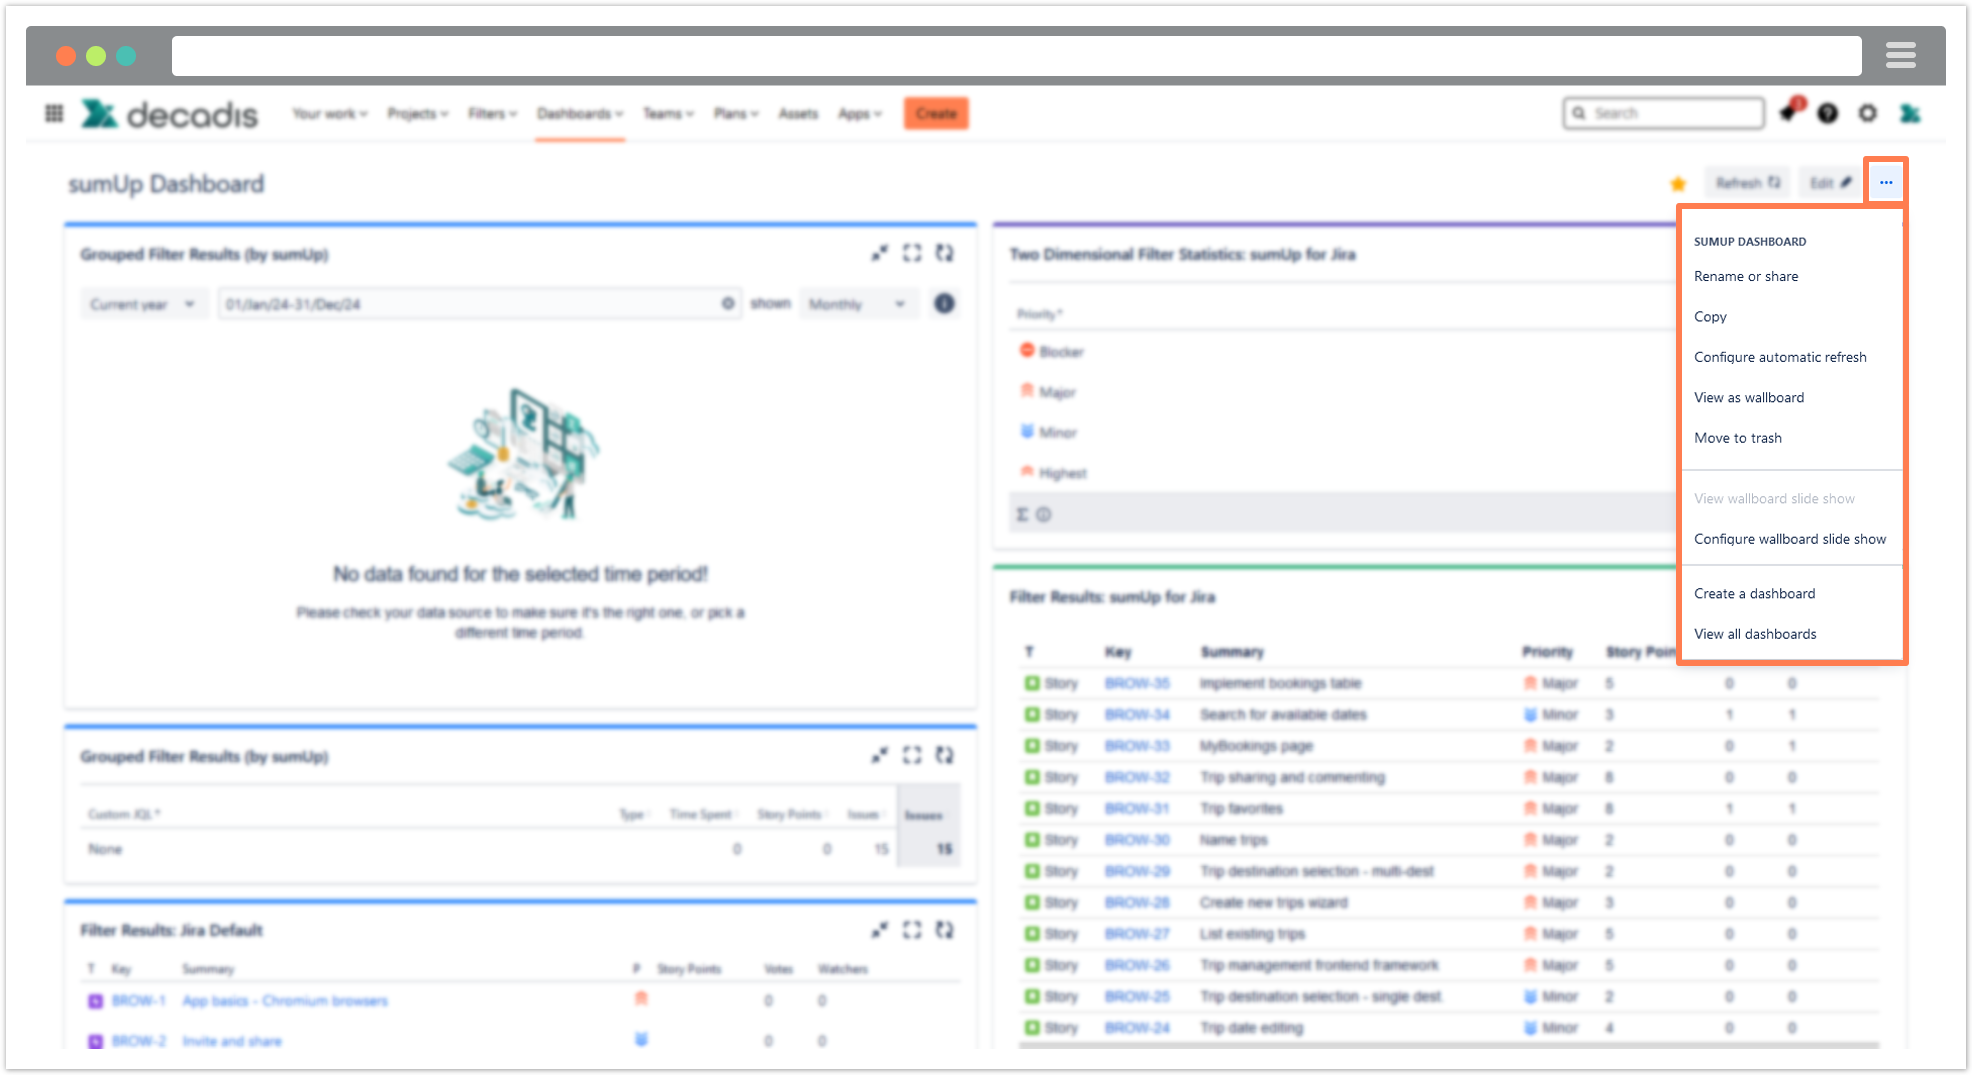
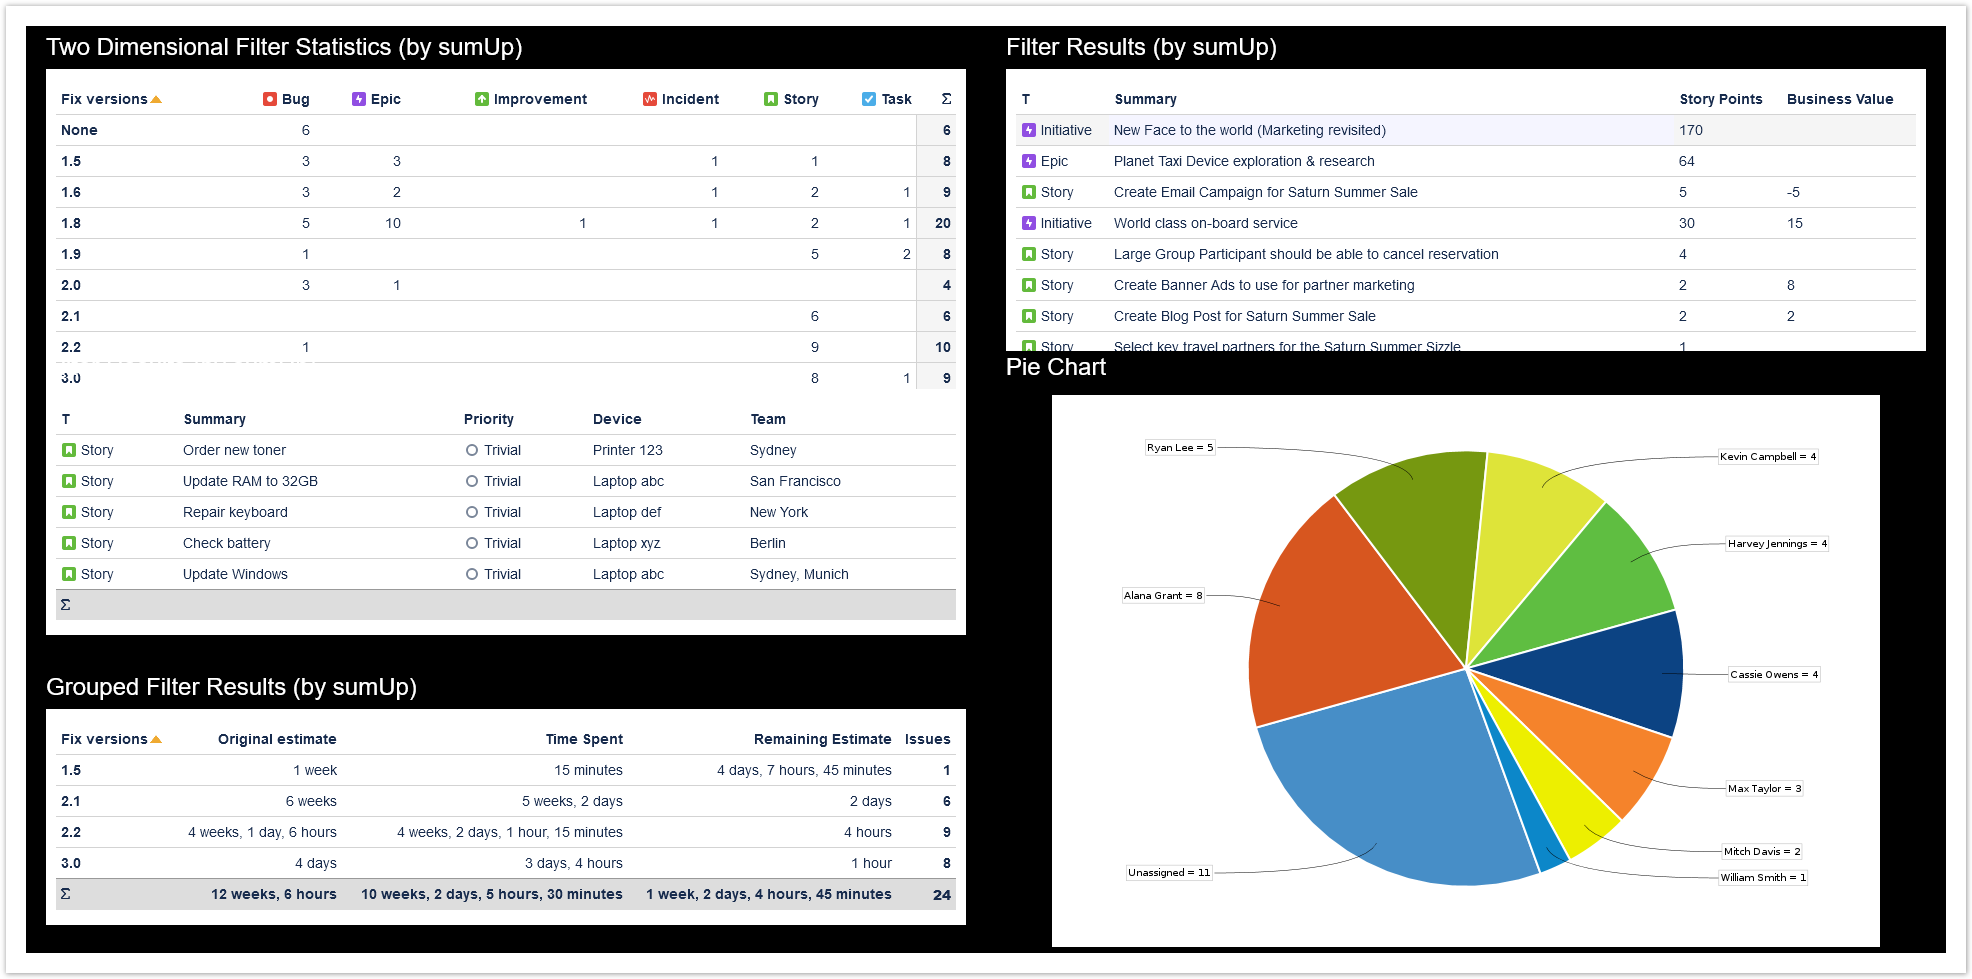
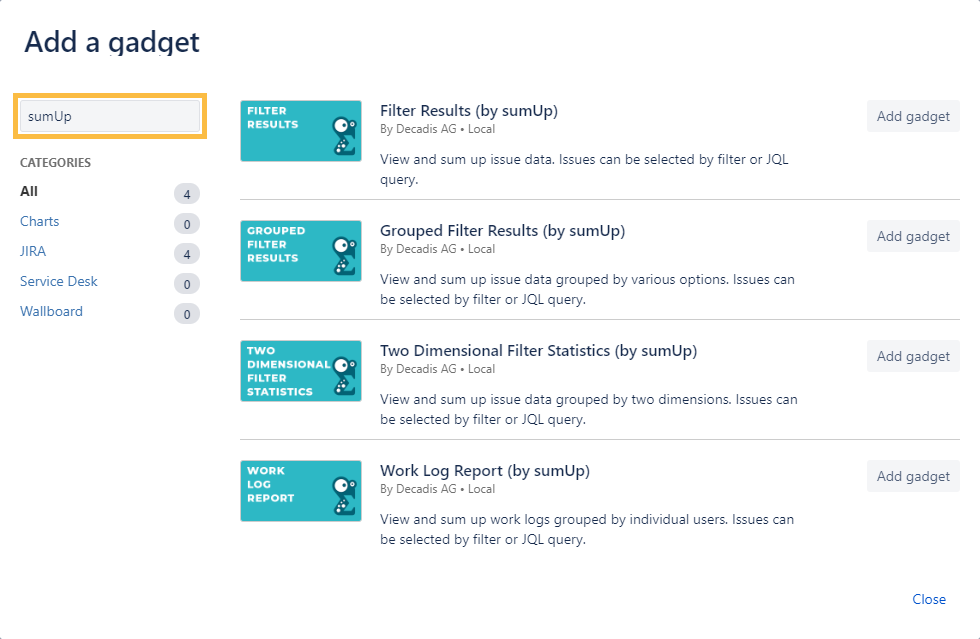
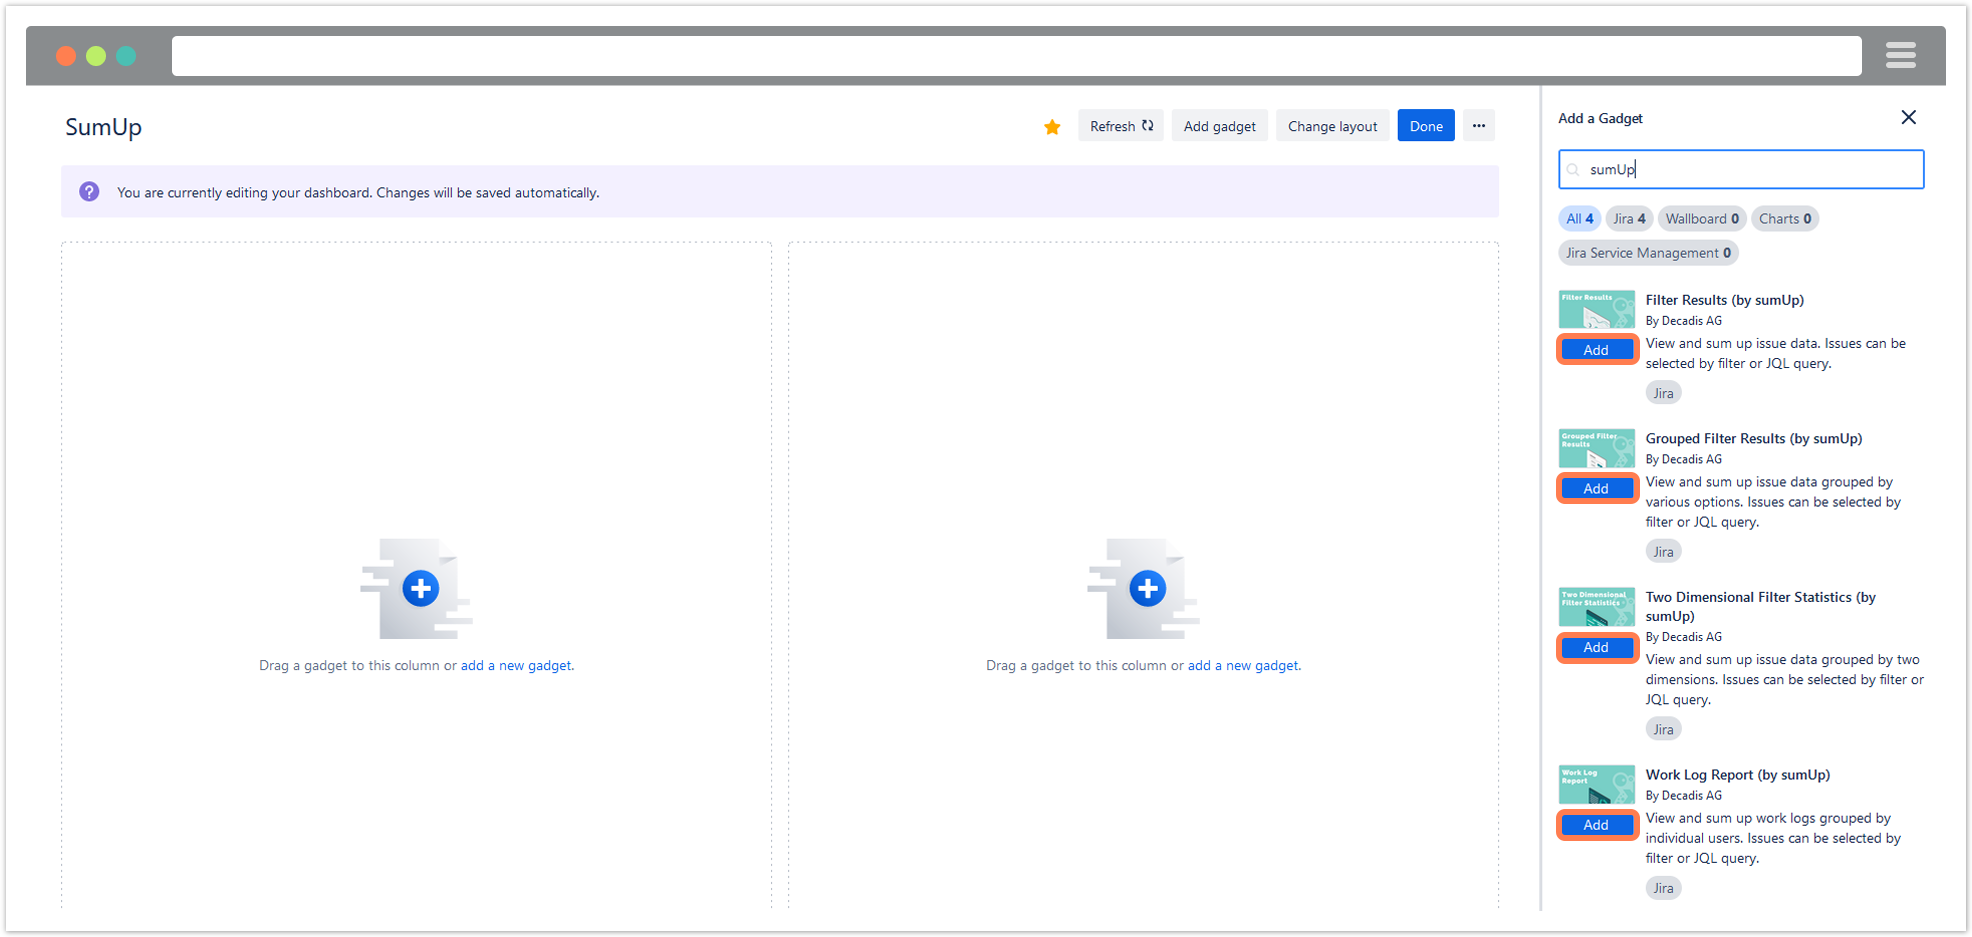
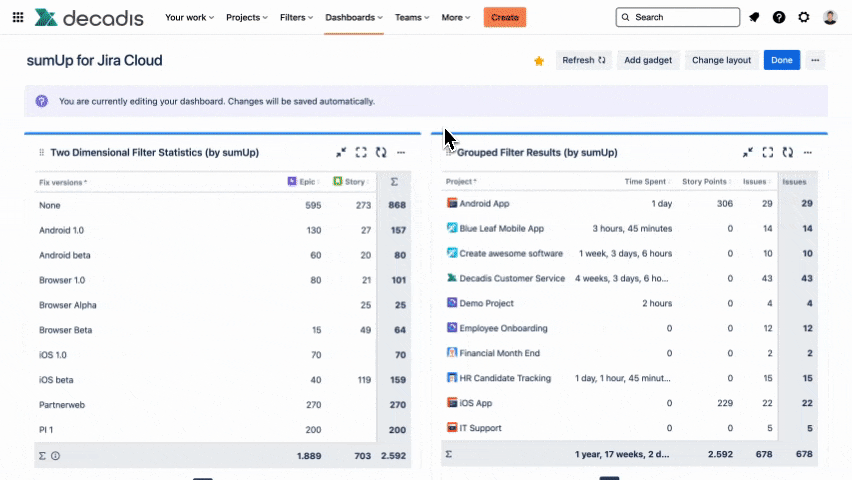
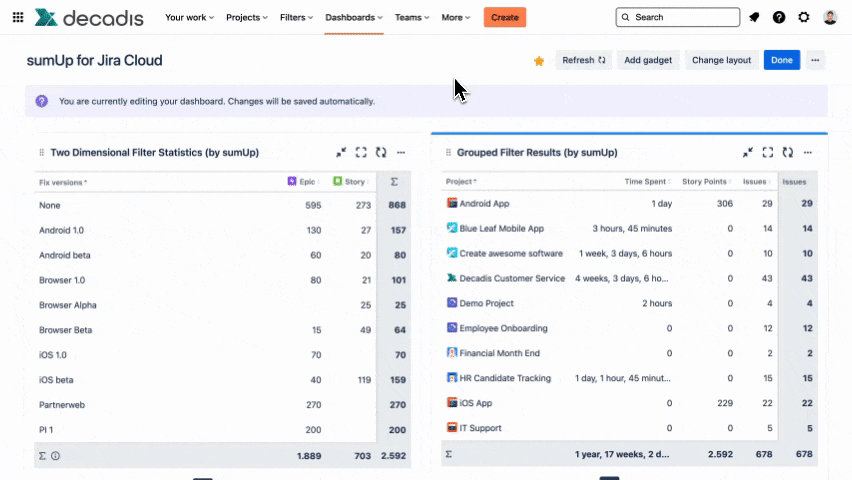
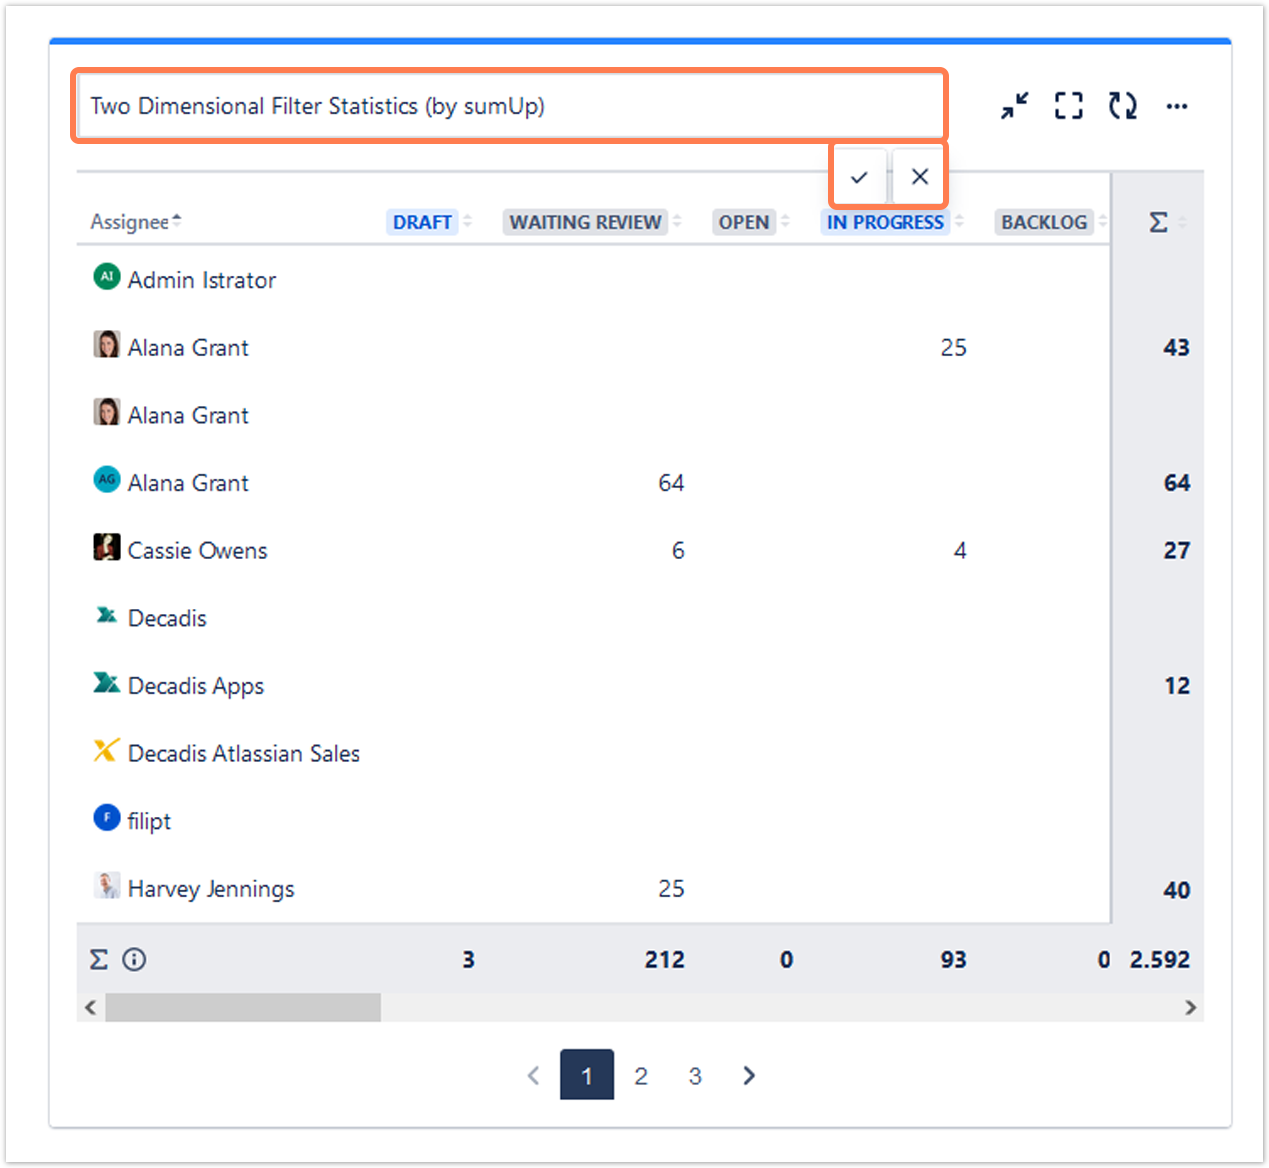
To get familiar with the different options the various gadgets have to offer we suggest adding all of them to your dashboard.
Add the| UI Expand | ||||||||||||||||
|---|---|---|---|---|---|---|---|---|---|---|---|---|---|---|---|---|
| ||||||||||||||||
Add gadgetsSimply add the gadget you need to your dashboard(s) and configure them according to your requirements.
|
| UI Expand | ||||||||||||||||||||||||||||||||||||||||
|---|---|---|---|---|---|---|---|---|---|---|---|---|---|---|---|---|---|---|---|---|---|---|---|---|---|---|---|---|---|---|---|---|---|---|---|---|---|---|---|---|
| ||||||||||||||||||||||||||||||||||||||||
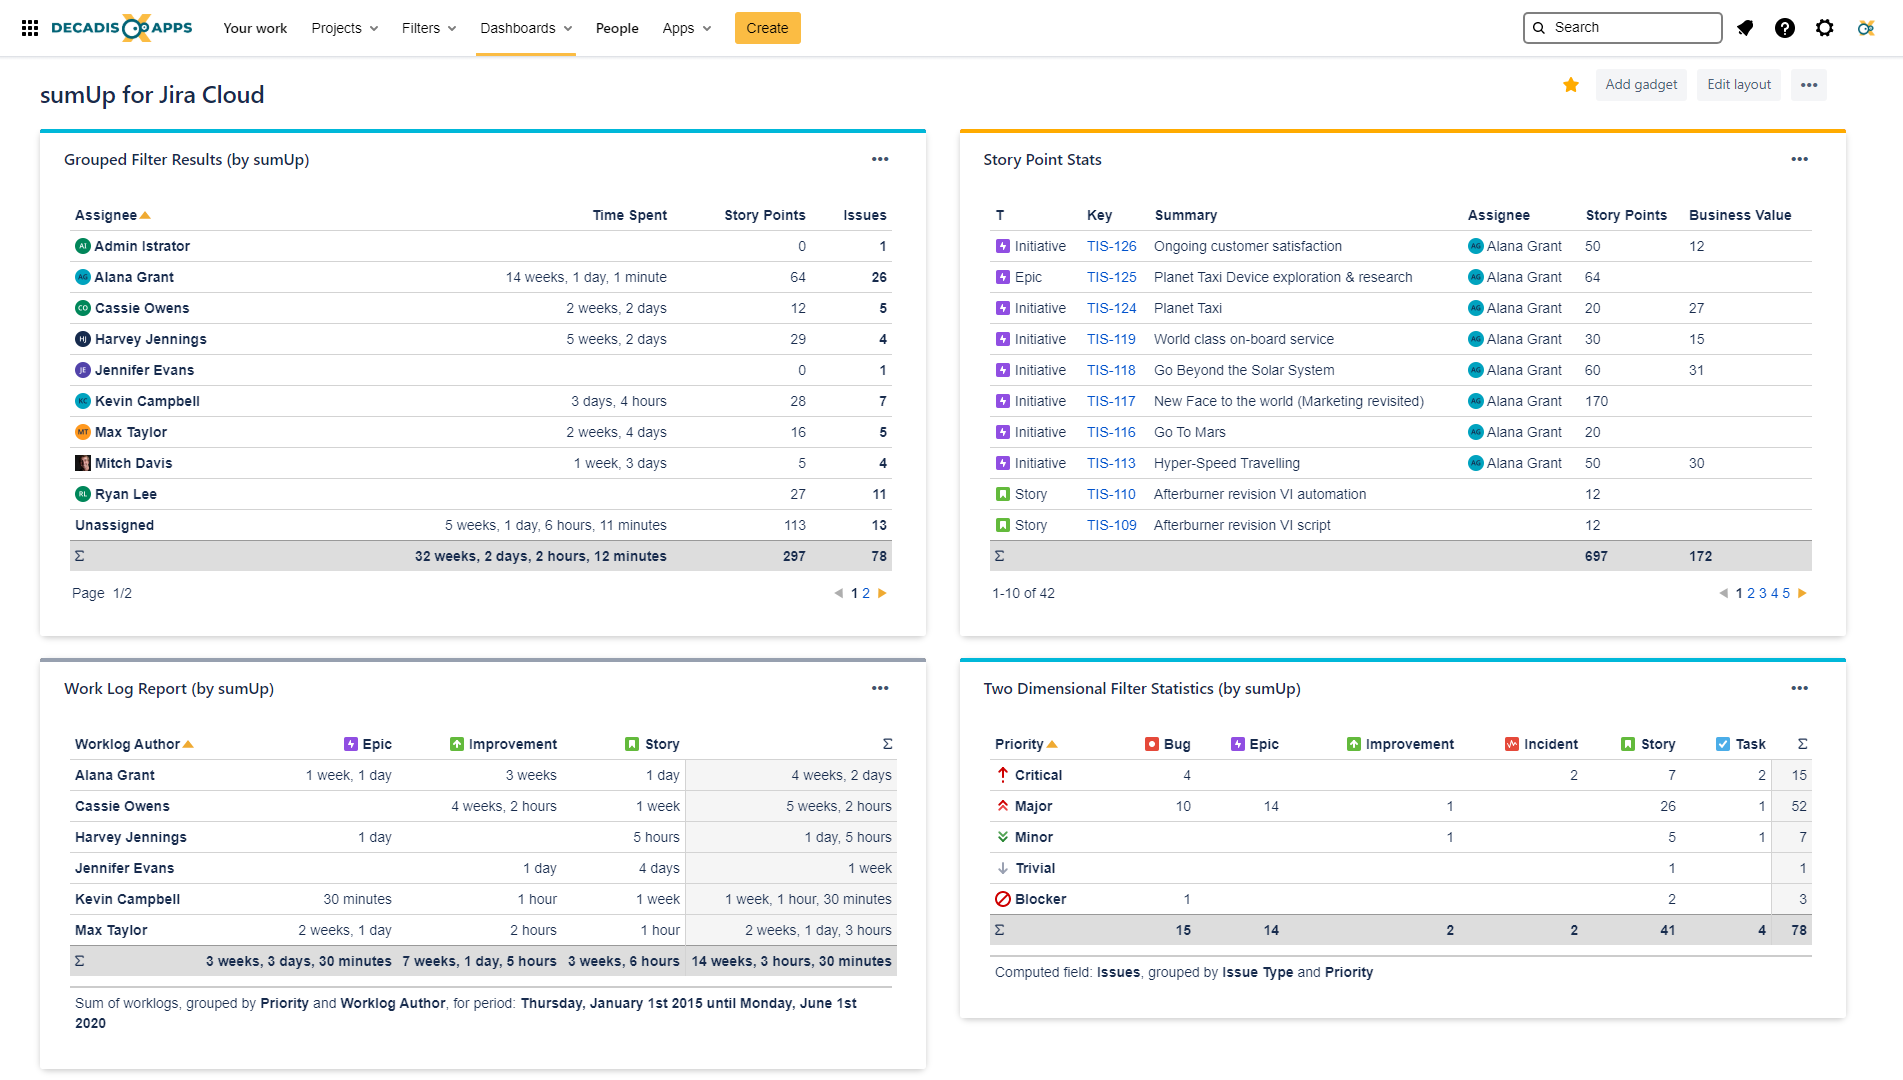
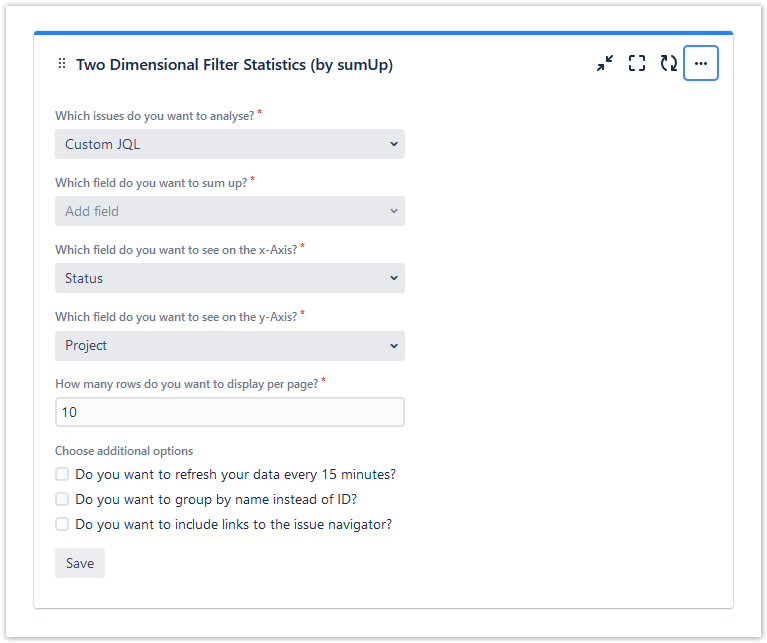
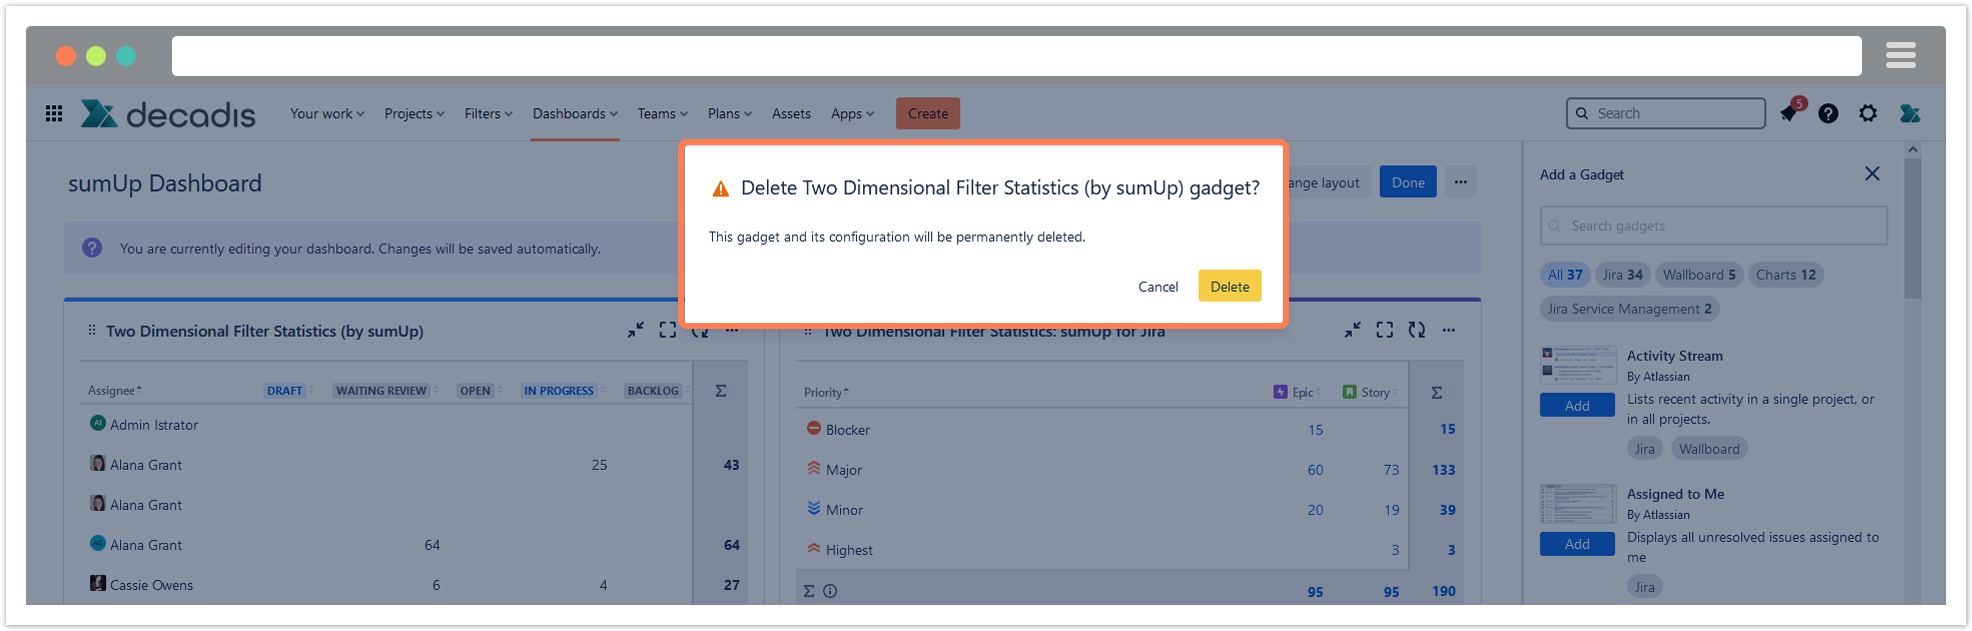
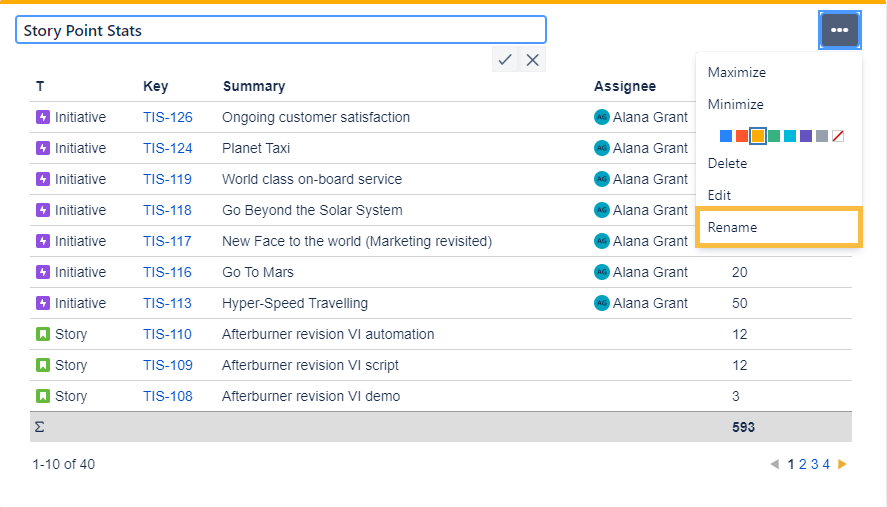
Edit gadgetsAfter adding the desired gadget(s), you can edit them according to your preferences even when it comes to color and naming.
|
| Excerpt Include | ||||||
|---|---|---|---|---|---|---|
|