Page History
Creating Spaces
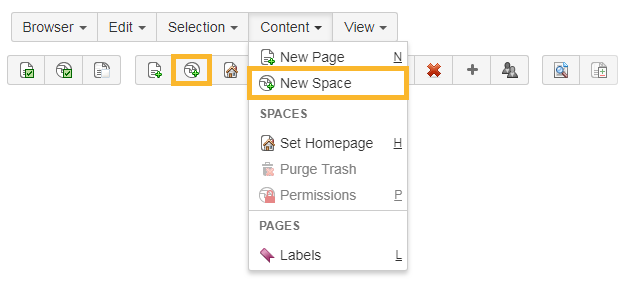
The new Space Admin Browser allows to create new spaces. Therefore click on Content > New Space or use the new space button.
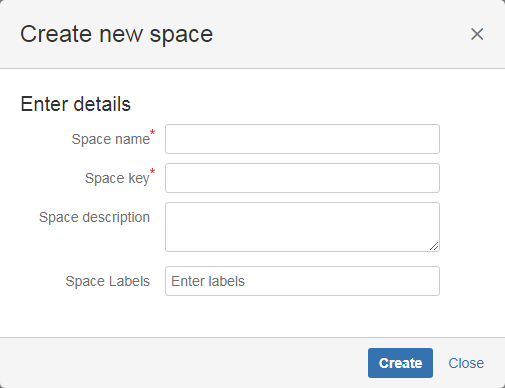
The popup window will ask for a name, a key and an optional space description.
![]() The fields are case sensitive. E.g. if the key gets typed in lower case, it will stay in lower case and won't get changed to upper case.
The fields are case sensitive. E.g. if the key gets typed in lower case, it will stay in lower case and won't get changed to upper case.
The new space will appear in the Space Admin Browser after it has been created.
Copying Spaces
Copying a space is only possible when there was at least one space added to the Space Admin Browser.
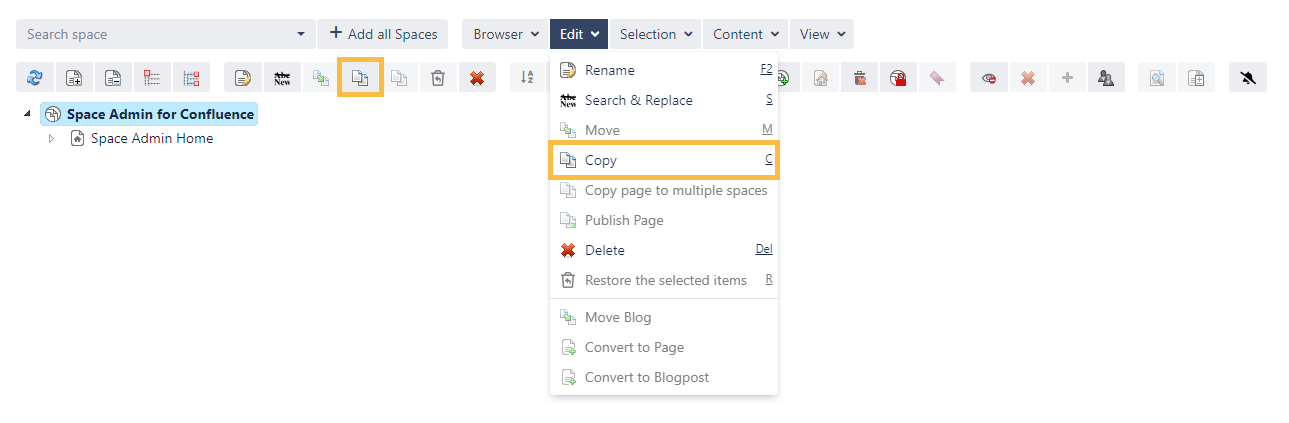
After the selection the space can be copied by
- clicking Edit and Copy
- clicking the copy button
- pressing c
- using the context menu
If just a subset of pages should be copied, the pages have to be selected to be copied individually. By default all pages will be copied.
It is also possible to copy pages from one or more spaces by selecting the pages with Ctrl+click. The selected pages will be highlighted in blue.
Choosing one of the above mentioned methods will open a popup configuration window.
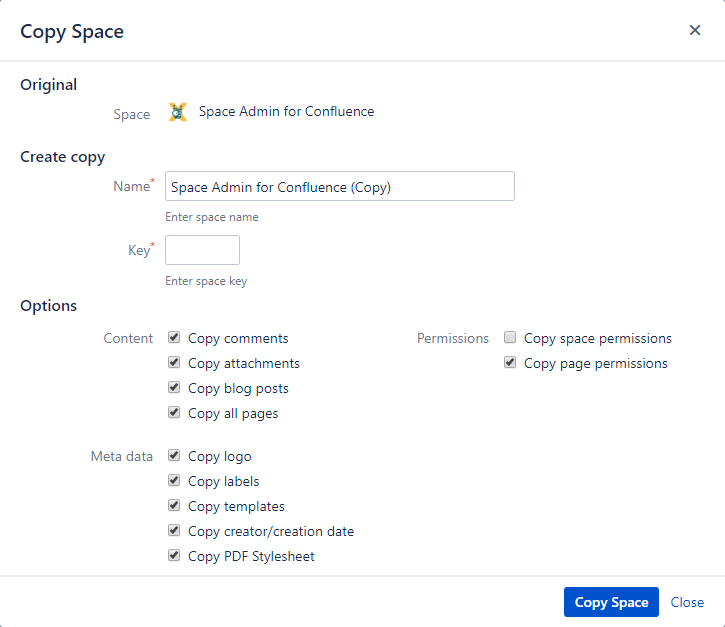
Mandatory parameters are the name and a key for the new space. There will be a suggestion for a name made up of the original name and a suffix: (Copy).
Use the available options to configure what should be copied.
Click Copy Space to create a copy of the selected space in your Confluence instance. The new space will show up in your Space Admin Browser afterwards.
Deleting Spaces
Deleting Spaces can be done by selecting the specific space and
- clicking Edit and Delete
- clicking the delete button
- pressing delete on the keyboard
- using the context menu
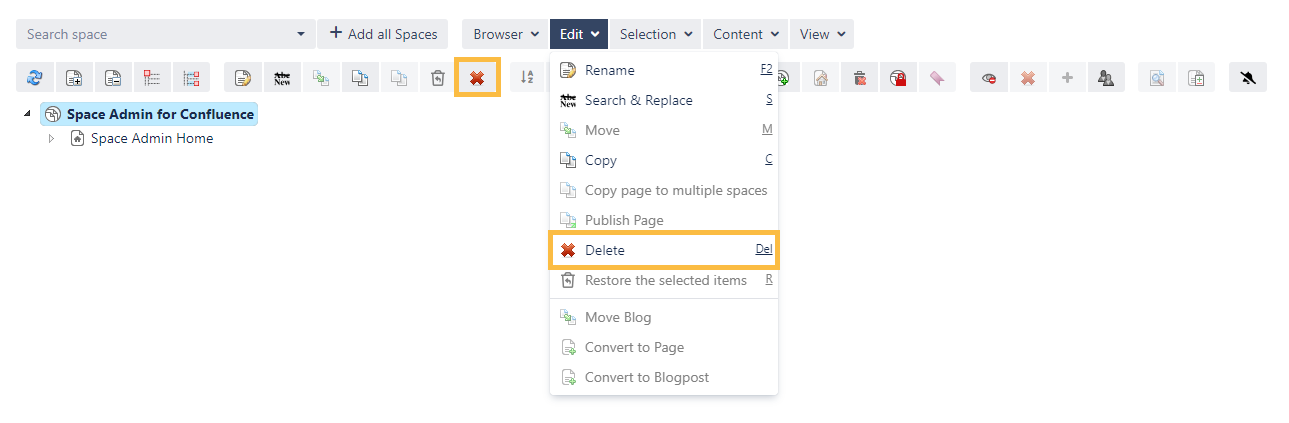
![]() The deleted Space will not be stored in the trash.
The deleted Space will not be stored in the trash.
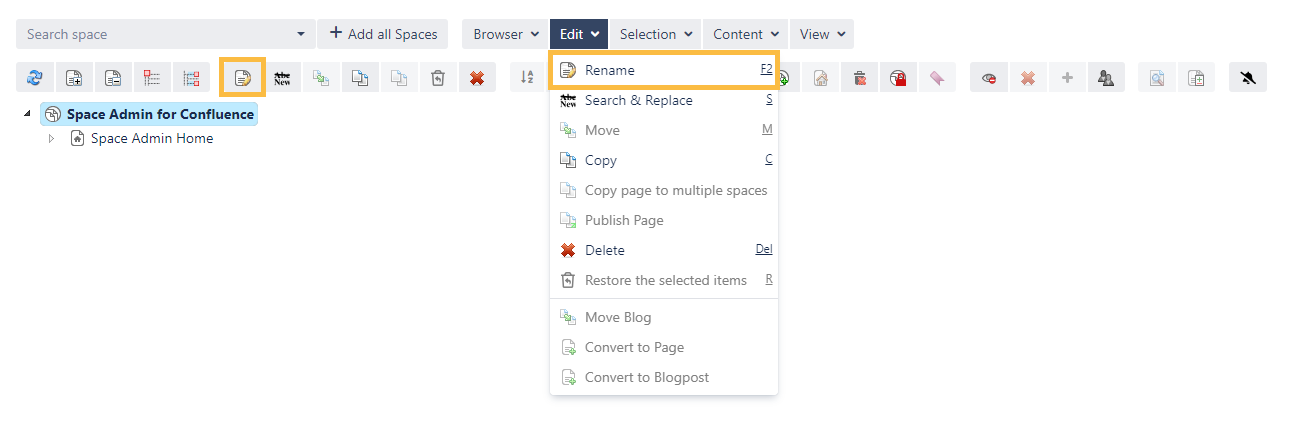
Renaming Spaces
Renaiming Renaming can be done by selecting the space and
- clicking Edit and Rename
- clicking the rename button
- pressing F2
- using the context menu
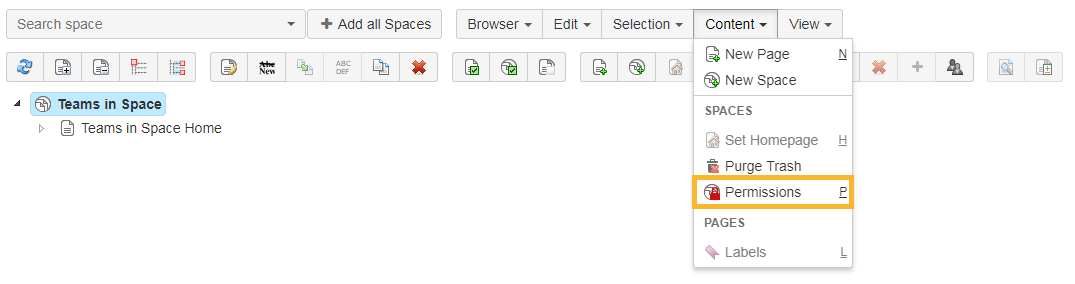
Space permissions
Space Admin provides space administrators the possibility to change permissions for users and groups.
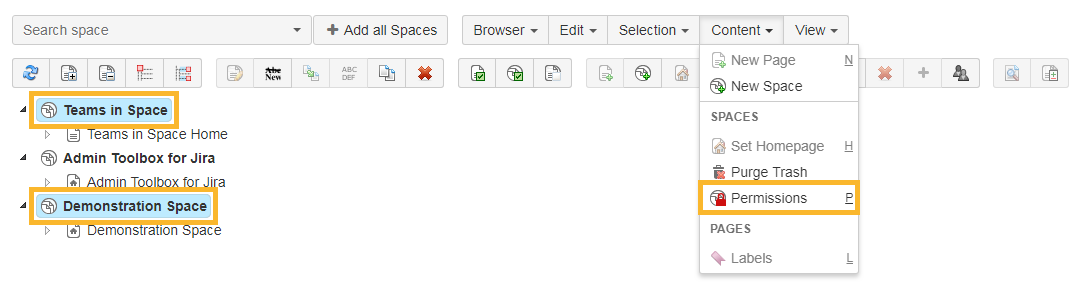
To view/ change the permissions the space has to be selected and then
- click Content and Permissions
- click permission button
- press p
- use the context menu
![]() The permissions button is only enabled if you are administrator for the space you selected.
The permissions button is only enabled if you are administrator for the space you selected.

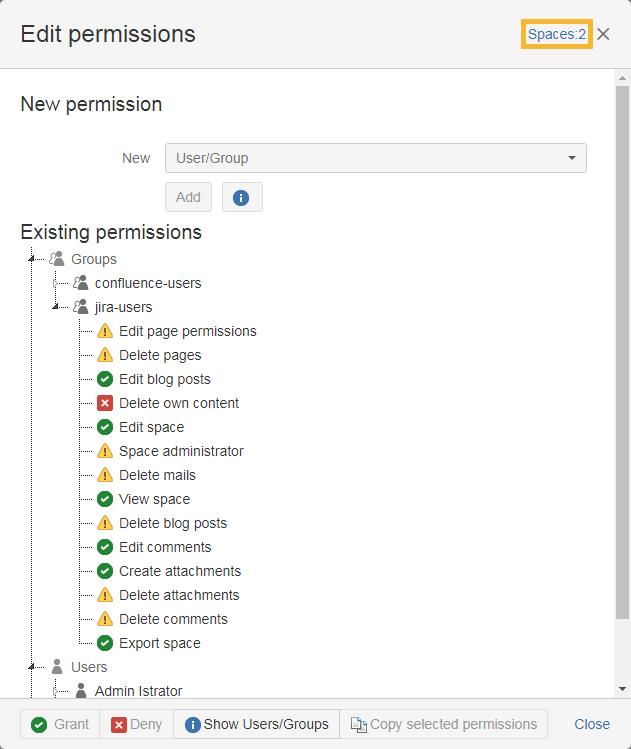
The first window will show the current permissions for the selected spaces. It is ordered by users, groups and anonymous permissions.
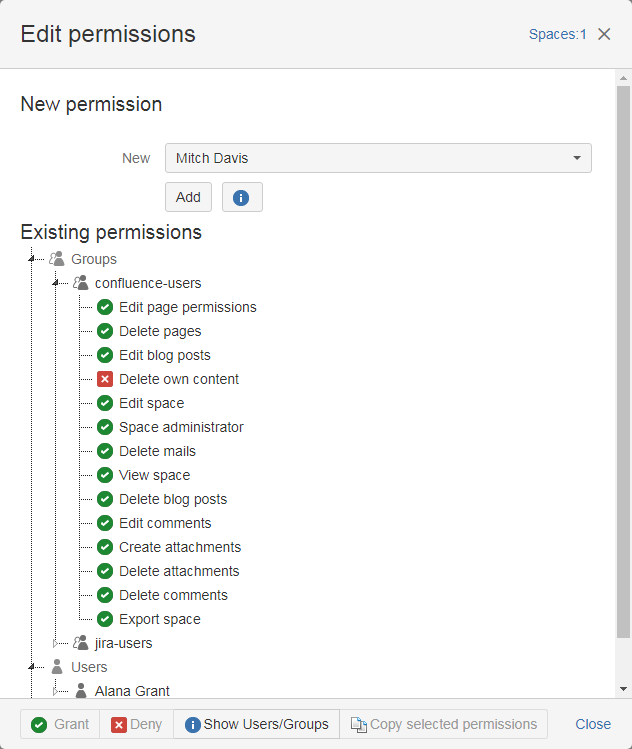
By clicking on the arrow icon the users/ groups can be expanded.
Selecting a permission provides the option to dis- or enable it. Multiple permissions can be selected by holding the Ctrl-Key when clicking on the nodes.
To edit the permissions just click on Grant or Deny.
Users can be added by selecting them from the drop-down menu and clicking the Add button.
![]() By default all permissions are granted agter after a new person has been added.
By default all permissions are granted agter after a new person has been added.
It is also possible to compare multiple space permissions by selecting the spaces with the Ctrl-Key.
In the upper right corner a number of selected spaces will be displayed.
All permission with differences are highlighted with the ![]() symbol.
symbol.
| CSS Stylesheet |
|---|
#tocContainer {
margin-right: 15px;
position: fixed;
right: 0;
top: 160px;
width: 23%;
z-index: 1;
}
|
| Div | |||||||||||||||||||||||||
|---|---|---|---|---|---|---|---|---|---|---|---|---|---|---|---|---|---|---|---|---|---|---|---|---|---|
| |||||||||||||||||||||||||
|