While JWT workflow post functions are a perfect way to automate actions that are directly tied to a workflow transition, automation rules allow you to automate actions within Jira regardless of any workflow.
JWT automation rules contain up to four elements:
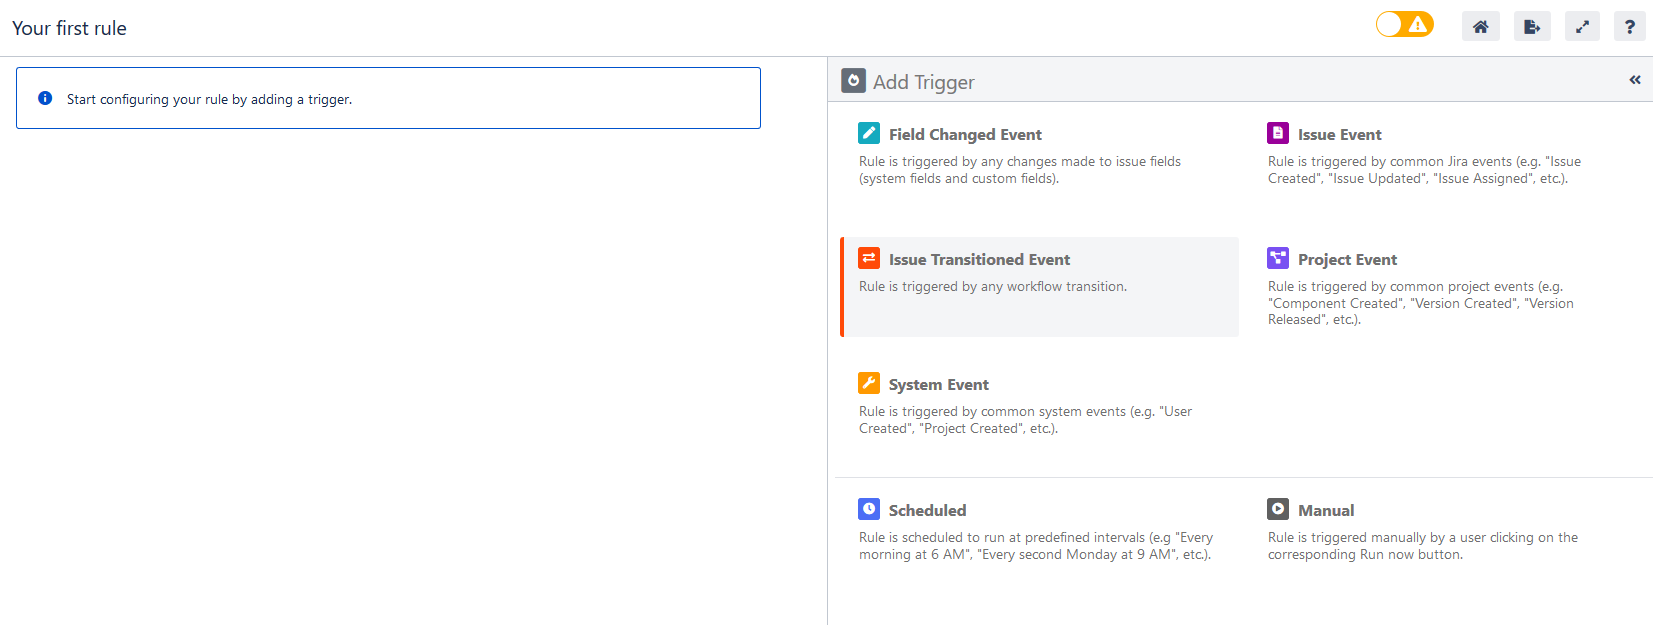
![]() Triggers: They define when a rule should be executed. This is why every rule starts with a trigger. Usually a trigger listens to a field, issue, project or system event, but it can also be scheduled to only be executed at certain times. Learn more about triggers.
Triggers: They define when a rule should be executed. This is why every rule starts with a trigger. Usually a trigger listens to a field, issue, project or system event, but it can also be scheduled to only be executed at certain times. Learn more about triggers.
![]() Selectors: They act like filters that provides the ability to search for specific issues within a rule and then take actions only against those issues found. Learn more about selectors.
Selectors: They act like filters that provides the ability to search for specific issues within a rule and then take actions only against those issues found. Learn more about selectors.
![]() Conditions: They provide the ability to further refine and control processing. You can configure complex rules containing multiple and/or nested conditions. Learn more about conditions.
Conditions: They provide the ability to further refine and control processing. You can configure complex rules containing multiple and/or nested conditions. Learn more about conditions.
![]() Actions: They define any field, issue, transition, comment or email processing that should take place automatically. Learn more about actions.
Actions: They define any field, issue, transition, comment or email processing that should take place automatically. Learn more about actions.
The minimum effort: A trigger + 1 action
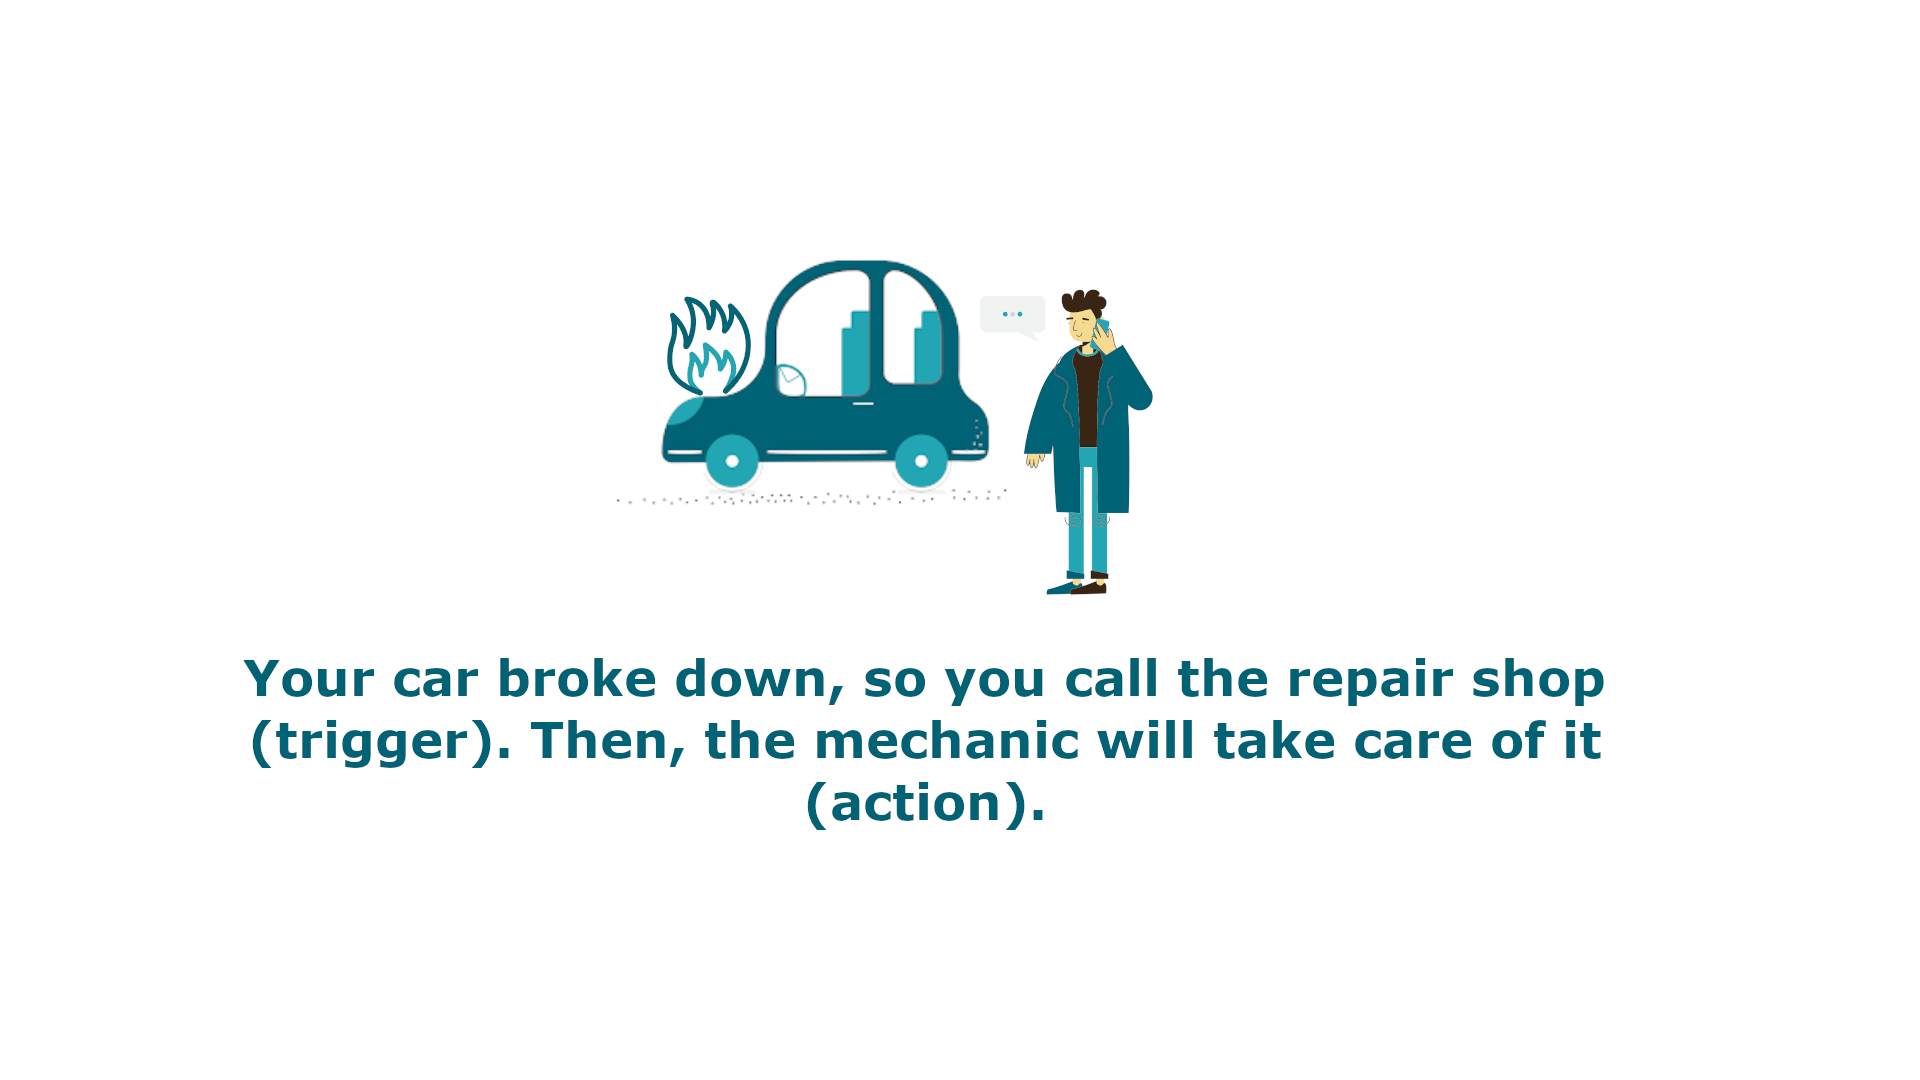
So first of all, let us discuss the first steps of the rule built in this example; they consist of a trigger and an action.
You found the signal so you quickly called the nearest repair shop (this is your trigger in this case), then the mechanic comes and take it to the shop to take care of the rest (and here is the action).
That's it, these were the two main elements of a rule.
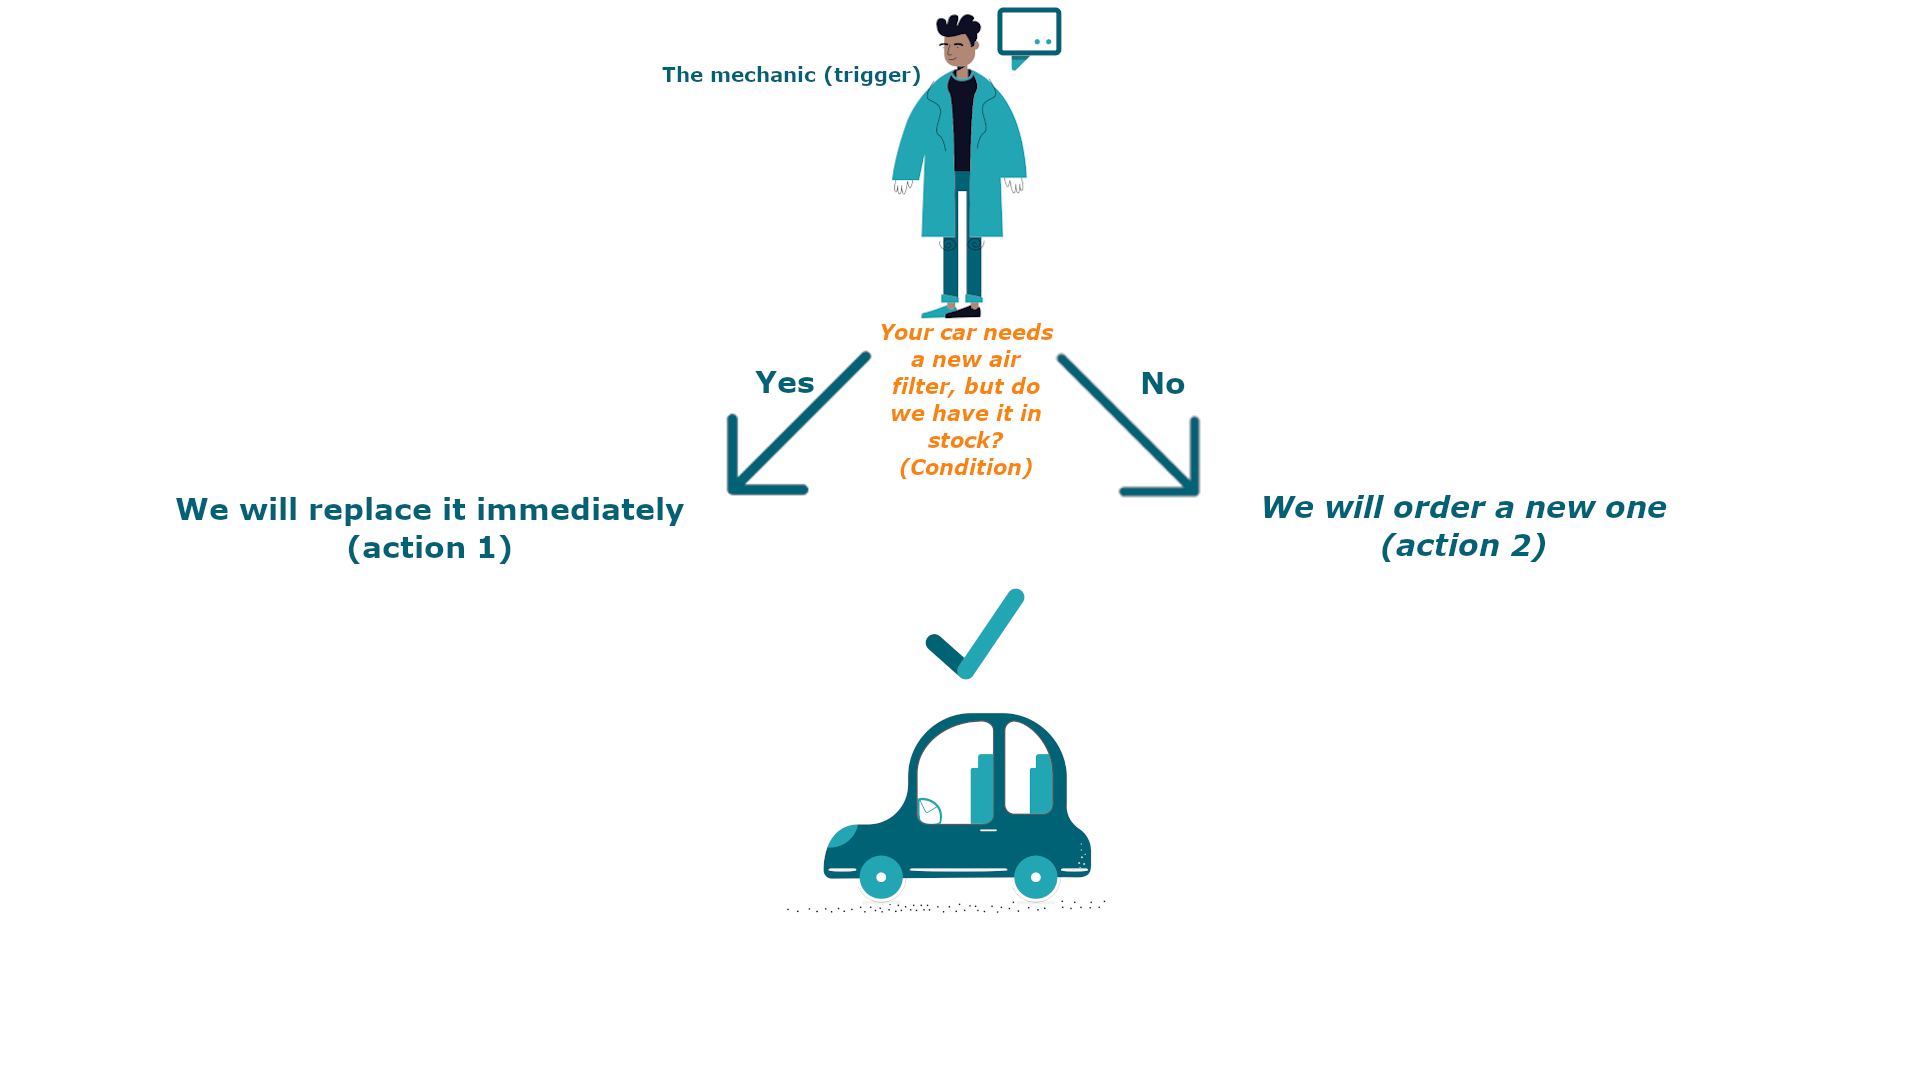
Getting more control: Adding a condition
Now, the car is in the repair shop, let us imagine two scenarios, the first one is where the mechanic knows exactly what is wrong with your car, and the second one where he does not know what is broken in your car.
Let us start with the first one.
The mechanic says that your car needs a new air filter, but he does not know if they have it in stock at the shop (this is the condition), he will go and check, if they have it (yes = condition is fulfilled), then he would just replace it (action1) and your car is good to go! If the do not have it (no = condition is not fulfilled), then he will order one and replace it (action 2) and your car is good to go!
This is an example of having a rule with trigger→ condition→(if condition is met) action 1→(if condition is not met) action 2
Enabling the full power: Using selectors
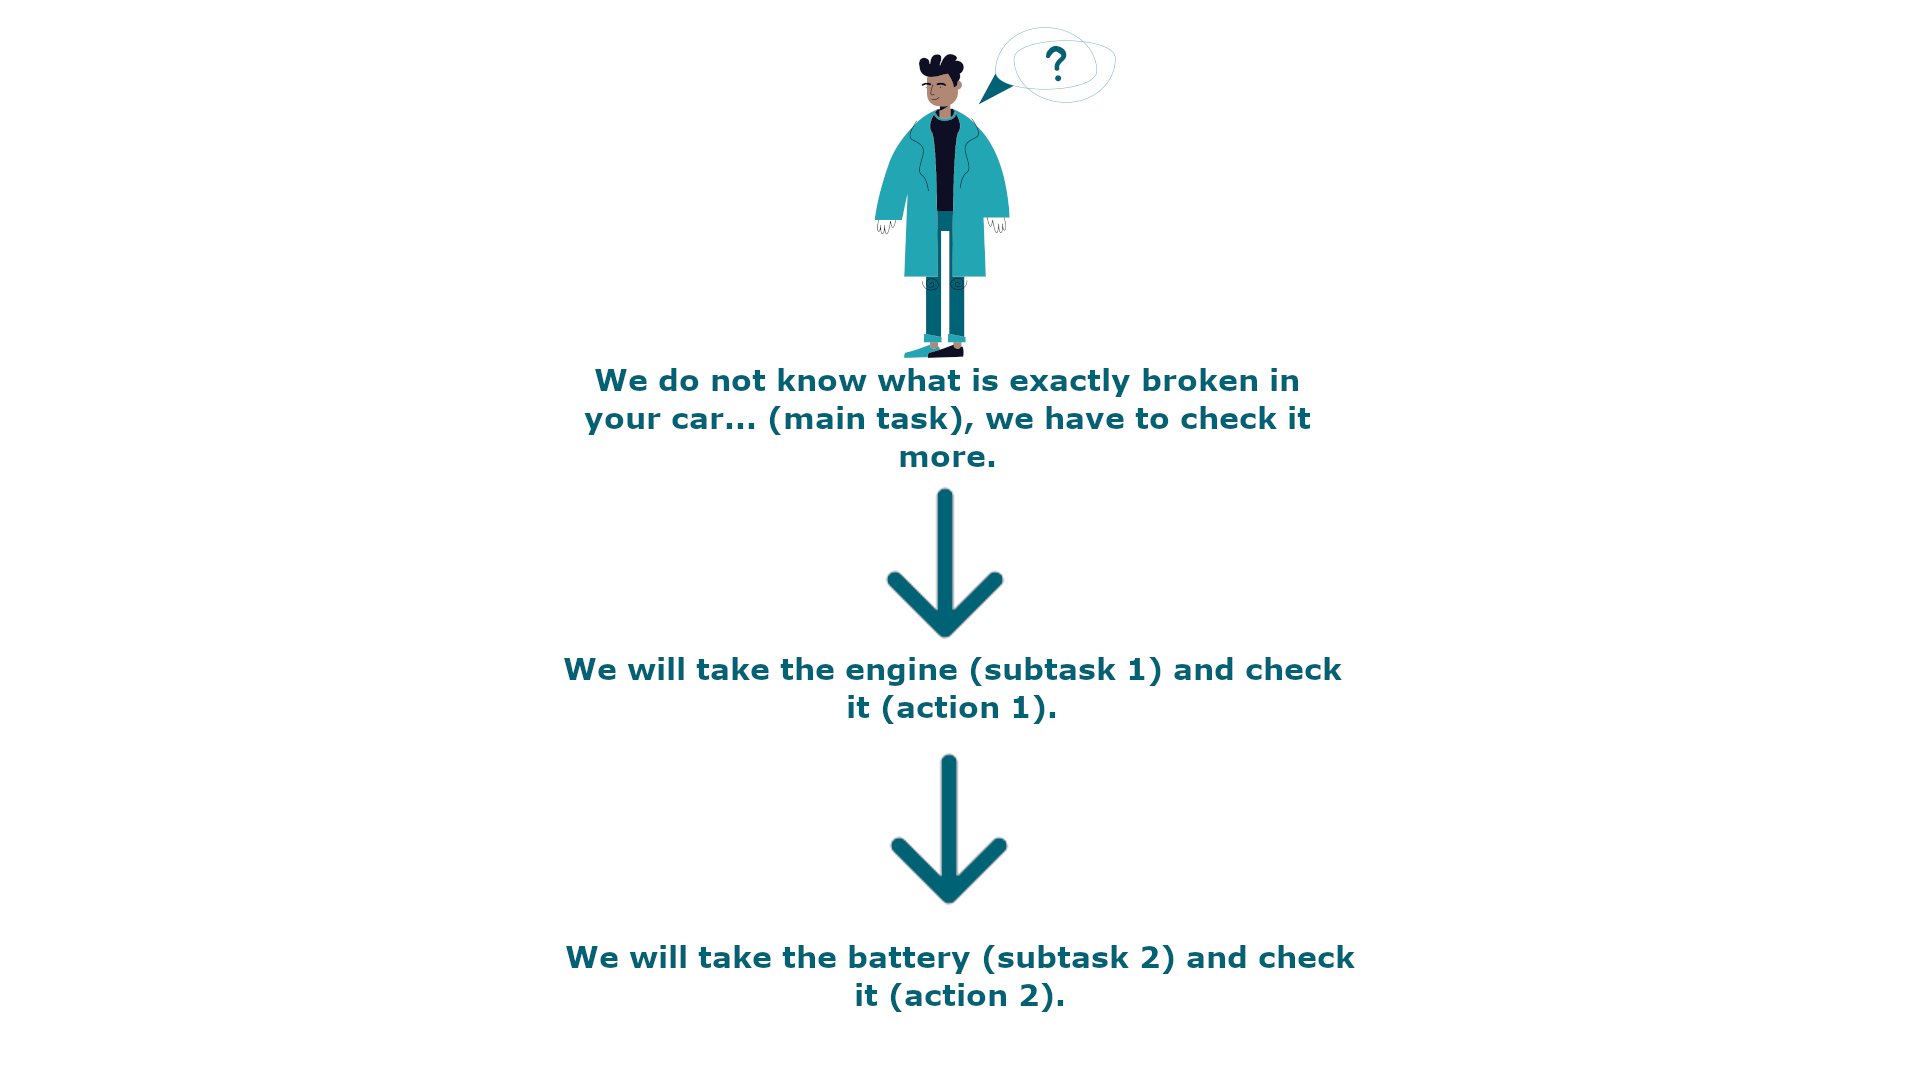
In the second scenario, like we mentioned before, the mechanic does not know what is wrong with your car ( this is the main task), so he will take parts of your car (consider them as subtasks).
- The mechanic takes the engine (subtask 1) and check it (action 1).
- The mechanics takes the battery (subtask 2) and check it (action 2). and so on...
This is a example of a rule with a trigger and selector.
First steps
Browse to the rule navigator.
After installing JWT you will find all automation rules here: Administration →Manage apps →Automation rules
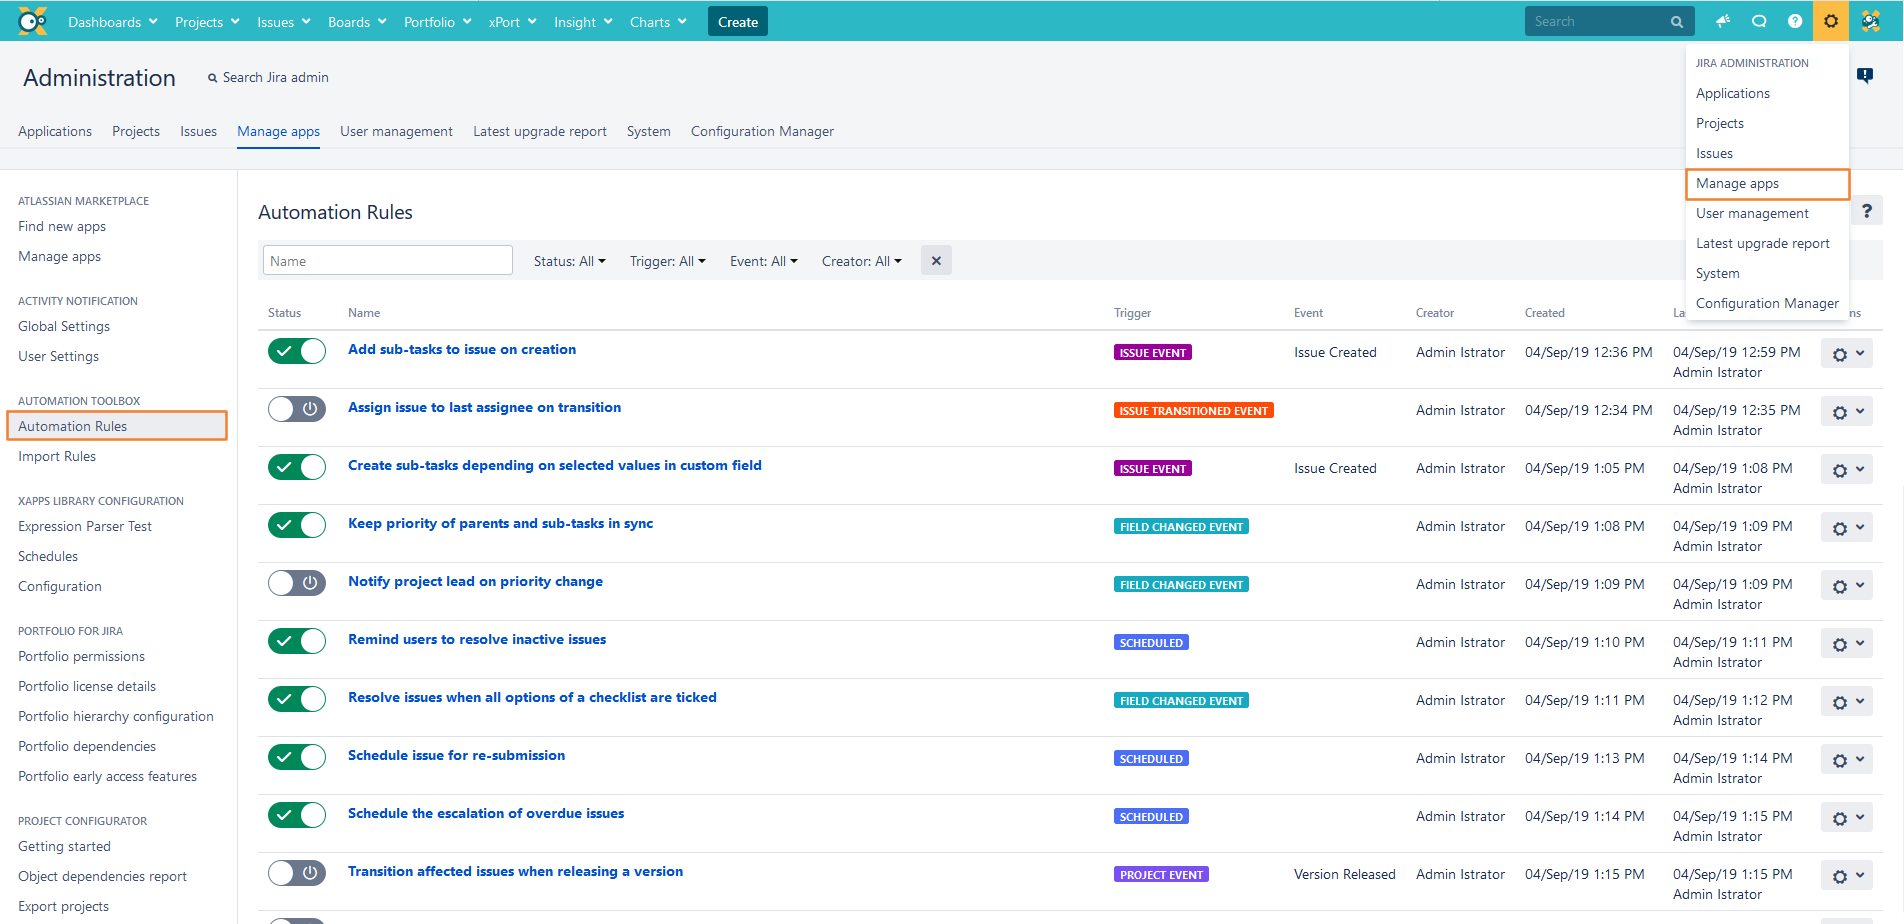
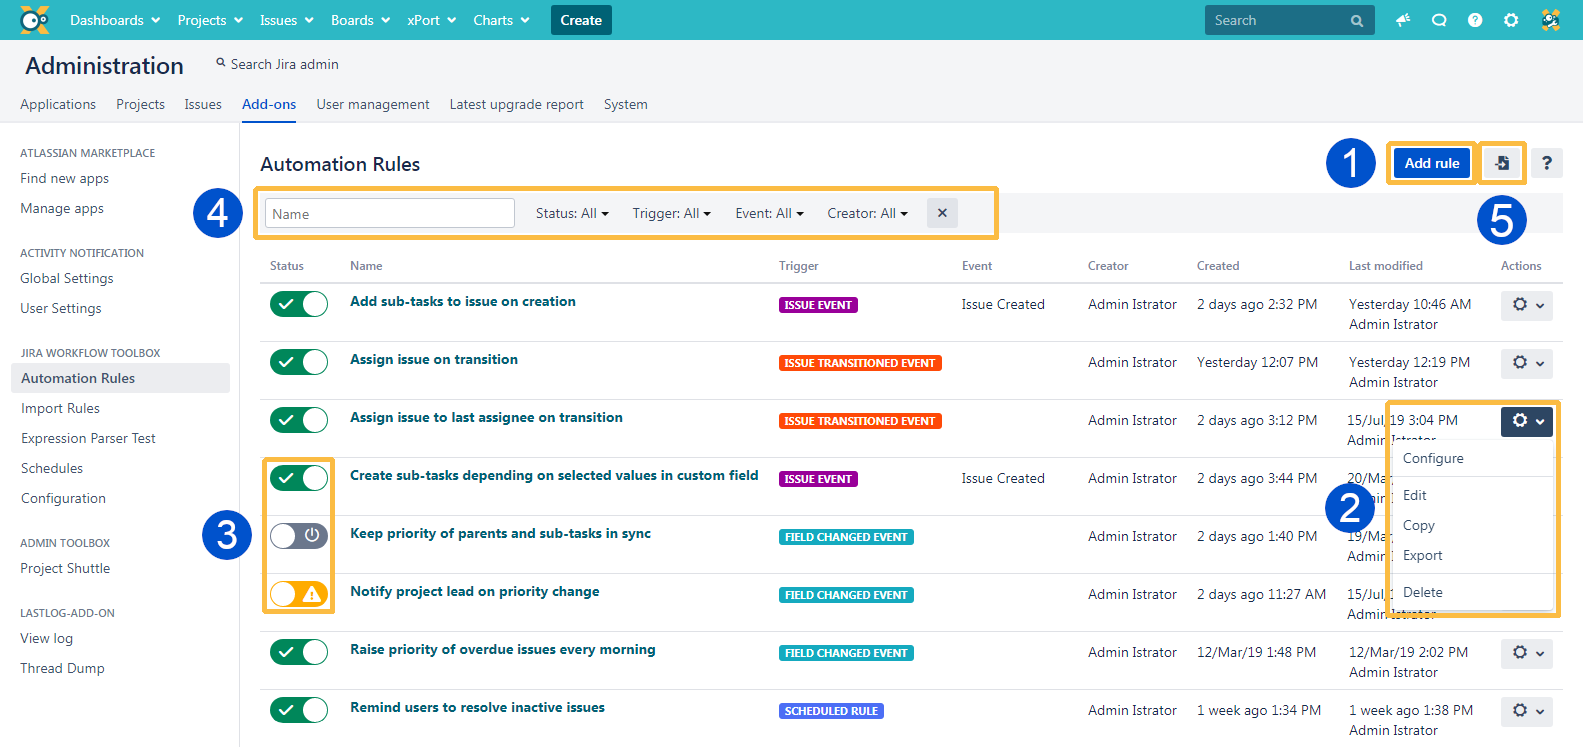
The rule navigator is your central location for managing your automation rules.
![]() Add rules
Add rules
![]() Use the Actions menu to configure, edit, copy, and delete rules
Use the Actions menu to configure, edit, copy, and delete rules
![]() See the current status and activate/deactivate rules
See the current status and activate/deactivate rules
![]() Search and filter rules
Search and filter rules
![]() Import rules
Import rules
Create your first rule
If you need some inspiration head over to a detailed guide on how to create rules: Create, configure, and edit a rule
Been there, done that? If you need even more inspiration, make sure to check out these useful use cases that will definitely get you started.
If you still have questions, feel free to refer to our support team.