 Configuration
The post function offers two types of configuration. In the default view you can choose between predefined and directly usable action templates. In the expert mode, actions can be freely defined and configured.
 (Icon to be changed) The wizard is the default configuration view of the Execute remote post function. It was built to enable an easy and efficient configuration of common use cases. For those use cases, action templates are shipped with the app, which can be configured in a three-step approach.
Be aware that once you change something in expert mode, you cannot switch back.
Create remote action
Select action
At the very beginning, you need to choose an action template that suits your purpose. You can filter those templates by the target service and search across all provided ones. After selecting one, click next to get to the next step.
Select connection
After selecting an action template, you need to choose the remote service, the action shall get executed against. If you have selected an action template that fits to the target platform, you can select next to your custom connection, the current instance additionally.
If you cannot find a connection that fits, you can easily configure a new one.
Head over to your Jira's administration (cogwheel) and click on Manage apps.
On the side bar, under Jira Workflow Toolbox → Connector
Click on the Connection tab, then click on Add connection
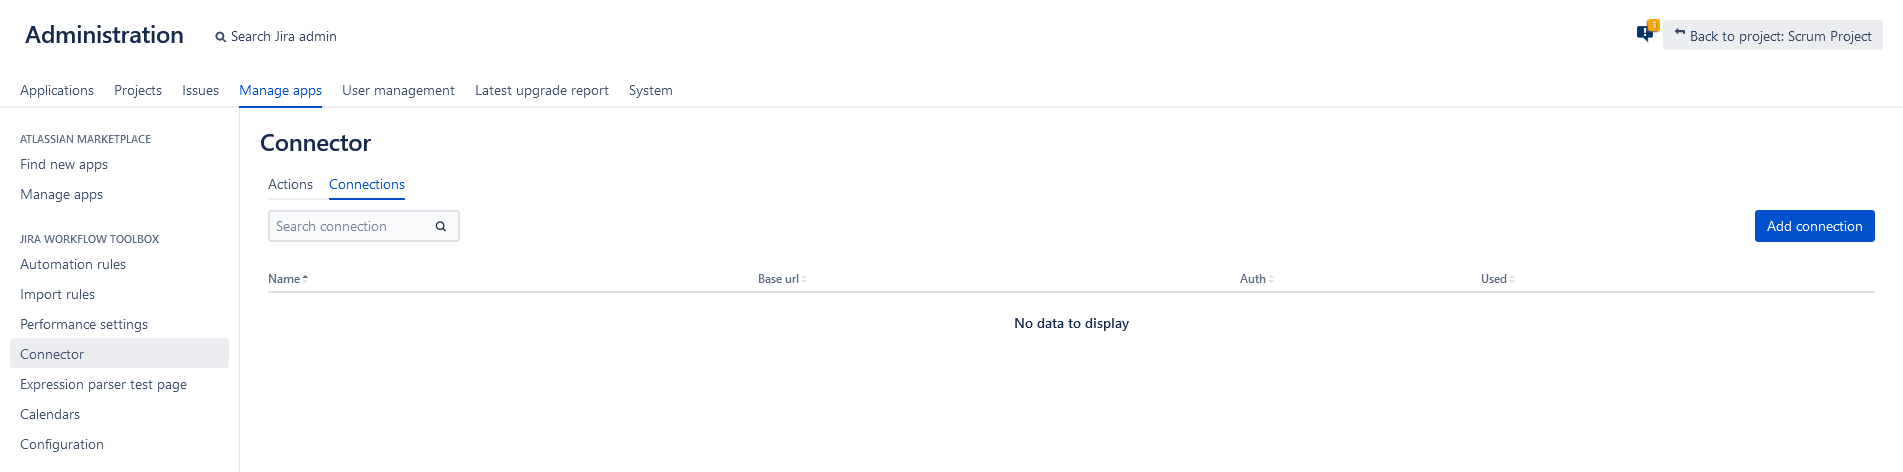
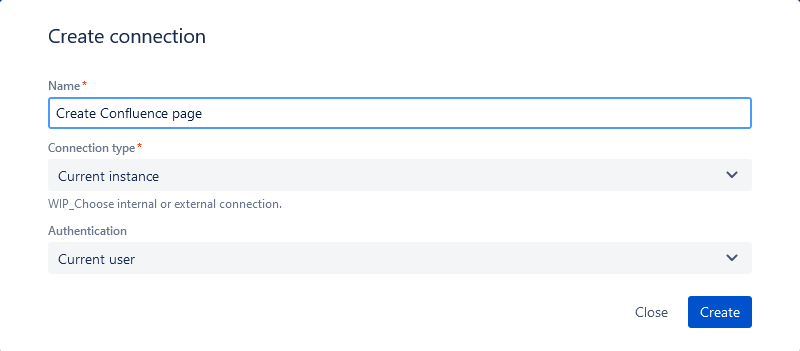
In the popup window, give the connection a proper name, choose your connection type with the authentication and click on create.
You can also create a new connection directly in the select connection step, by clicking on + Create connection.![]()
After selecting one, click next to get to the next step.
Customize your action
In the last step, you can finish your configuration by setting all the required action template parameters using the set value link next to the parameter name. Some templates have optional parameters that can be chosen using the "Add parameter" action.
Each parameter can be set either by selecting a Jira field that contains an according value or by setting a custom value using the "set value manually option" and passing a parser expression ![]()
Besides setting the action parameters, you can also configure fields to be updated after the action has been executed. If provided in the action template, you can set a field using a dedicated part of the remote service's response. In every case, you can store the complete response and the status code of the remote service after executing the action.
After setting the action parameters and optionally storing the service response, you can click "Add" to store the post function in your transition.
The expert mode allows you to act as an expert in many other complex directions and possibilities! You can create your own actions, connections and extend the already created actions!
Basic configuration
Here you can define the core parts for setting up the communication with the external service. For this, you need the following:
Within the action parameter you can either choose an existing custom action or create a new one. Additionally, you can select and use any action template known from the Wizard configuration.
An action is composed of:
- Method
- REST path
- Parameters
- REST body
Head over to your Jira's administration (cogwheel) and click on Manage apps.
On the side bar, under Jira Workflow Toolbox → Connector
Click on Add action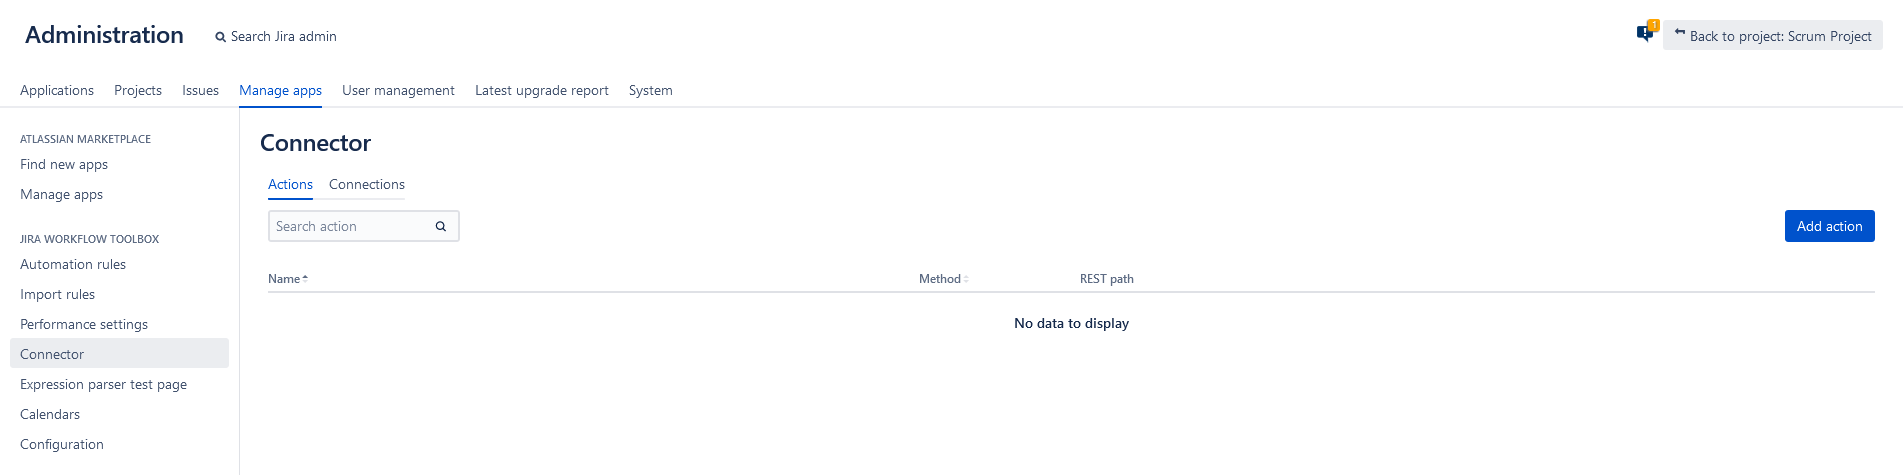
In the popup window:
Give the action a proper name
Choose the method of the action; POST, GET, PUT, DELETE.
Choose the default connection for this action and its REST path.
Additionally, you can add query parameters and body data
Body data is required for a PUT method.
Click on create
This can also be done directly from the post function configuration.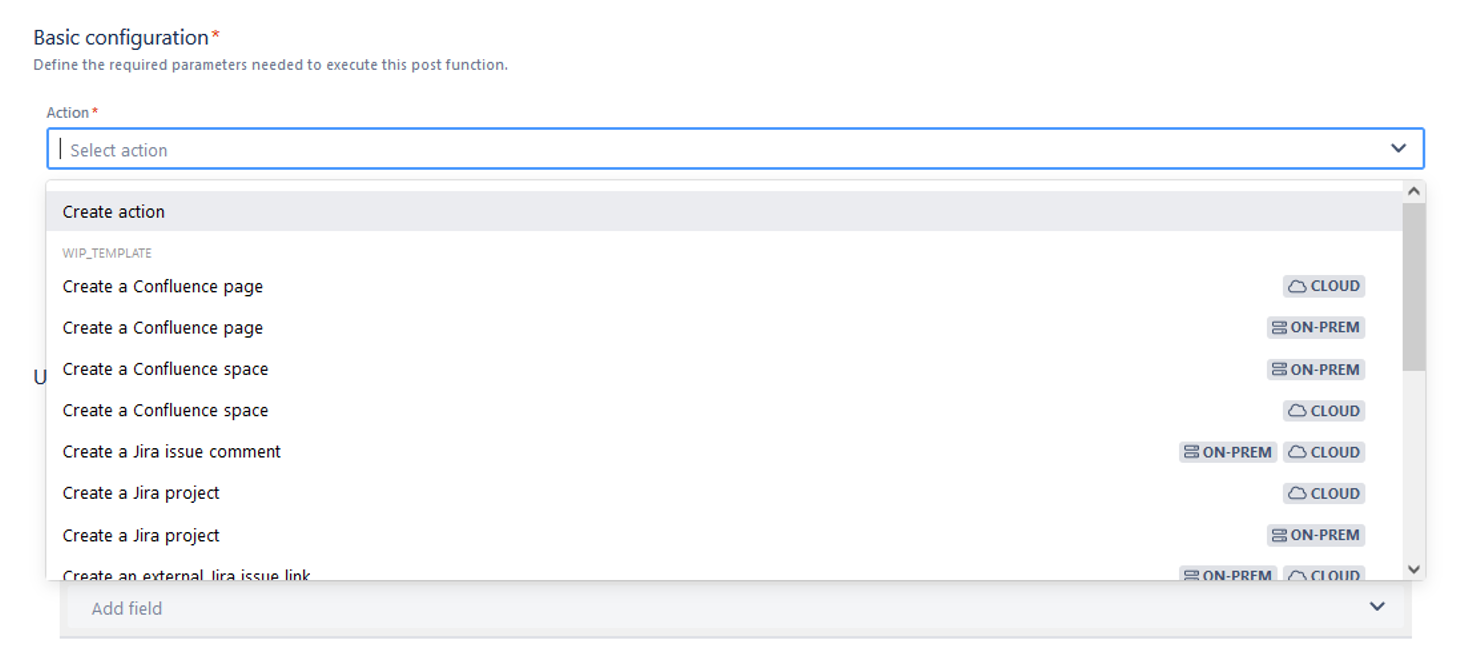
Within the connection parameter, you can choose or define, where your action get executed against. You can either use the default connection configured in the selected action or override it with a different one.
Head over to your Jira's administration (cogwheel) and click on Manage apps.
On the side bar, under Jira Workflow Toolbox → Connector
Click on the Connection tab, then click on Add connection
In the popup window, give the connection a proper name, choose your connection type with the authentication and click on create.
You can also create a new connection directly in the select connection step, by clicking on +Create connection.
You can use a connection for many actions.
Customize
You can only add query parameters UM: I don't get it - I can also add Path parameters (maybe we have only to change the wording here)?
| Option | Description |
|---|---|
| Name | A proper name to describe the parameter |
| Value | You can choose between:
|
 Use cases and examples
If you still have questions, feel free to refer to our support team.